General Layout
Counterclockwise...
-
Scene Panel
- This panel contains what scene you're on currently as well as all the game objects that that scene holds (ex: camera, light source, ground object, your player asset, obstacles).
-
File View
- This is where you can see all the files currently within your project. For our purposes, we only need to focus on the Assets folder and its sub-folders. In addition, you can also create your own folders to keep your project organized and functional.
-
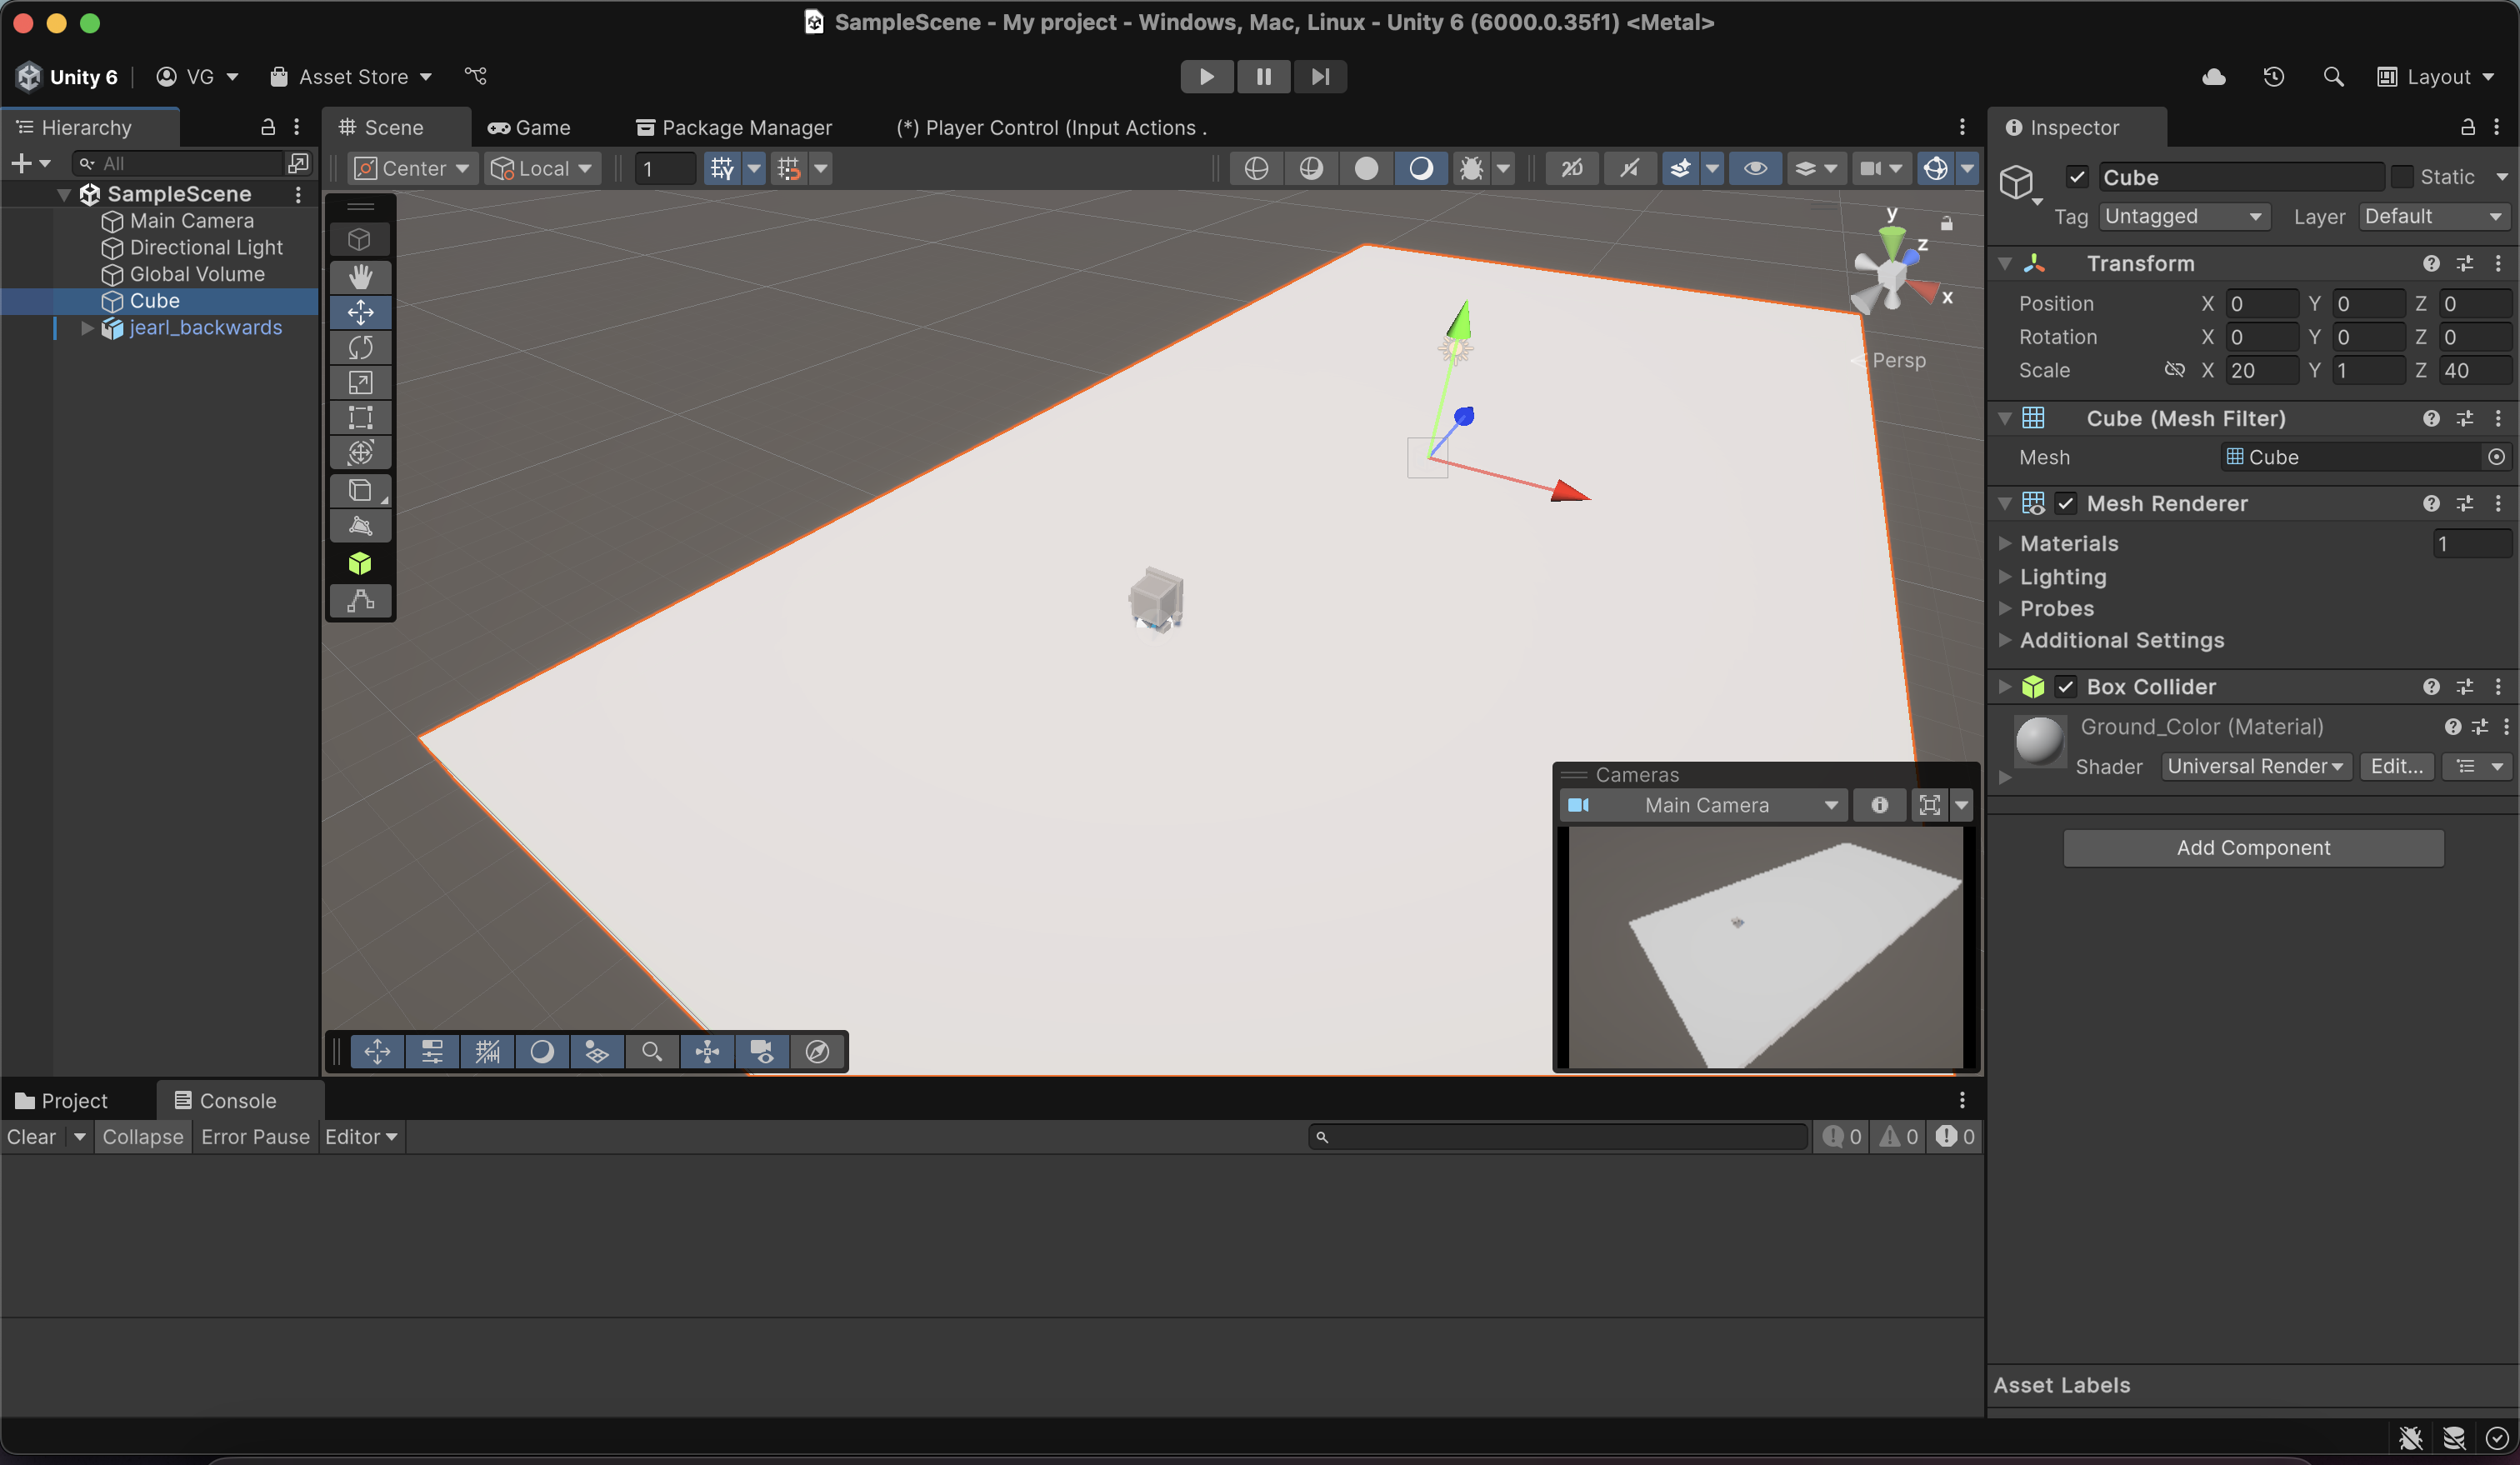
Component Panel
- This is where you can see all the different components/parts of your selected game object. These could be things like transformation values (position, scale, and rotation), colliders (to allow for collision), Rigidbody (for movement with physics) and many more...
-
Scene View
- This is where you can see your scene and how all of your assets physically look in your scene. There are two basic tabs here: the Scene tab and the Game tab. The Scene tab allows you to make whatever changes you want and the Game tab shows what your changes will look like during gameplay. In addition, you can press the play button at the top to start gameplay at any time you like to test any changes that you have made.
File Setup
Before we proceed, we need to make some additional changes:
- Download this tutorial's assets.
-
Once downloaded, place this zip file somewhere on your computer where you can access it easily.
-
Then, go to the Unity Hub. If its open, the icon for it below in the taskbar (for Windows) or Dock (for Mac) should looks something like this:
-
Once inside Unity Hub, find and click Projects (should be on the left in the list of menus).
-
Find your project (the one you just made) in the project list.
-
On the right, click the 3 little dots.
-
Click on the first option you see.
- For Mac, this will be Reveal in Finder. For Windows, this will be Show in Explorer. And, for Linux, this will be Show in File Explorer.
-
This will open your project directory on your computer (wherever it was created).
-
Double-click the Assets folder.
- This is where we'll place the unzipped updated_assets folder.
- This is where we'll place the unzipped updated_assets folder.
-
Now, find your zip file (wherever you stored it) and unzip it.
- Upon unzipping, you'll see two folders:
- updated_assets and _MACOSX.
- Ignore the _MACOSX folder.
- updated_assets and _MACOSX.
- Once unzipped, move this folder inside of your project's Assets folder (drag-and-drop)
- For this part, I would suggest having two separate windows of your file explorer open.
- Upon unzipping, you'll see two folders:
-
Now, upon opening the Unity Editor, the updated_assets folder should be visible in the File View section below.
- Double-click it to open it and you should find the game assets inside.
- Double-click it to open it and you should find the game assets inside.
-
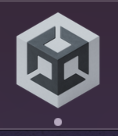
- Next, download the following packages:
- ProBuilder
-
Up top, in the Unity Editor, find the Window tab.
-
Click to expand it.
-
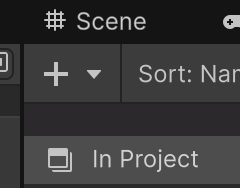
Find and click Package Manager.
- Optional: You can drag the window and dock it next to the Scene and Game tabs in your Scene View.
-
In the window, on the left, click on Unity Registry.
- You may need to expand the tabs on the left to find it:
-
In the search bar, start typing ProBuilder and you should see it in the search results below.
-
On the right, in the package description, find the Install button and click it to install ProBuilder.
-
- Unity glTFast
- Follow the same steps as above to navigate to the Package Manager.
- But, this time, in the top-left corner of the Package Manager window, look for a plus icon with a dropdown menu triangle next to it
- Should look something like this:
- Should look something like this:
- Expand the dropdown menu and find the Install package by name... option
- In the textbox, paste this name: com.unity.cloud.gltfast
- Click Install and it will install the package and show you a package description (similar to ProBuilder)
- ProBuilder
Why do we need these packages?
- ProBuilder will allow us to create custom shapes and obstacles to place in our scene. Once we learn how to use it, we can let our imaginations run wild!
- Unity glTFast will allow us to actually use .gltf files (and the asset files in the folder you downloaded up above).