Getting Started
Downloading Unity
- Go to unity.com/download
- Click "Dowload" at the top to download the installer for Unity Hub.
- Follow the installer's instructions to download the Unity Hub.
- Once finished, the Hub should launch automatically and prompt you to download the Unity Editor. Please do so.
- Caution: This is a LARGE installation. Ensure you have ample storage space before proceeding.
For Linux:
-
Navigate to this link.
- I recommend using the terminal commands that are provided on the page to install Unity Hub.
-
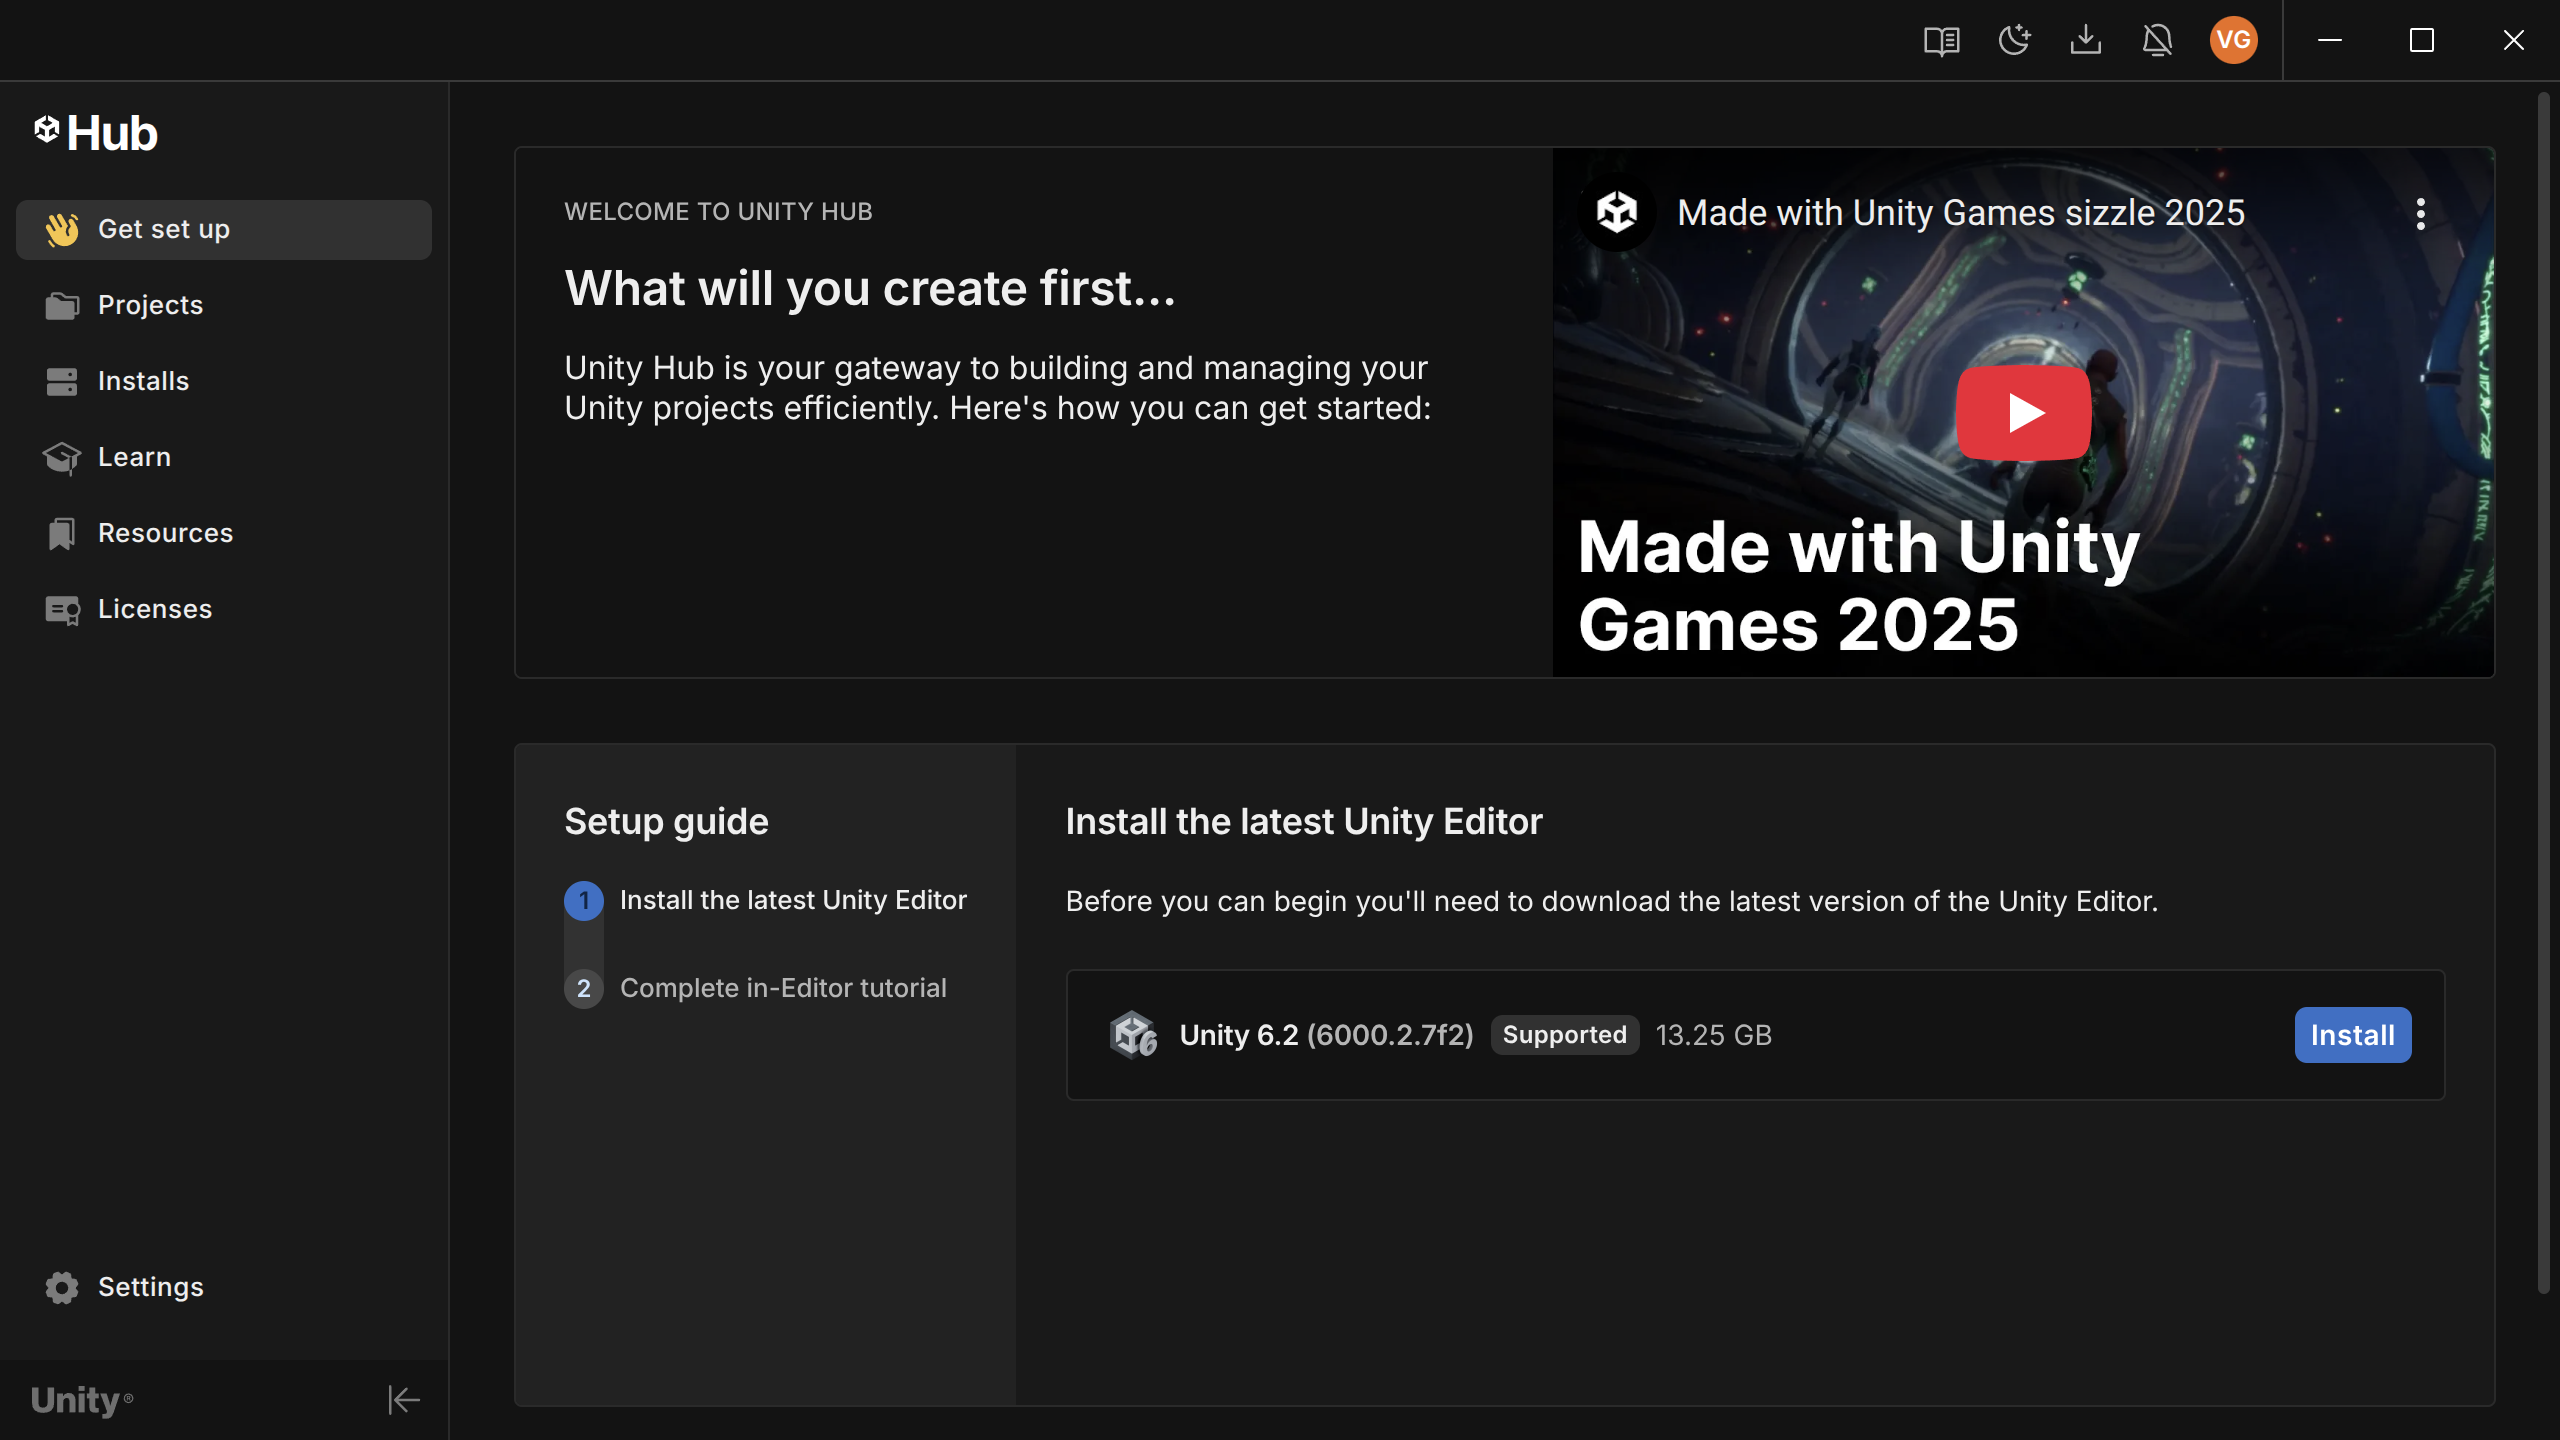
Similar to the Windows/Mac installation, once opened, the Hub will automatically prompt you to install the Editor (if you haven't already).
-
Should look something like this:
-
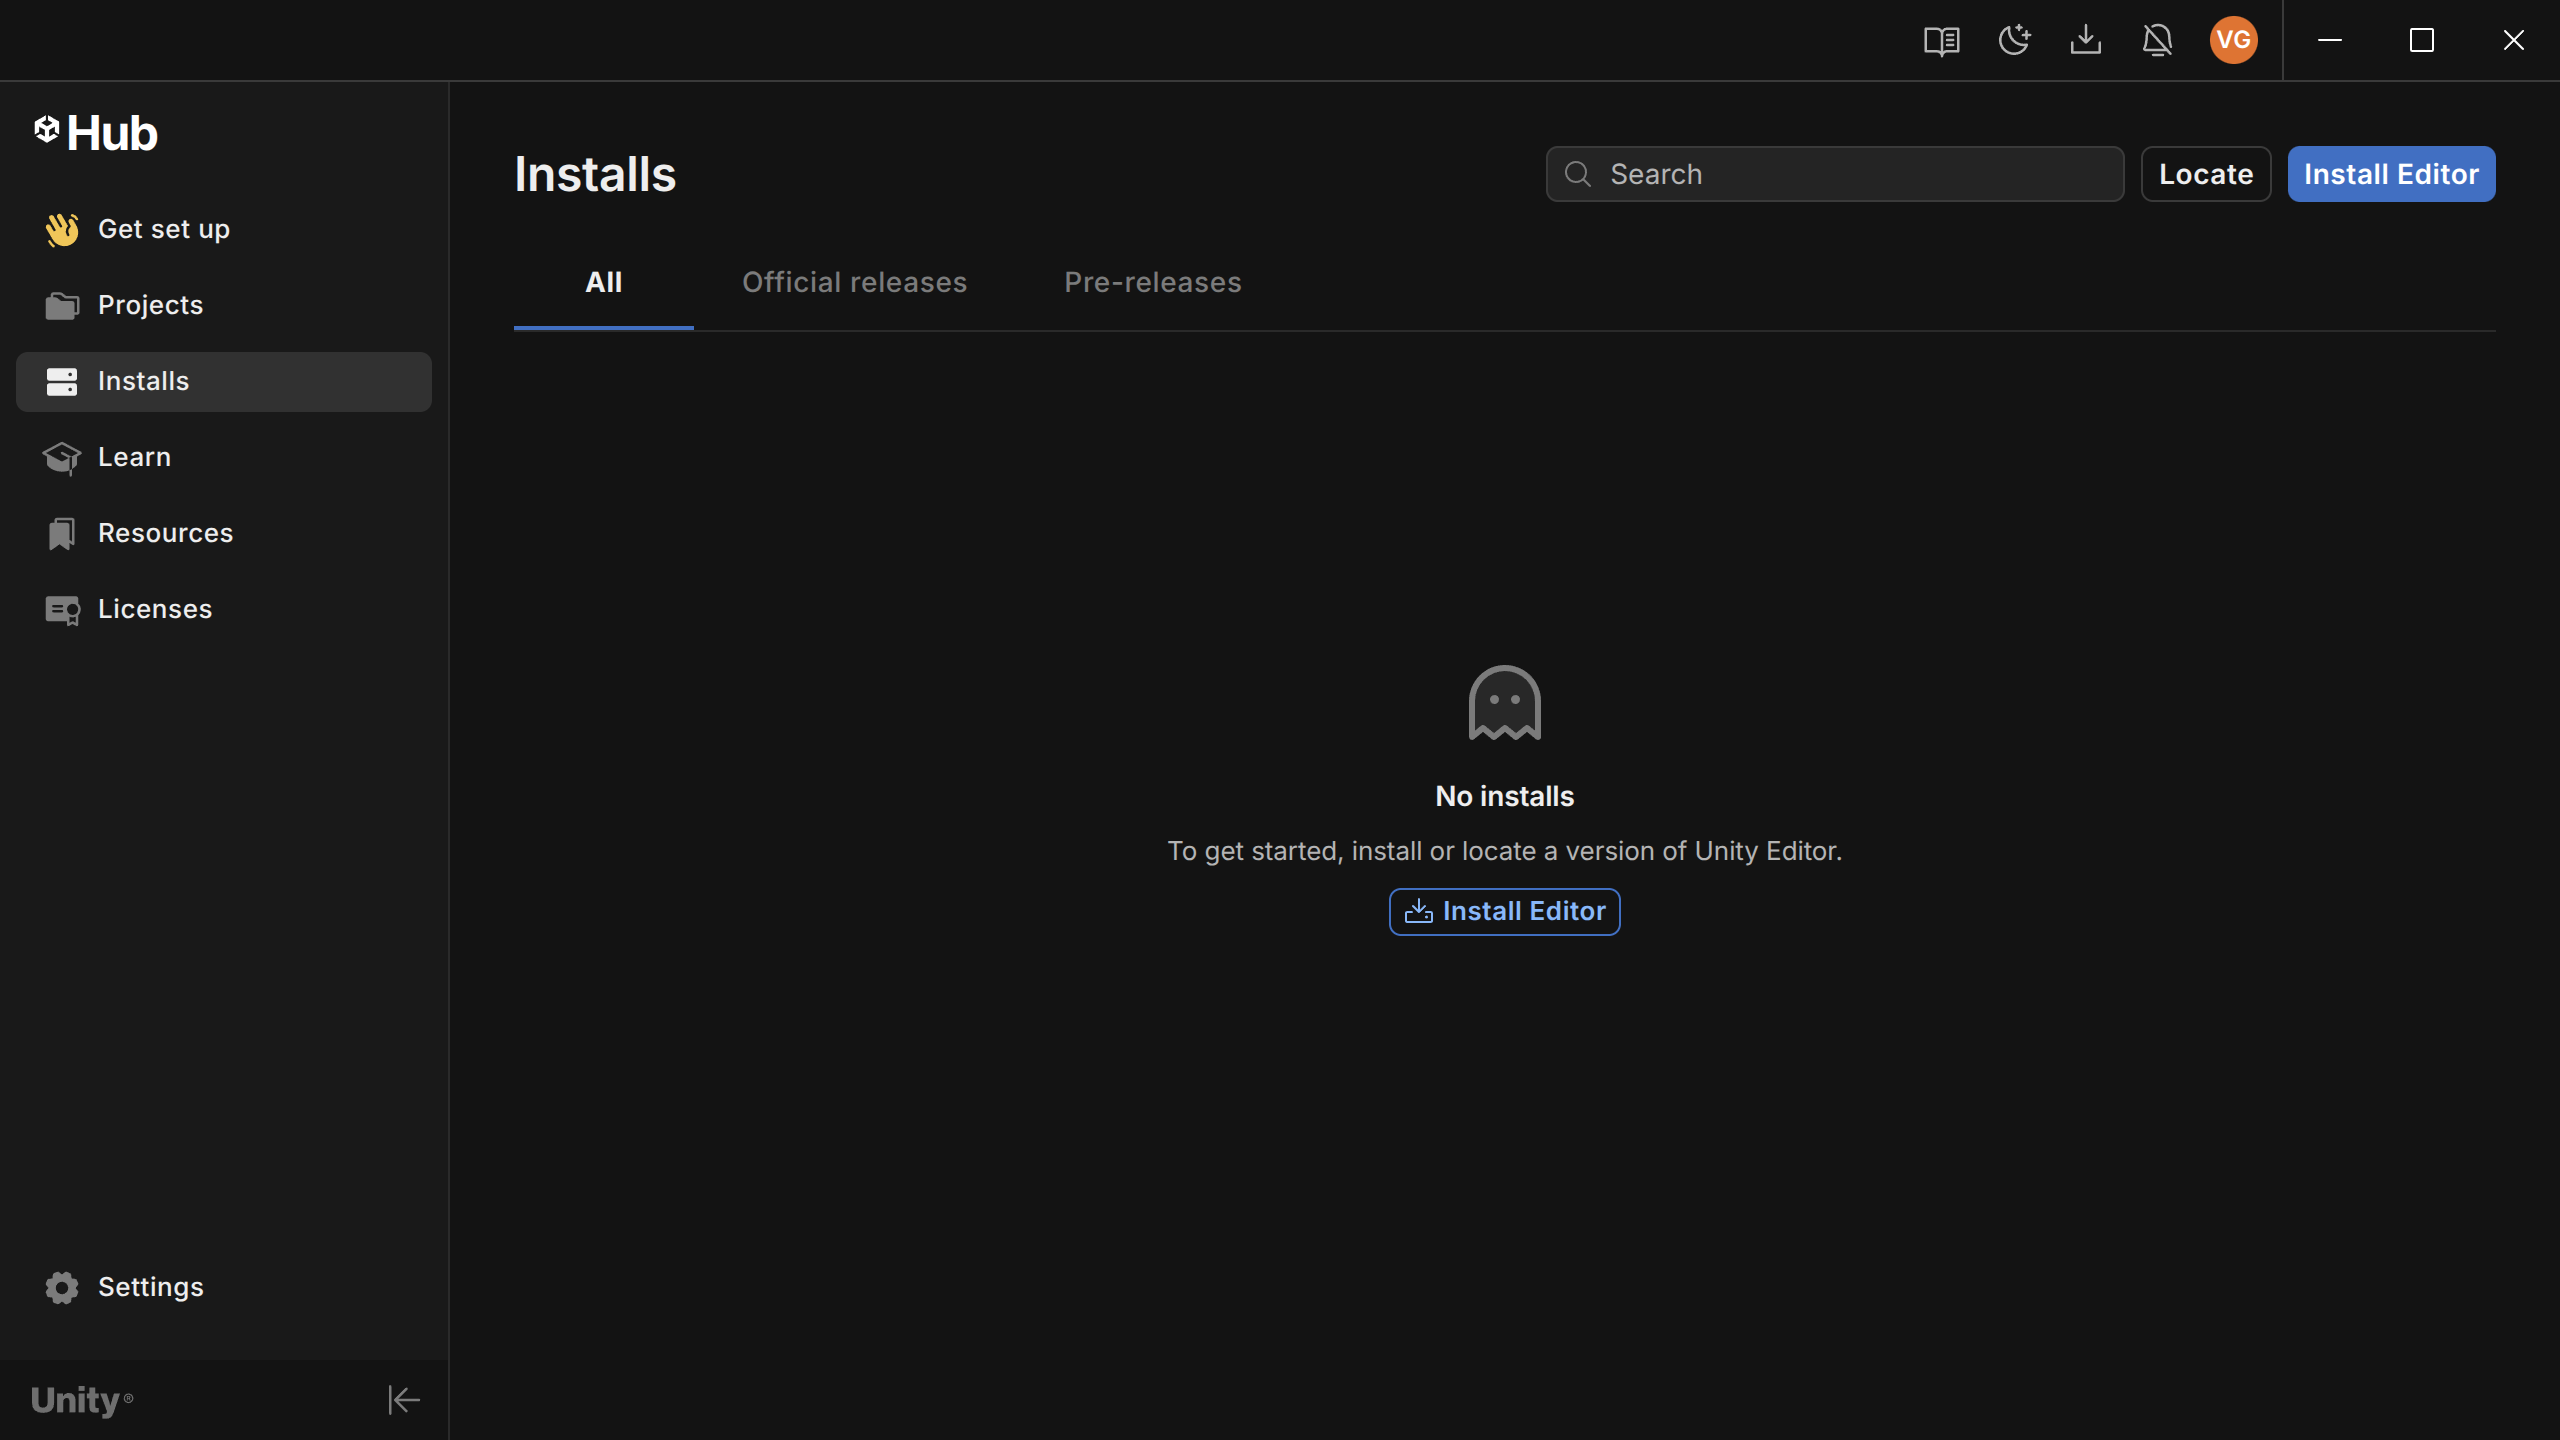
If there isn't one, navigate to Install section and click Install Editor:
-
Next, select the LTS (Long-Term Support) version.
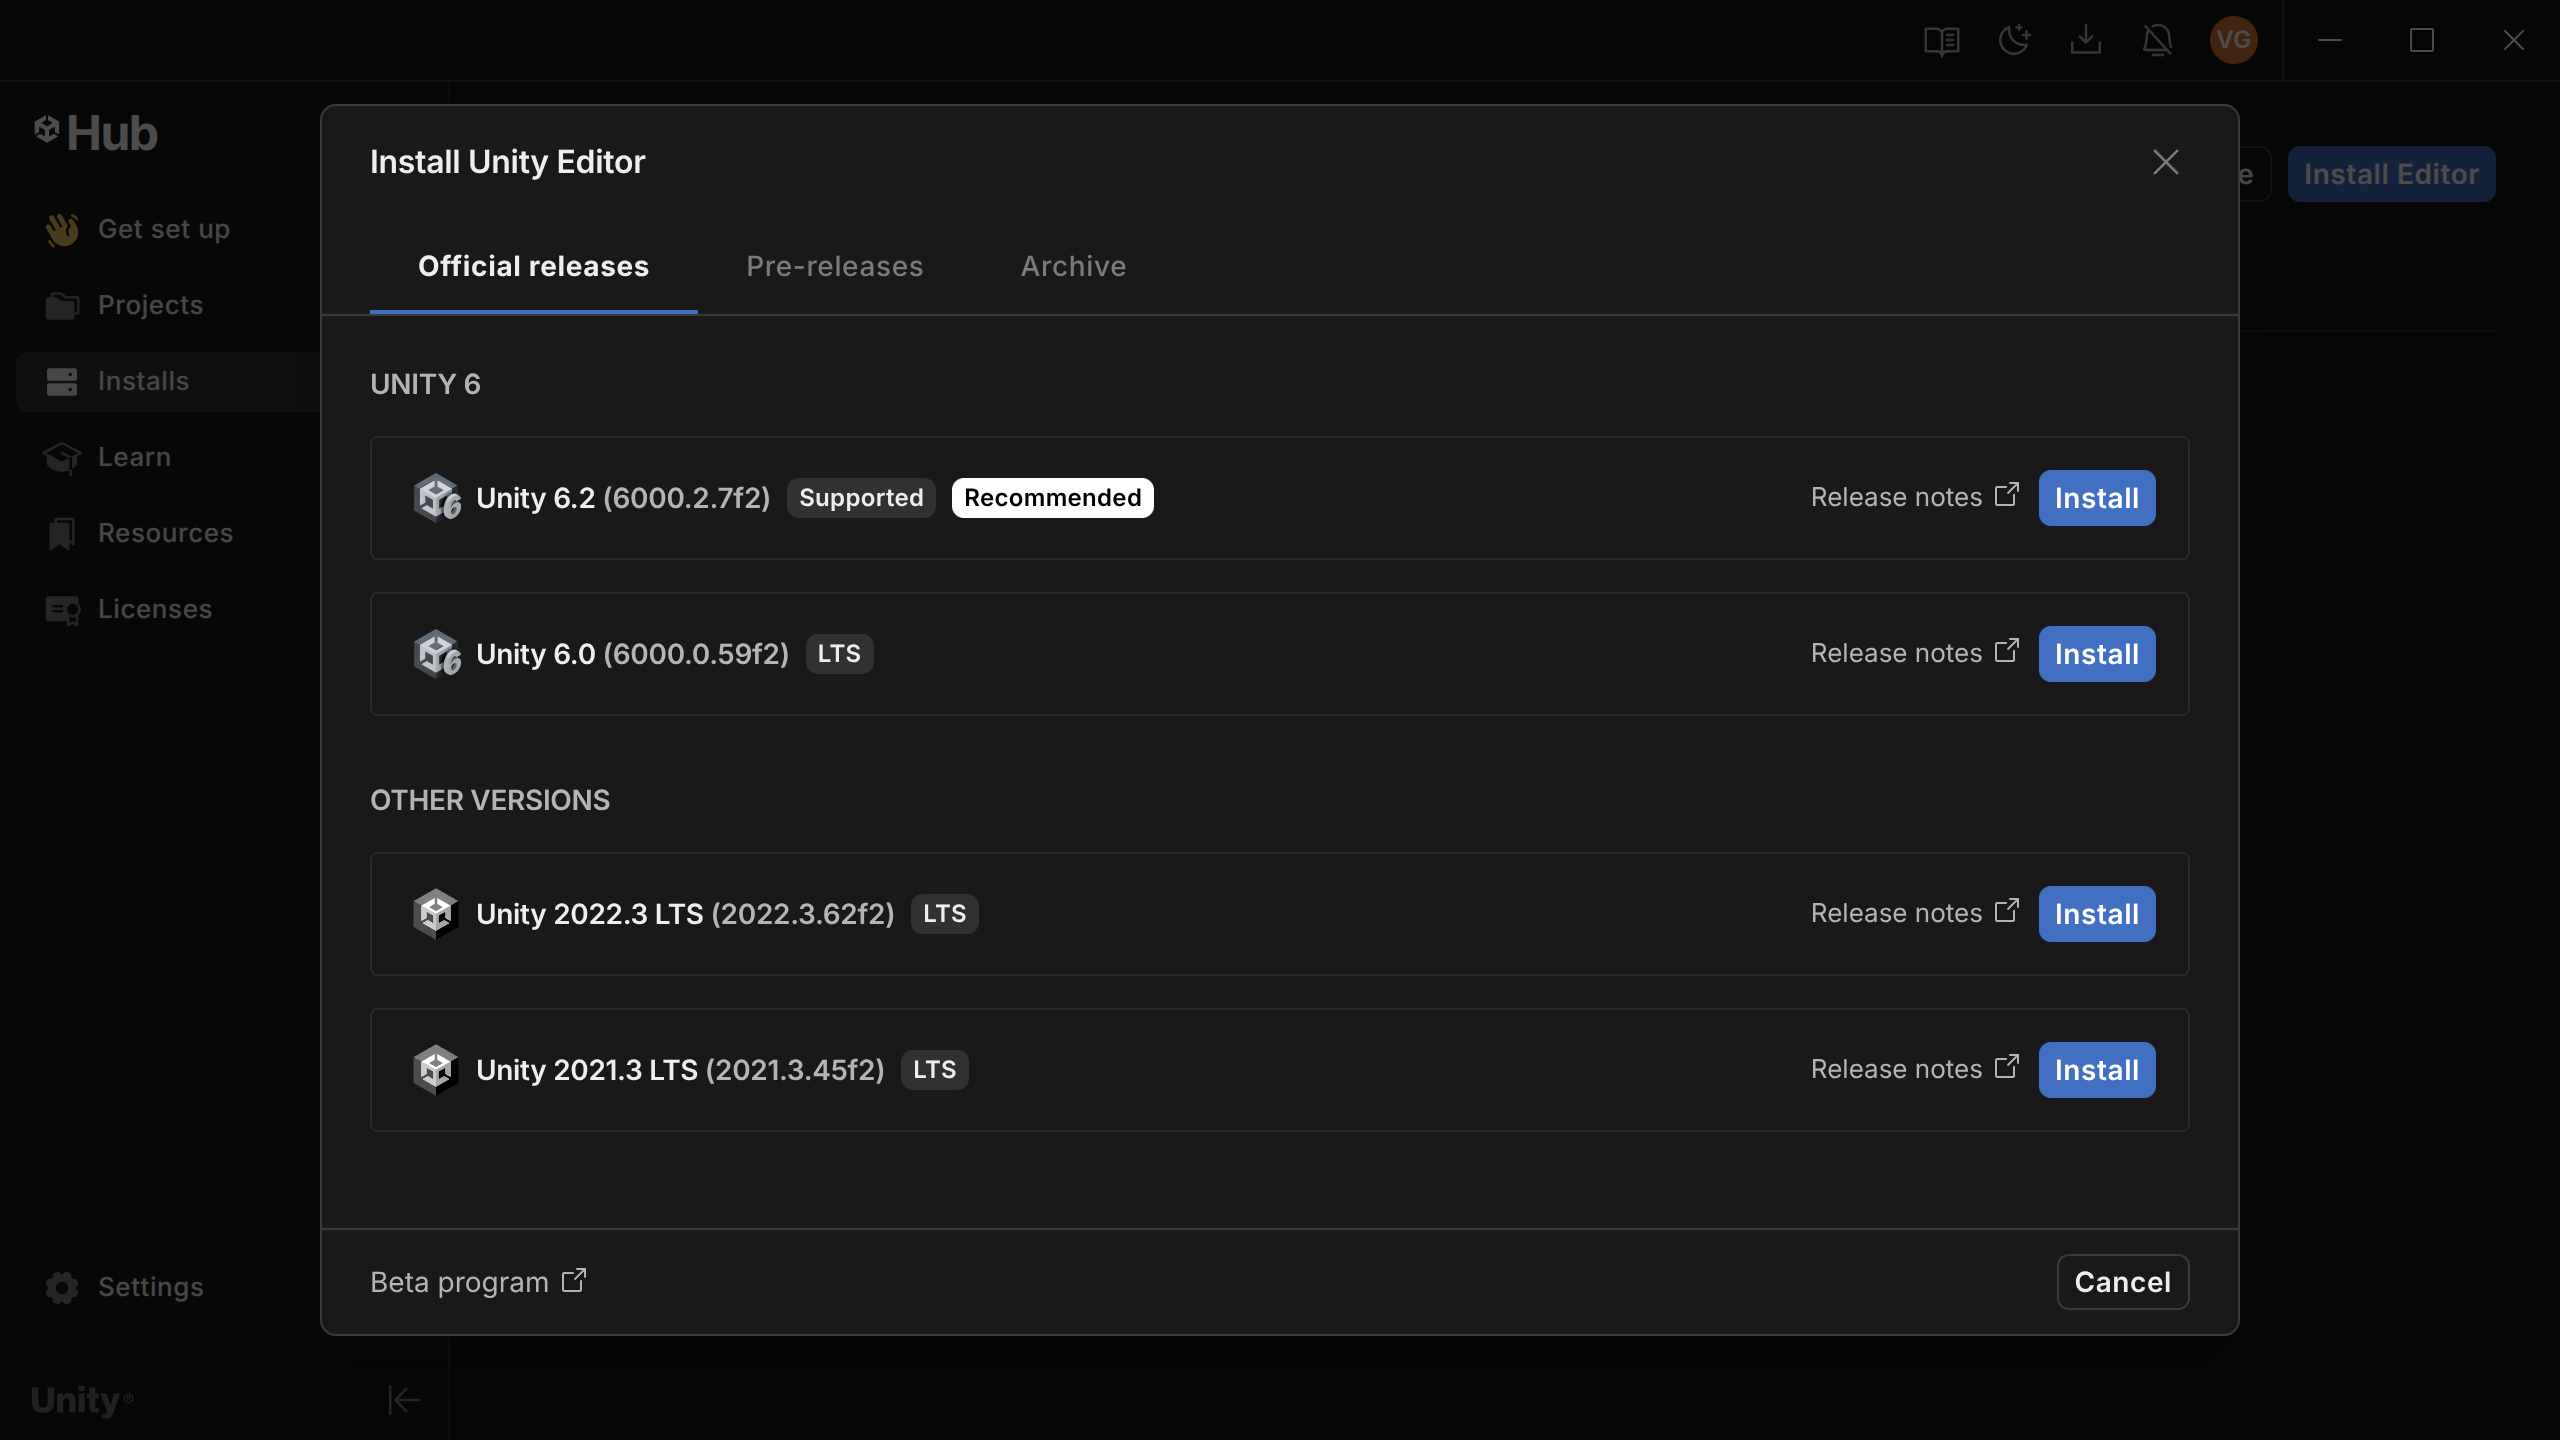
- As the name suggests, this version will be more reliable in the long-run.
-
FOR ALL INSTALLS:
- When prompted to select which modules to add, select WebGL Support.
- Exporting the game's playable executable to the web is how all participating groups MUST present their games during the final evaluations.
Creating a new project
- Once Unity Hub is installed, navigate to the "Projects" sidebar
- Click "New Project"
- In the sidebar, click "All templates".
- We will be using the "Universal 3D" template
- On the side, give your project a name and place it in your desired directory.
- Click "Create project" and it will create and launch the editor automatically.
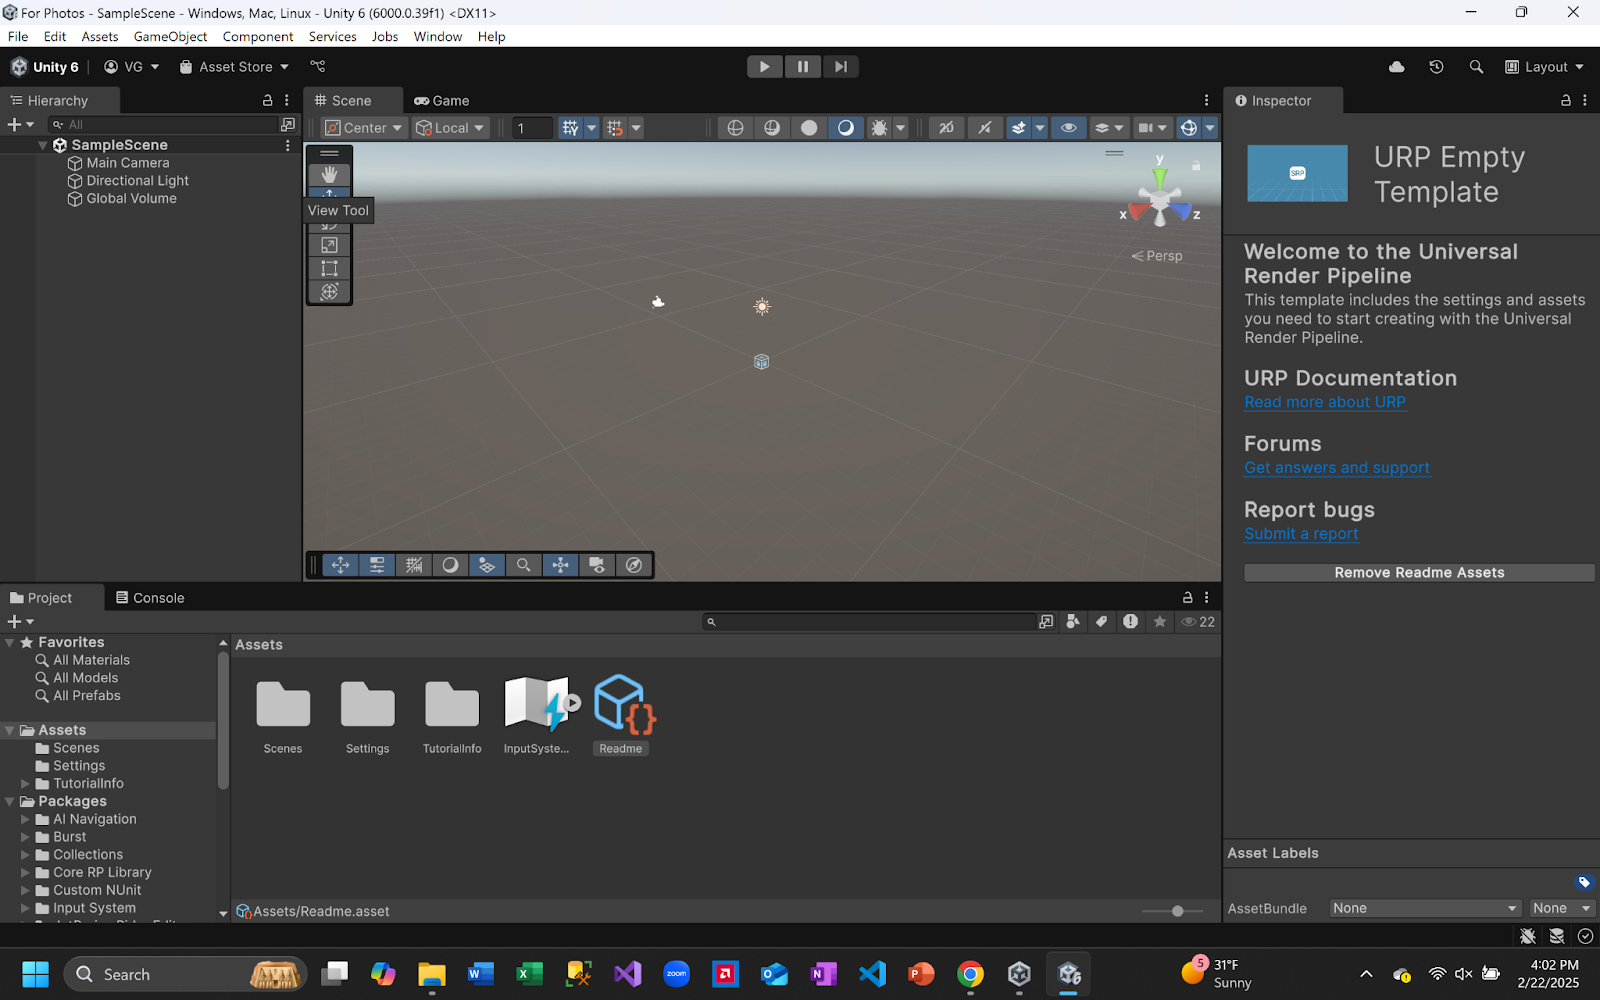
- This is what it looks like...