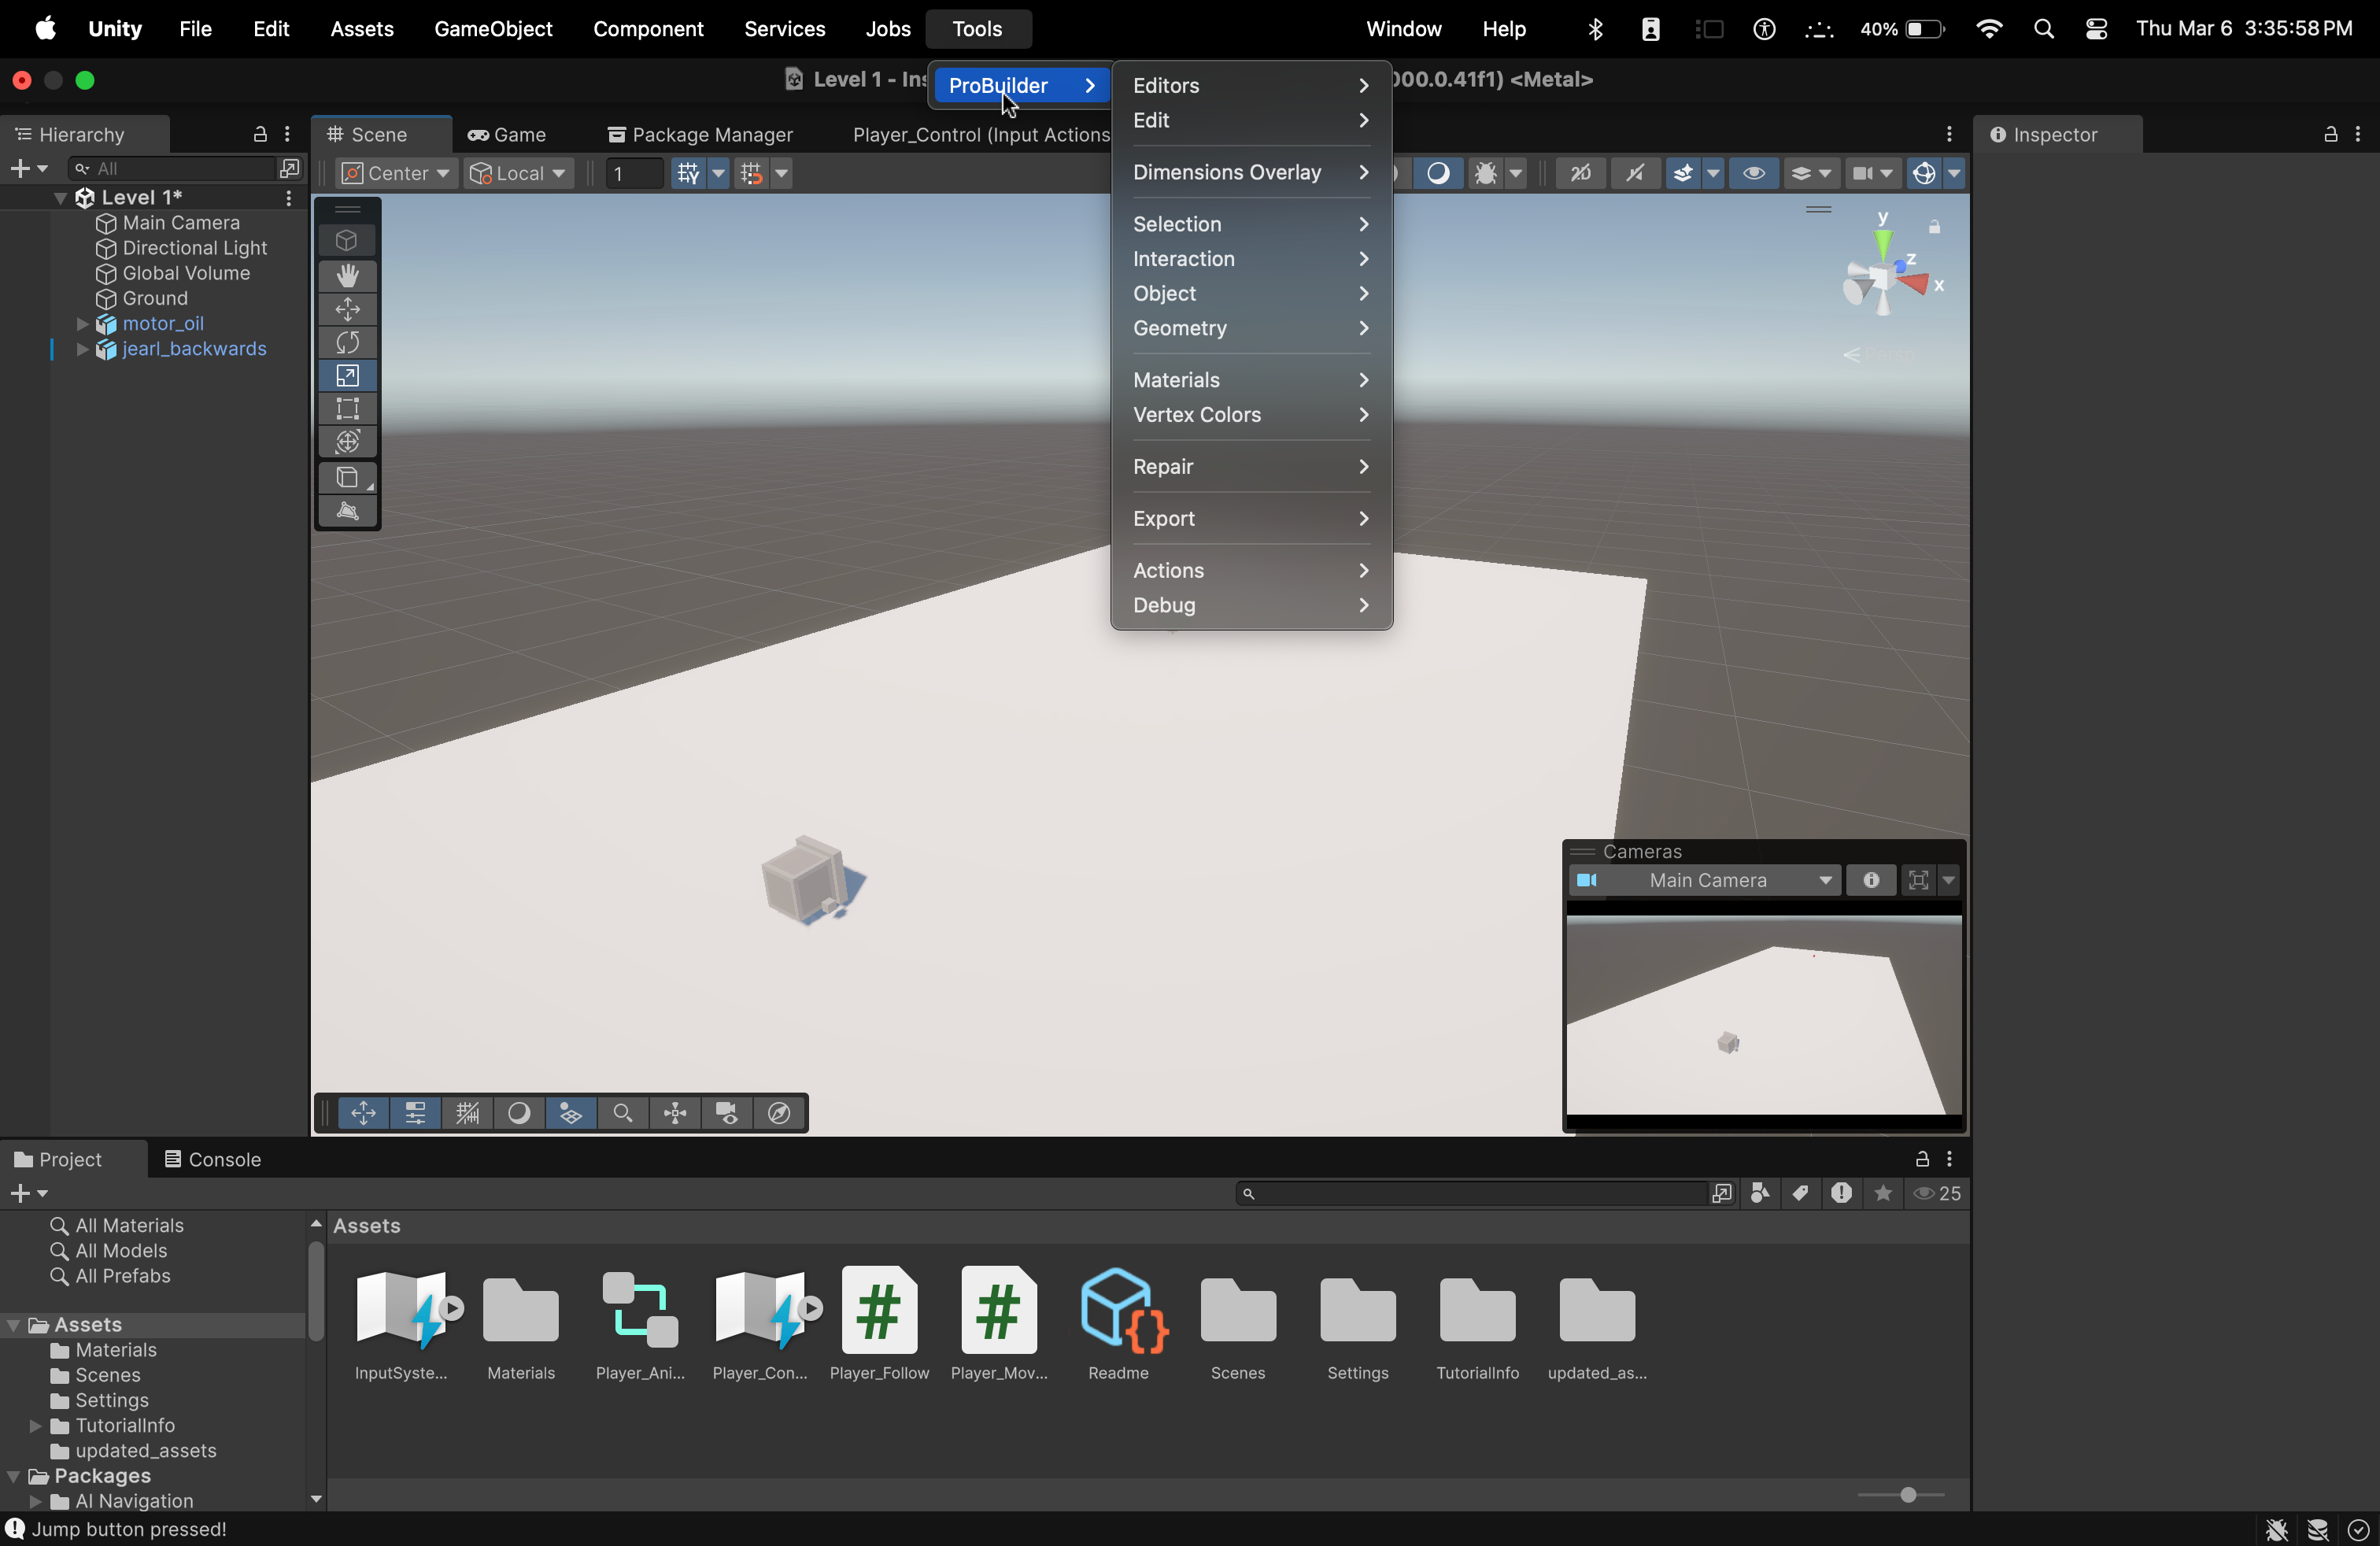
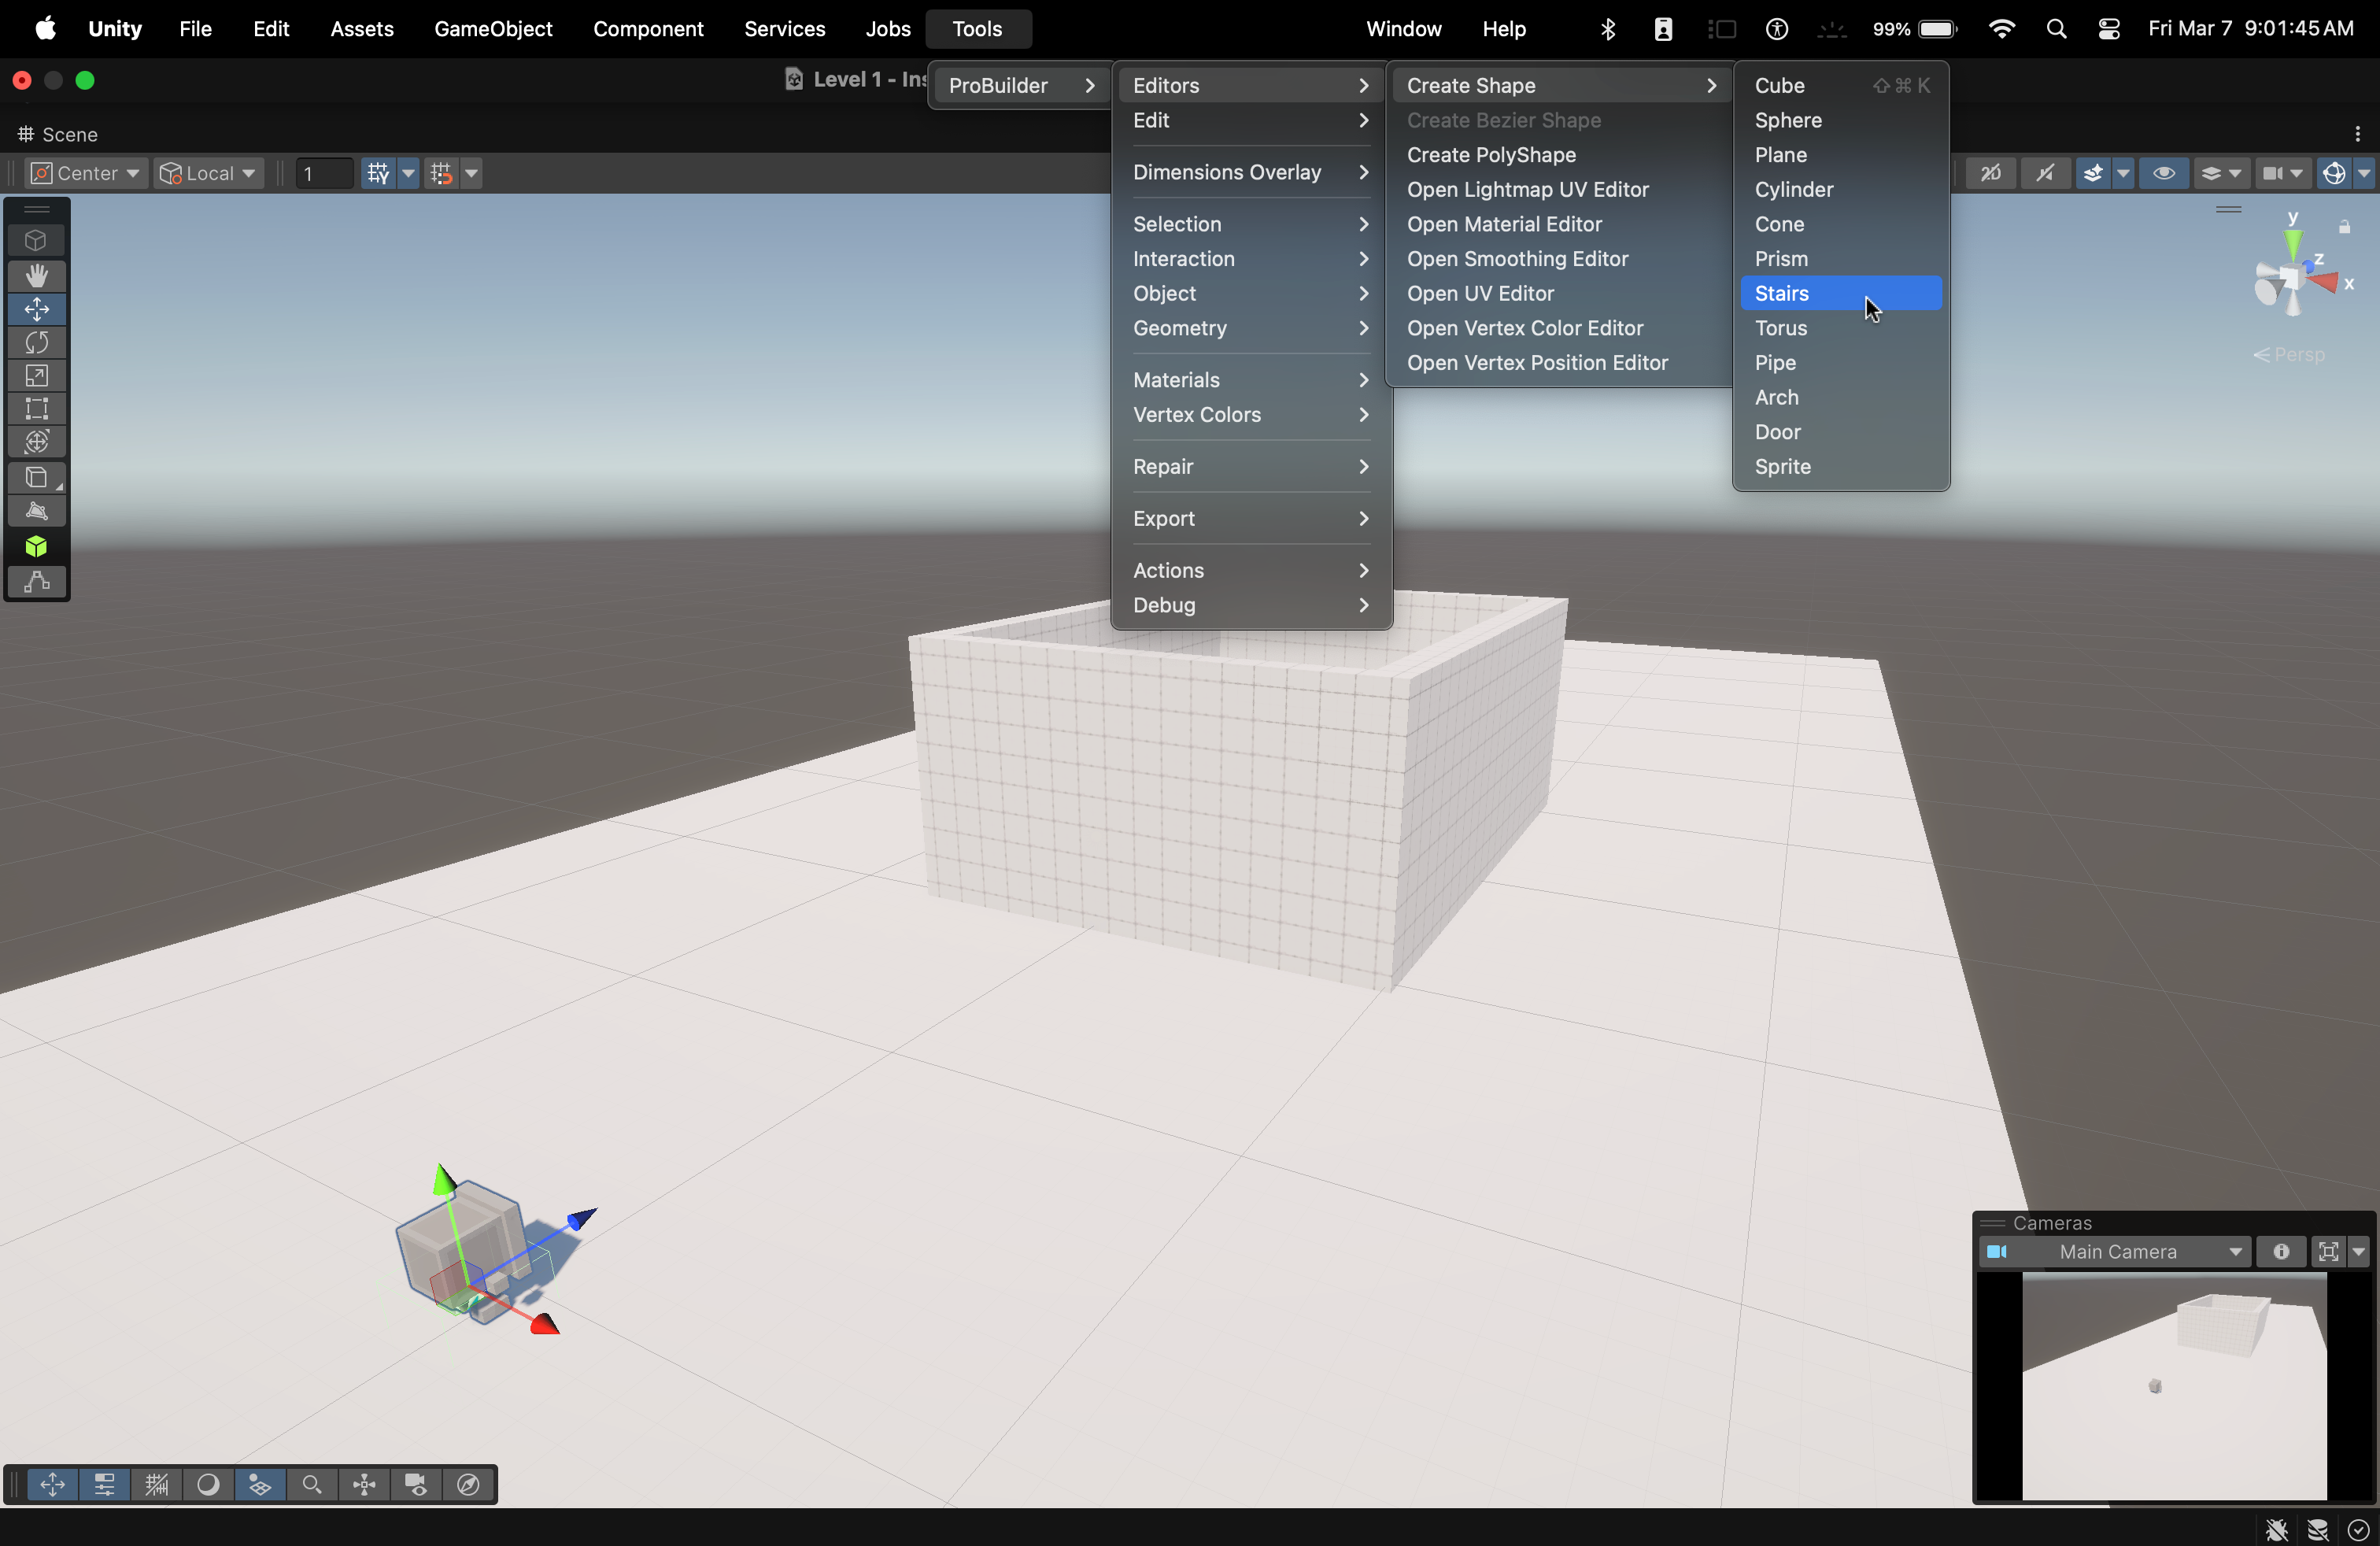
For the Mac folks (works the same for Windowns as well), hover over Tools up top, then hover over ProBuilder to open/view the menu.
If you recall, earlier in the tutorial, we downloaded two packages: Unity glTFast and Probuilder.
ProBuilder allows us to create shapes of different sizes and patterns.
You might say, "Ok. So what?"
Well, these shapes, no matter what size you make them in, will have their own colliders and renderers (with a slight caveat that we'll discuss later)
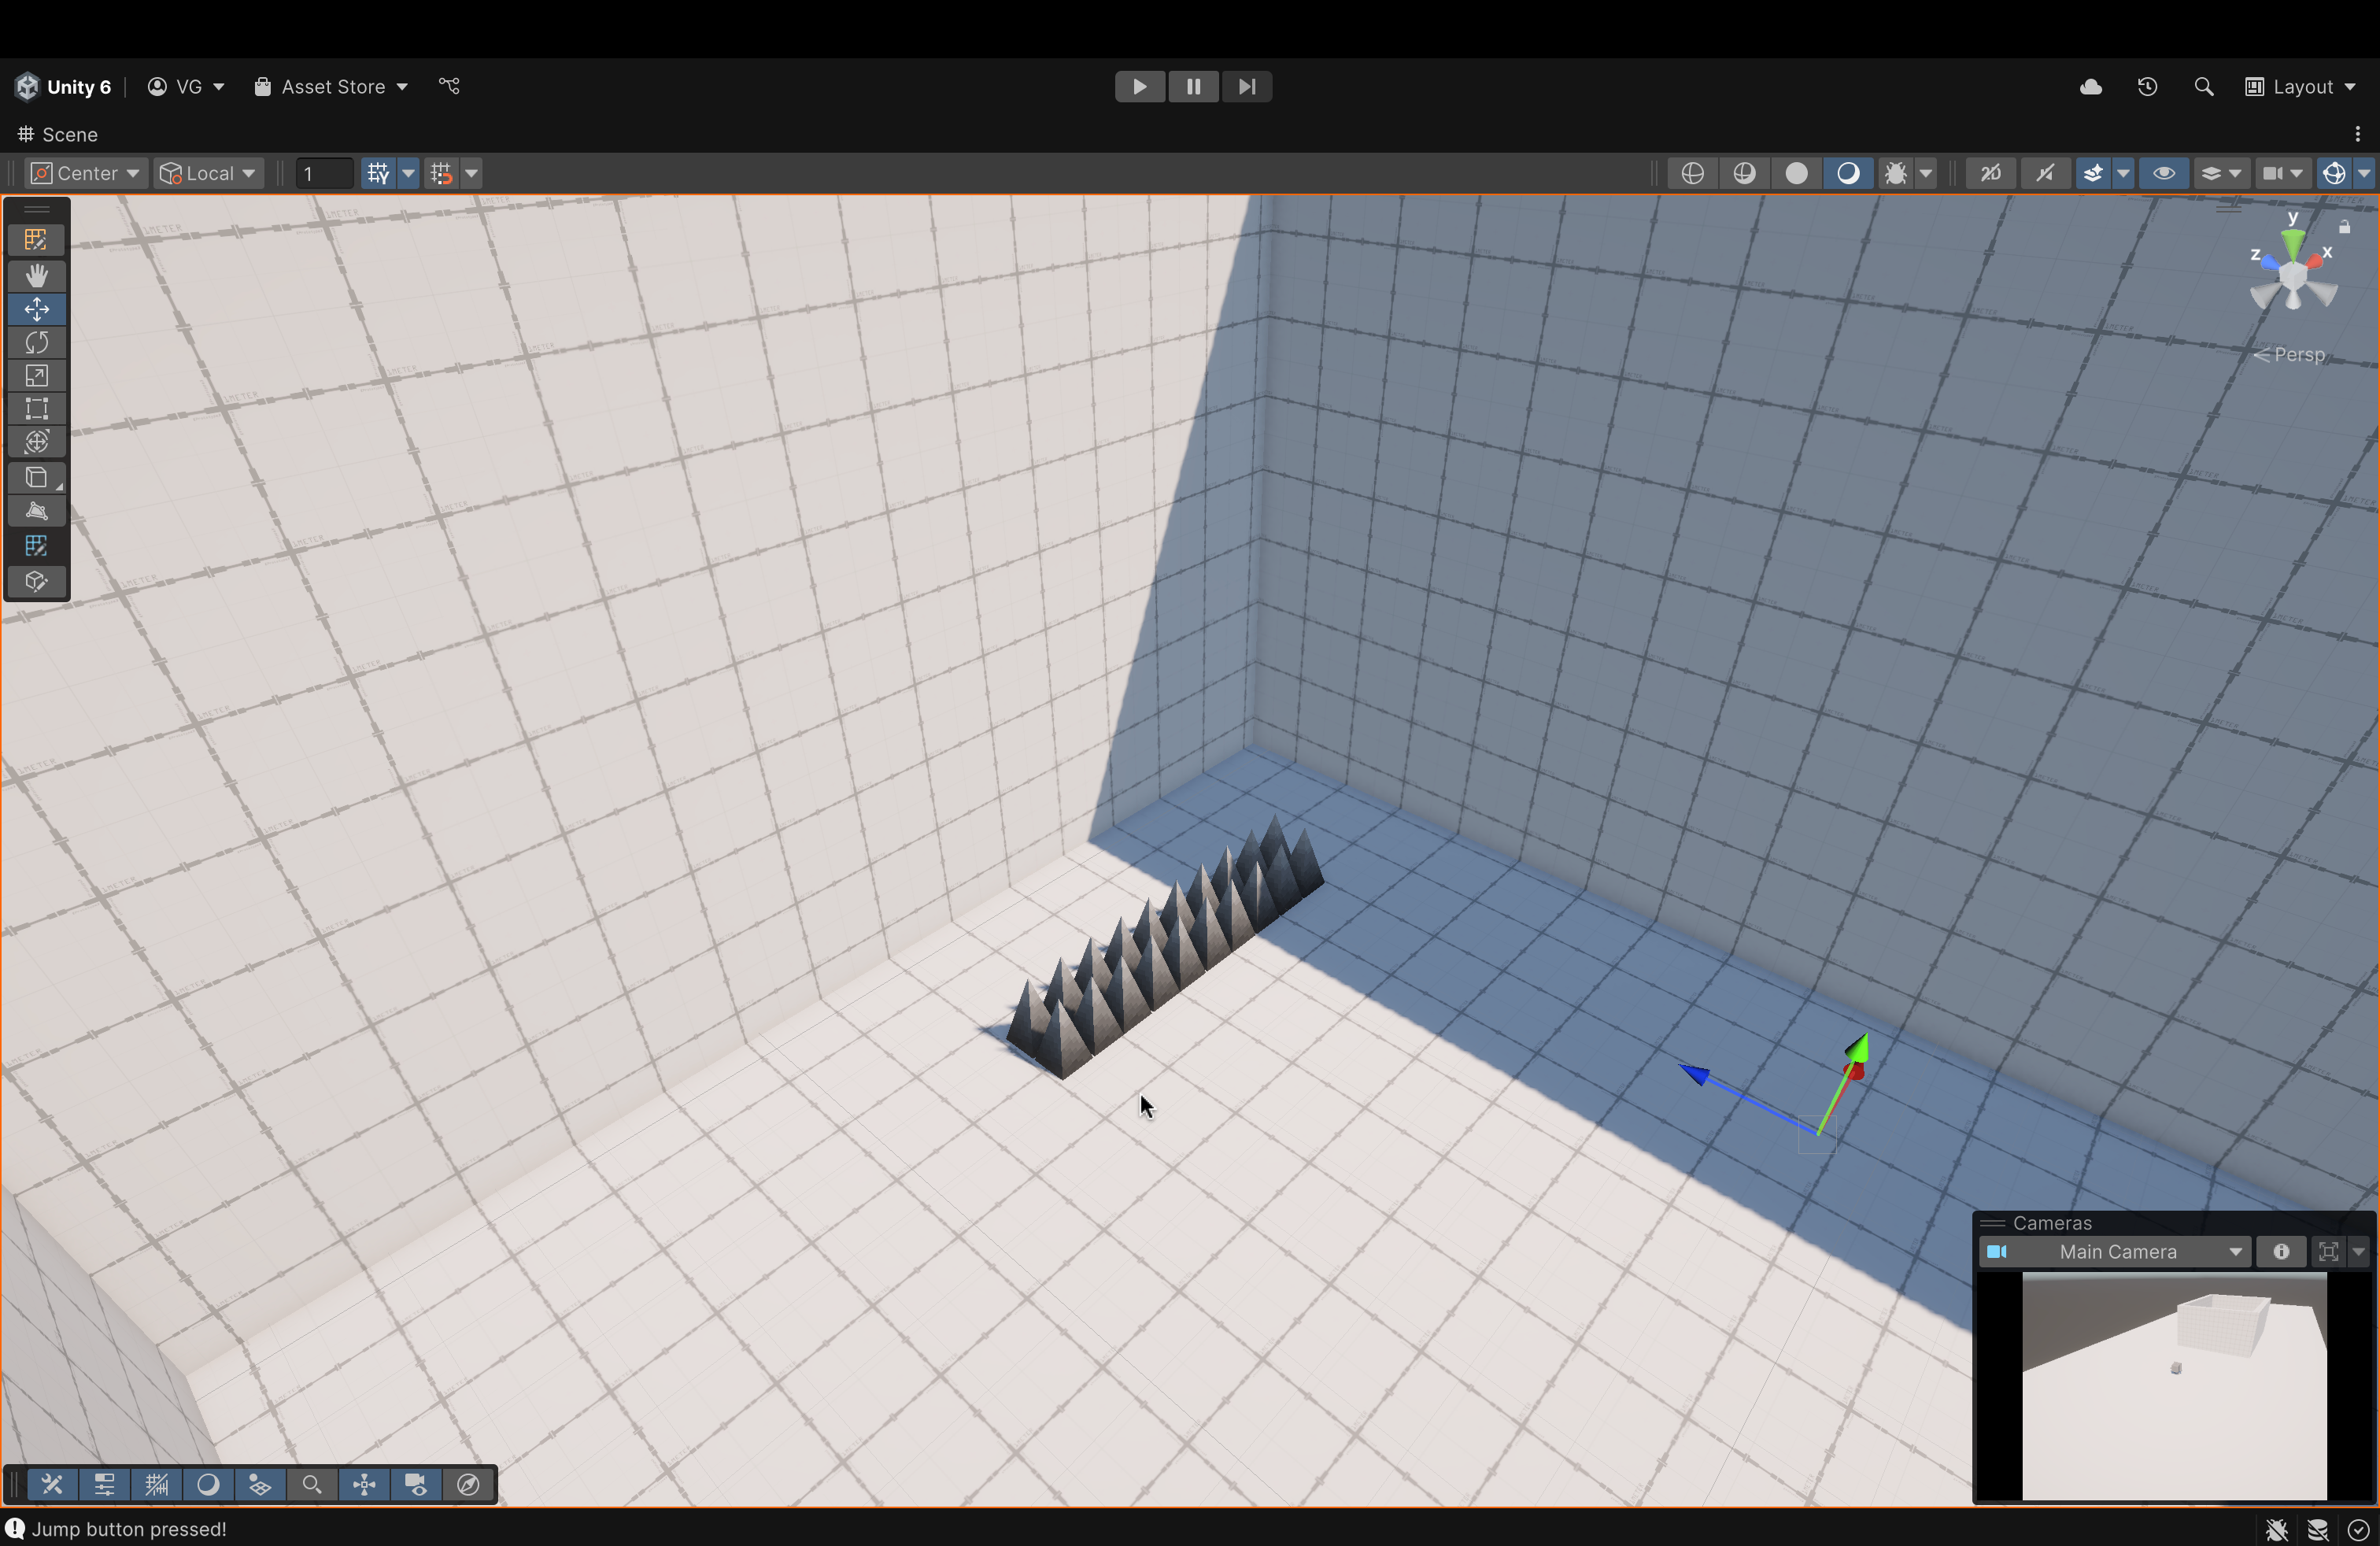
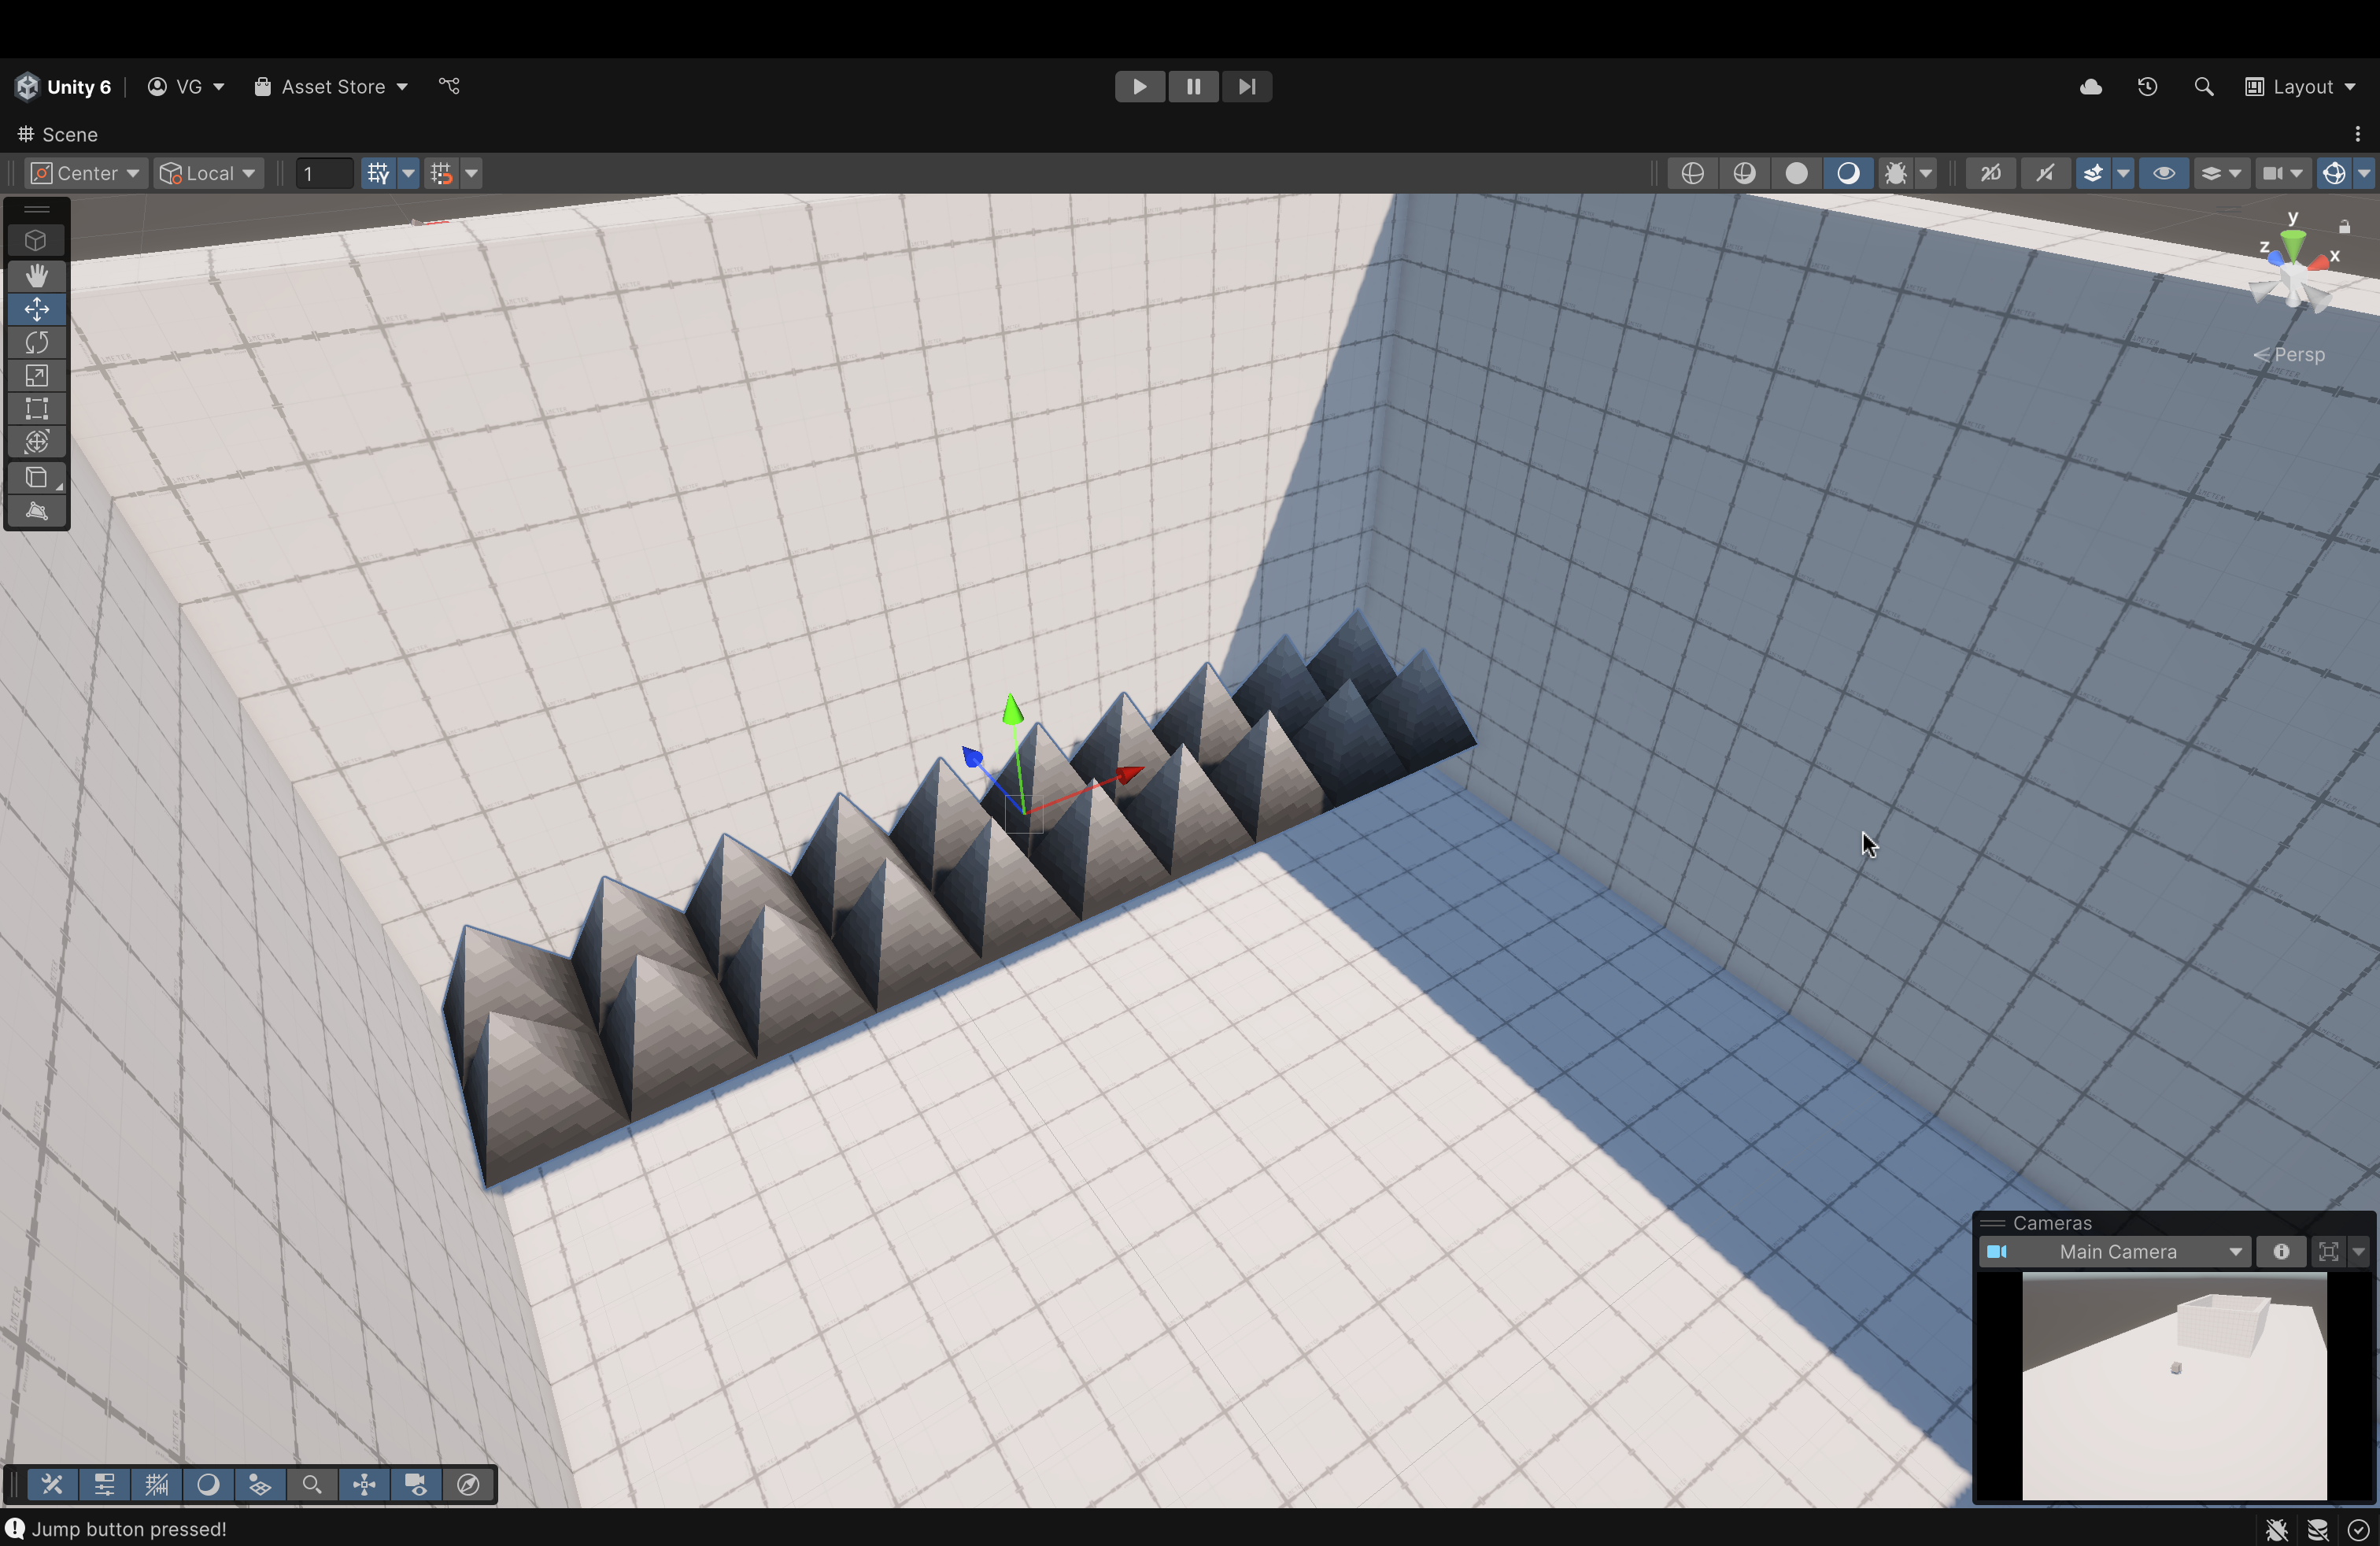
Let's create a spike pit!
To start, let's create a Cube
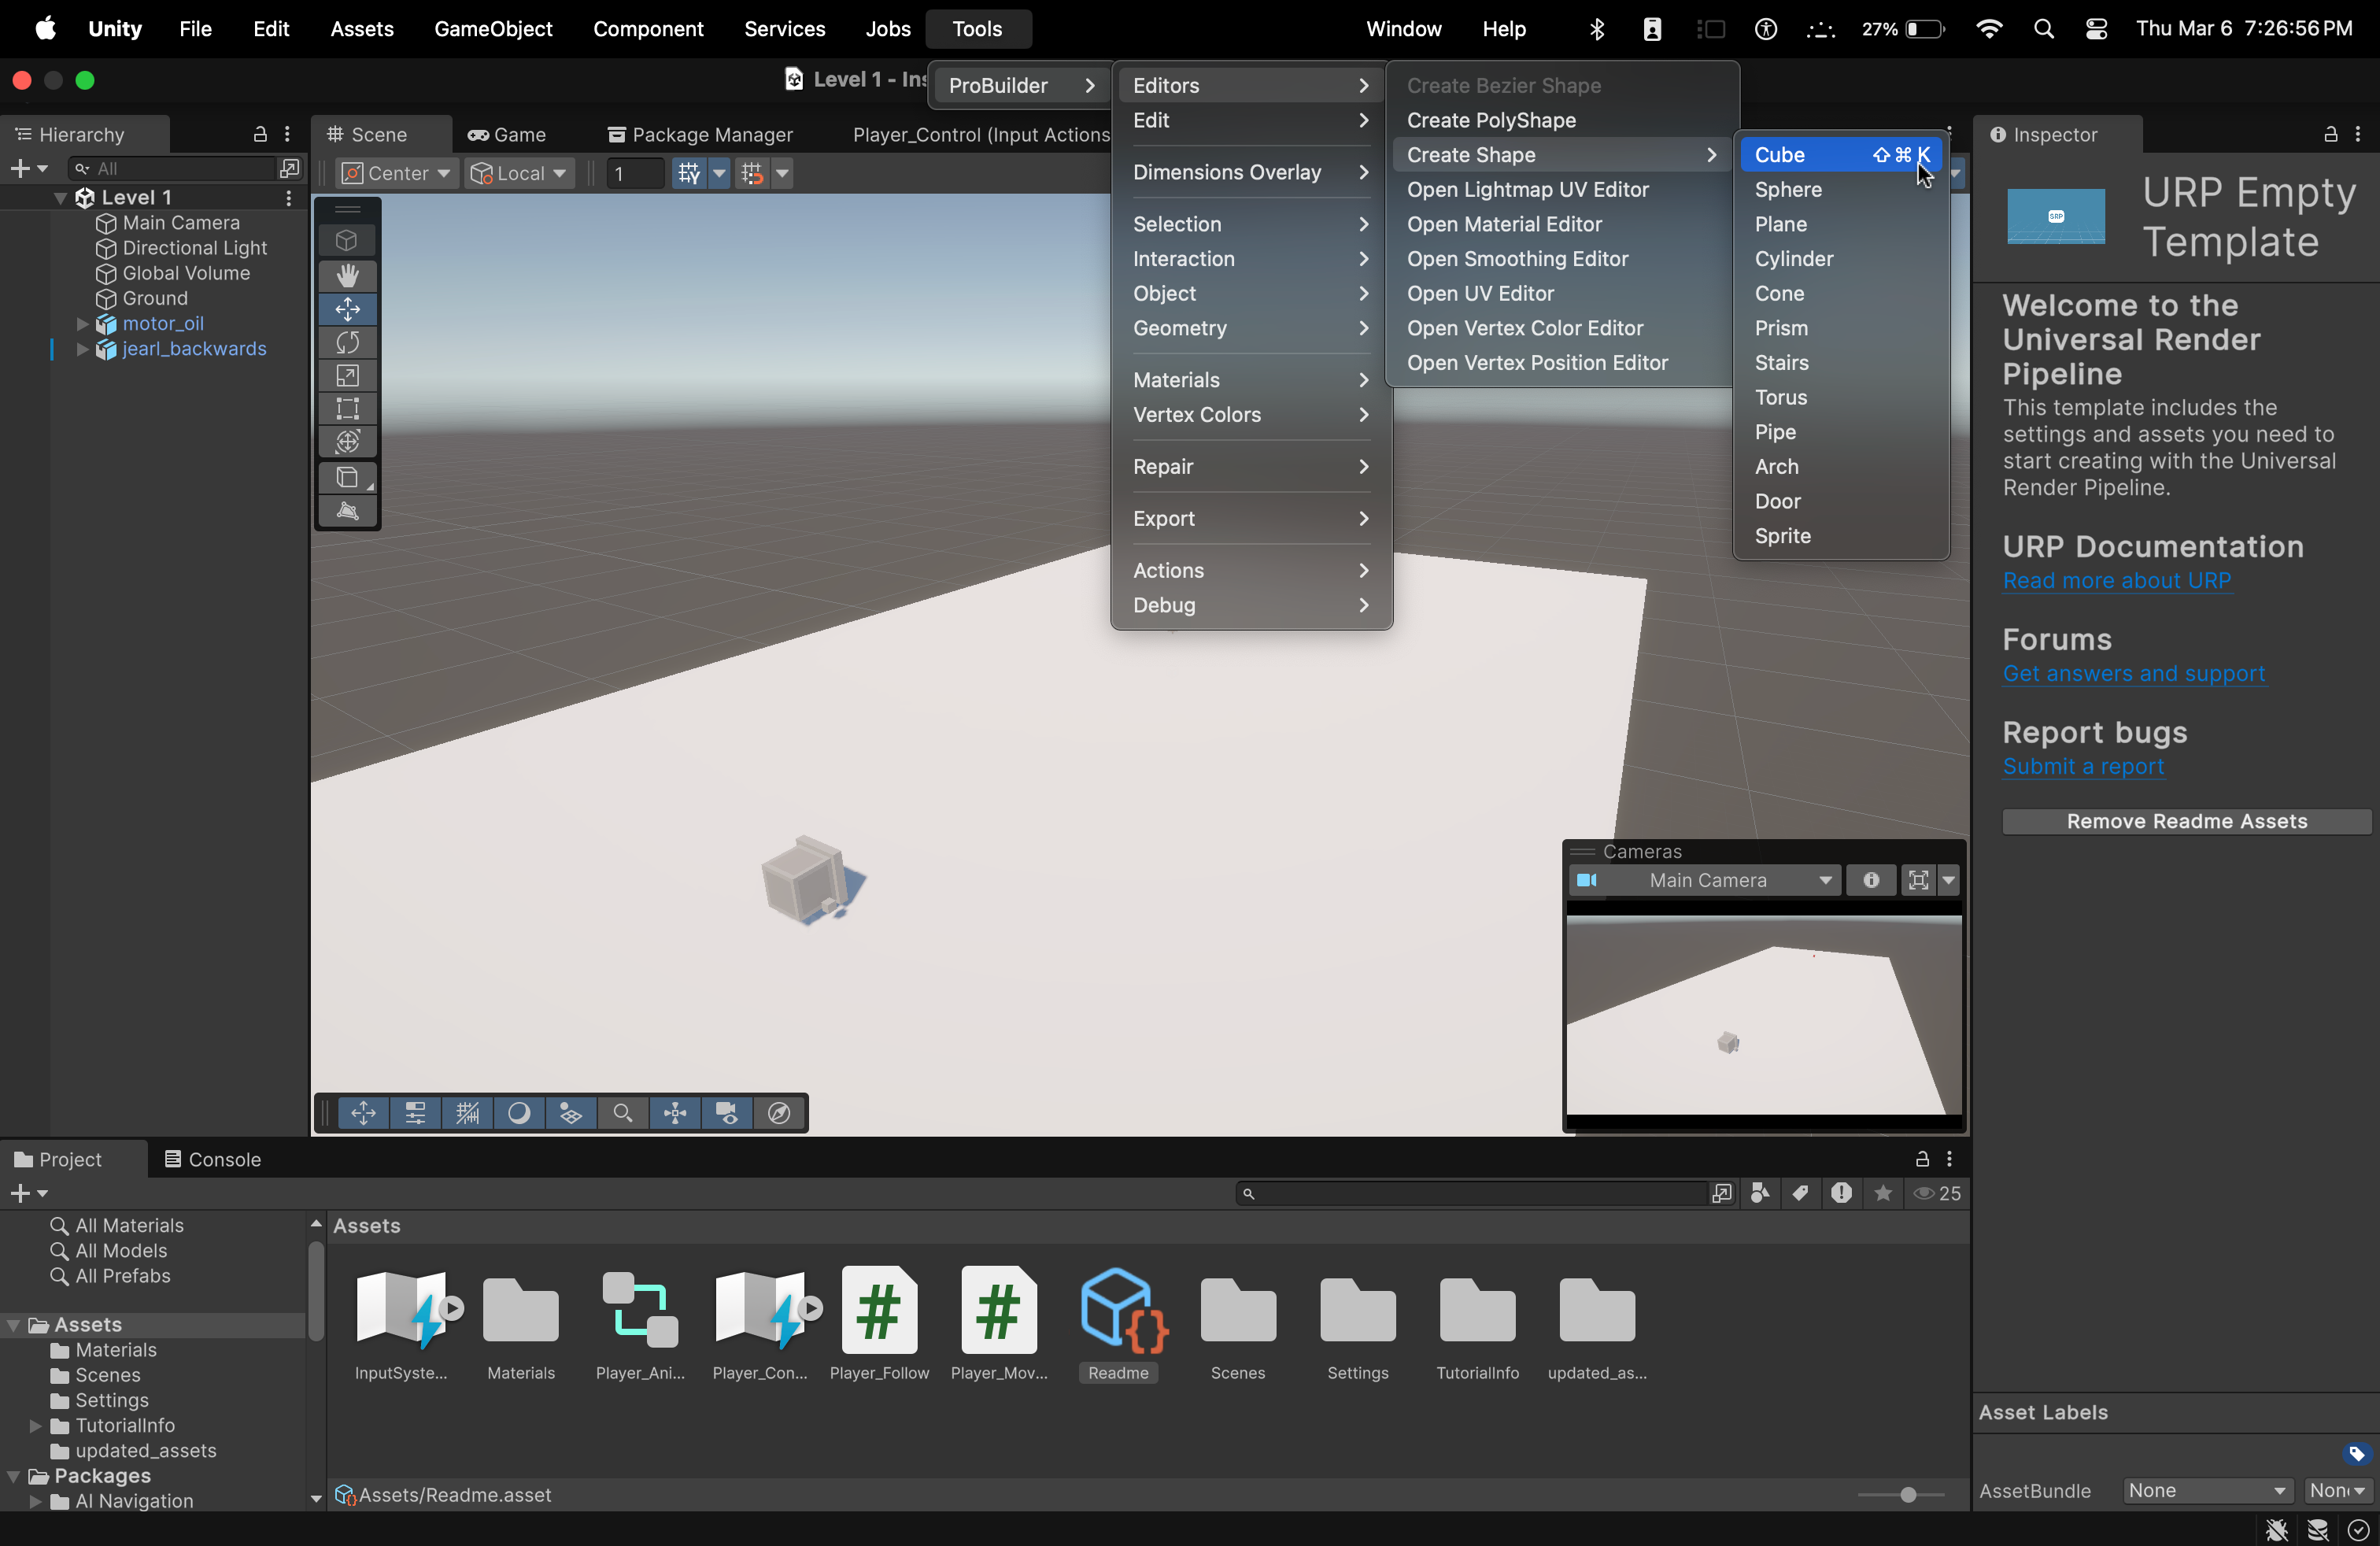
In the ProBuilder menu, hover over Editors and find the Create Shape menu.
Within that menu, click on Cube to enter build mode.
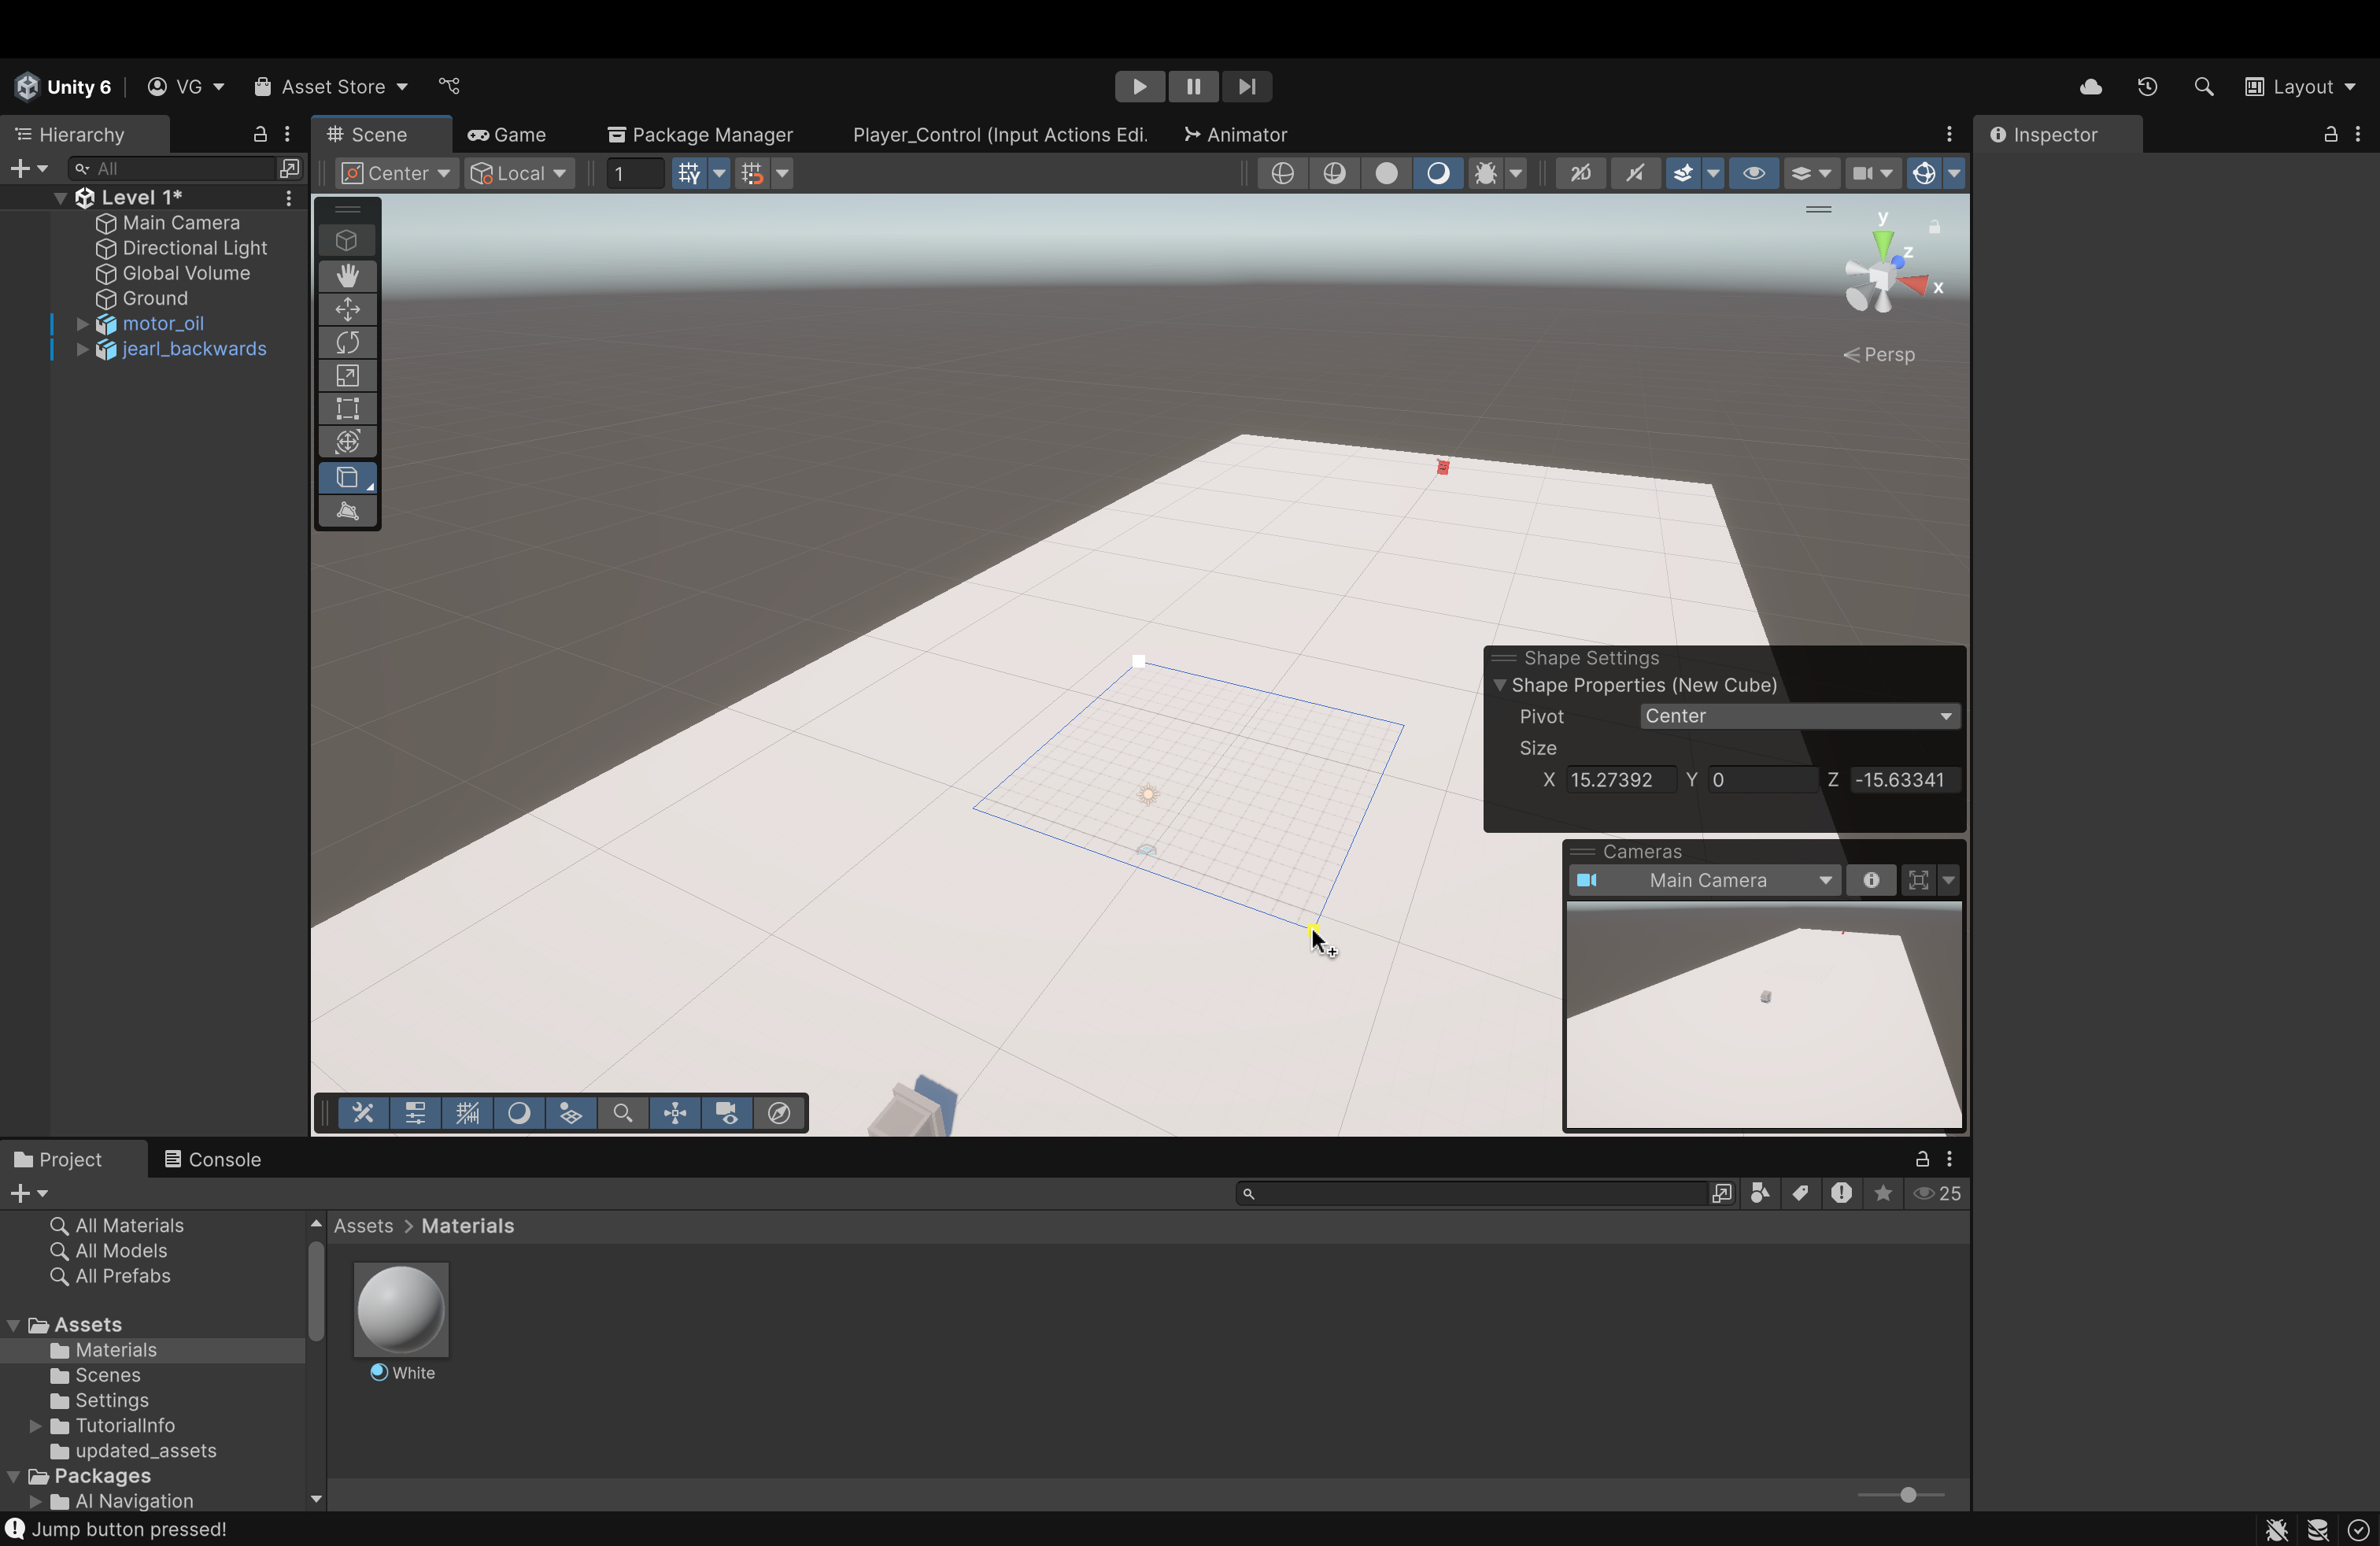
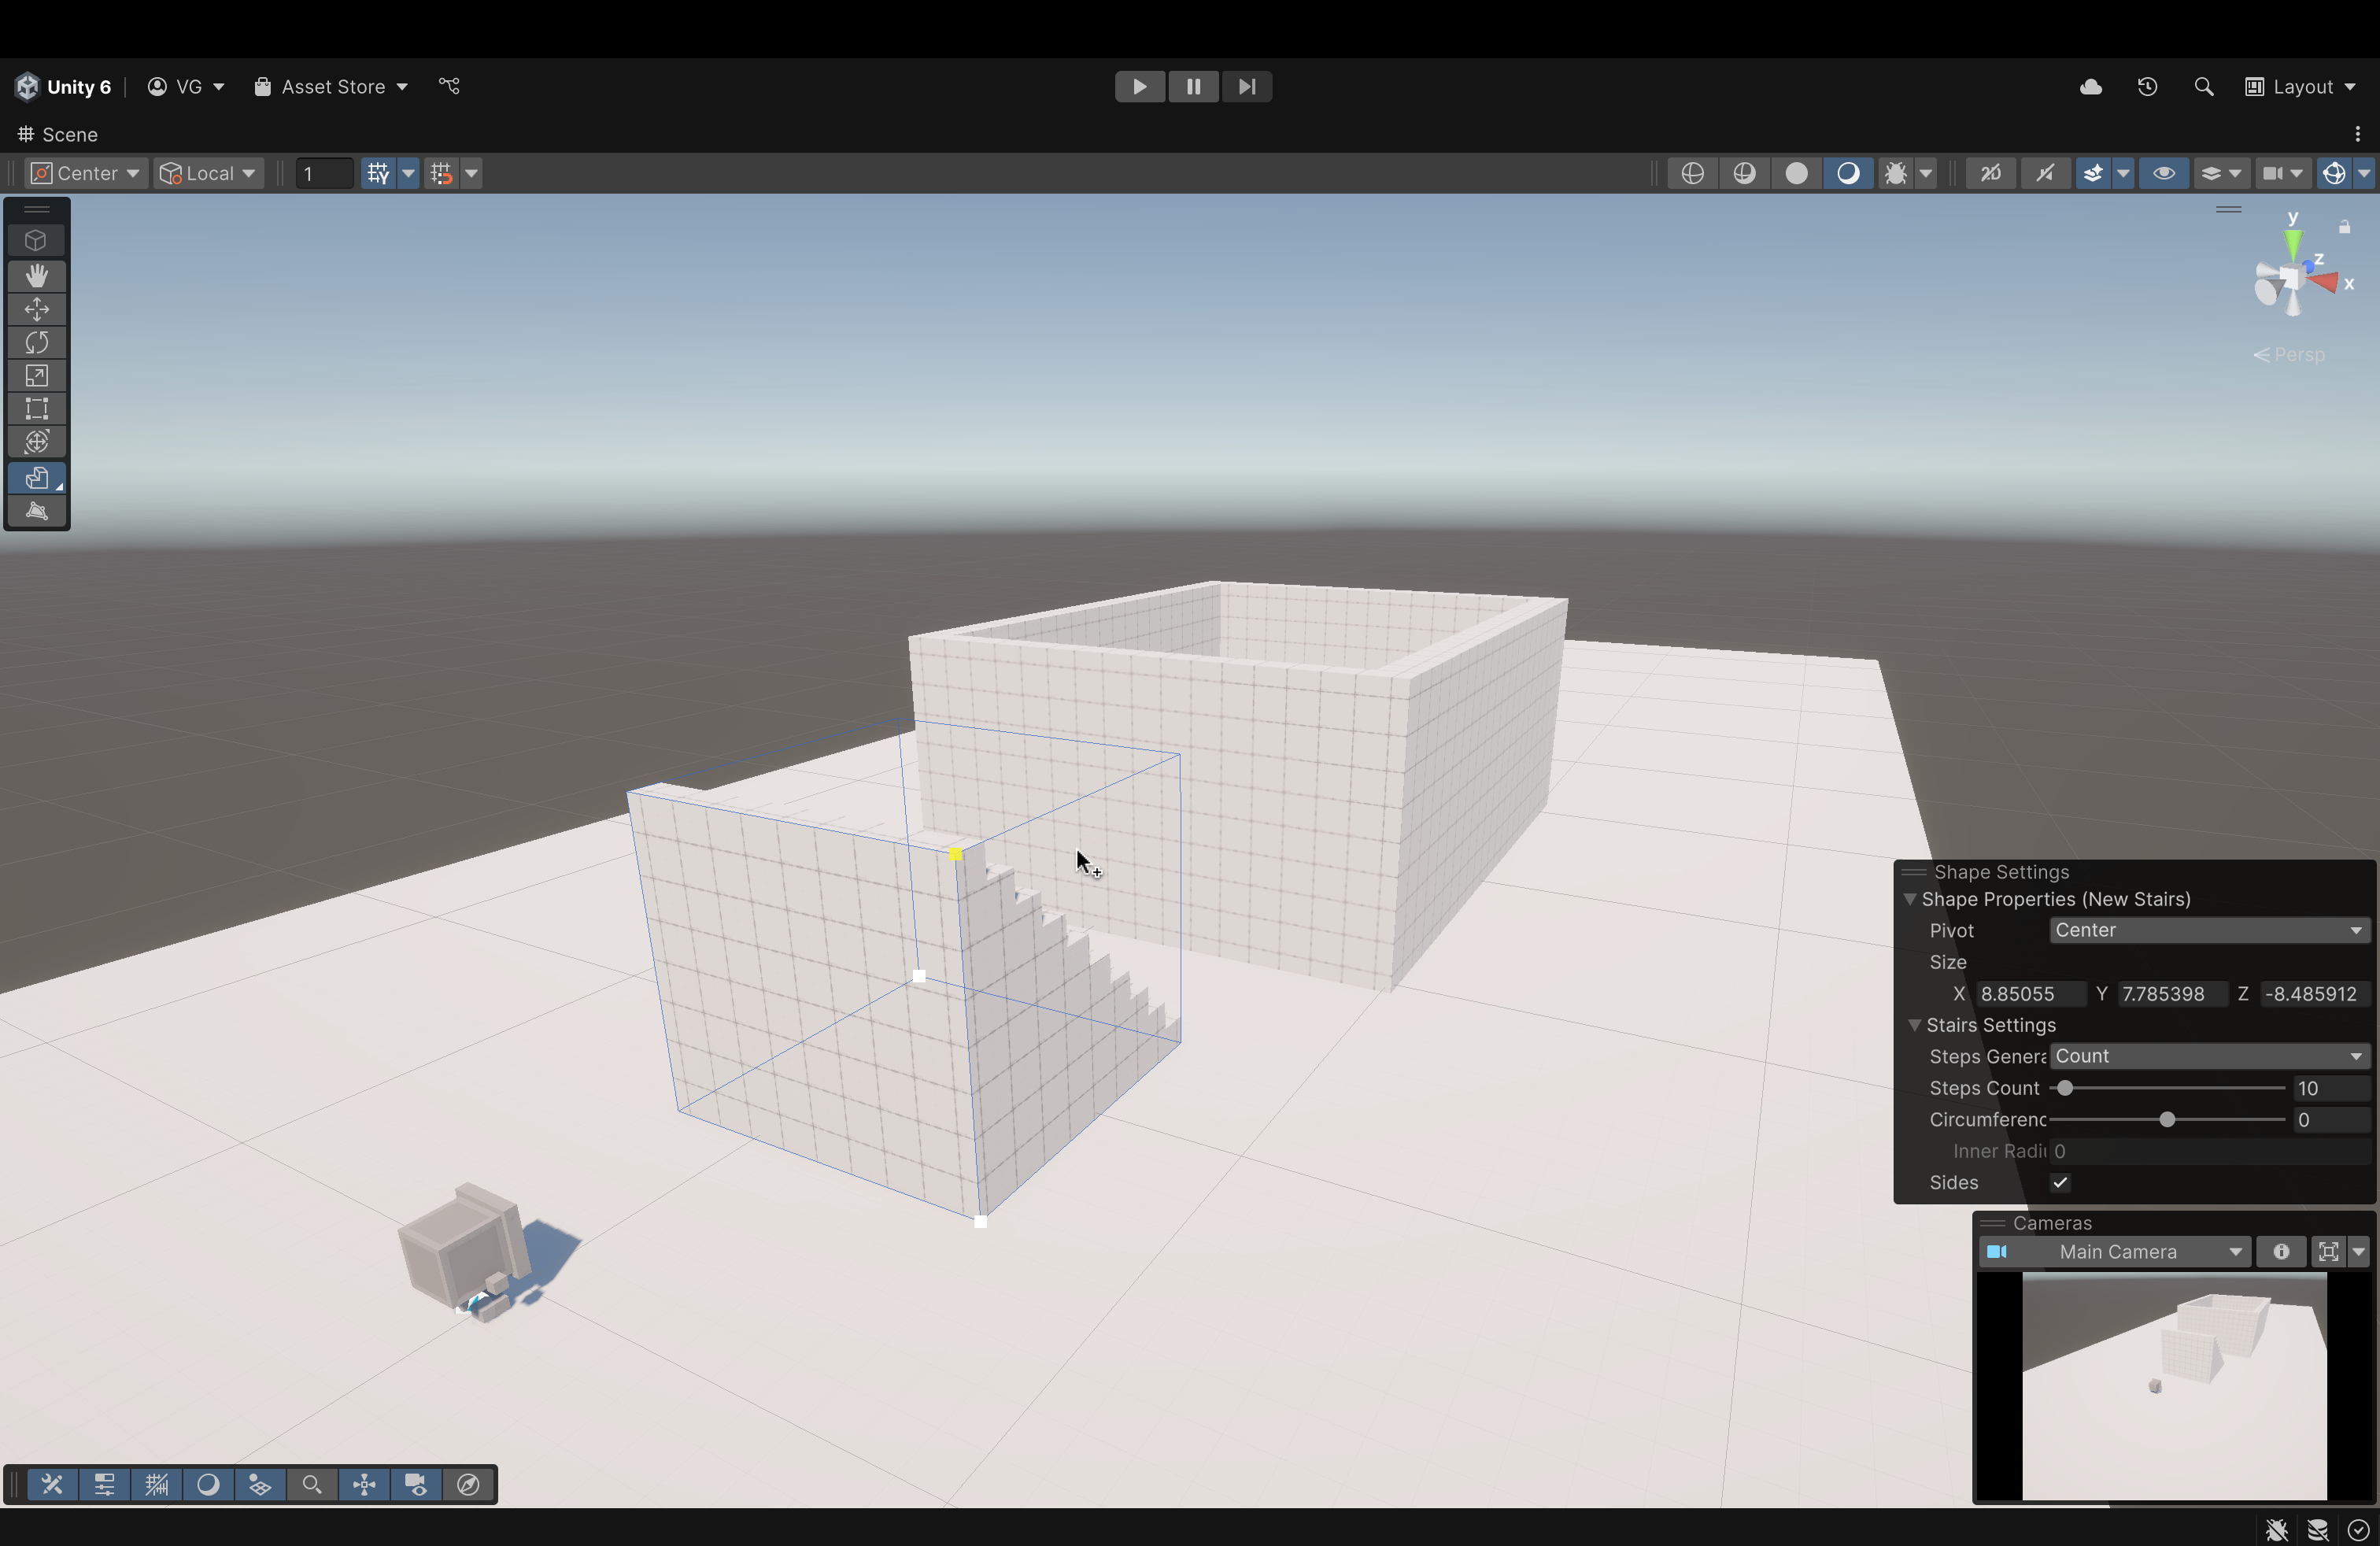
Click and drag, in build mode, to see a grid pop up.
This grid represents the base of our shape (a cube, in this case). As you hold down the left-click, you can drag that shape to whatever dimensions you want to size our base.
For this tutorial, ensure that your base is somewhat of a rectangle which is longer on the z-axis than the y-axis.
Think of a football field!
If its not perfect, don't worry! We can resize its transformation values with numbers later.
Once you've decided on the proportions of your base, let go of left-click.
Now, move your cursor up and you should see the shape "rise up".
What you're seeing is a preview of what the final shape will look like
Once you've chosen your desired height, press left-click once to finalize the shape
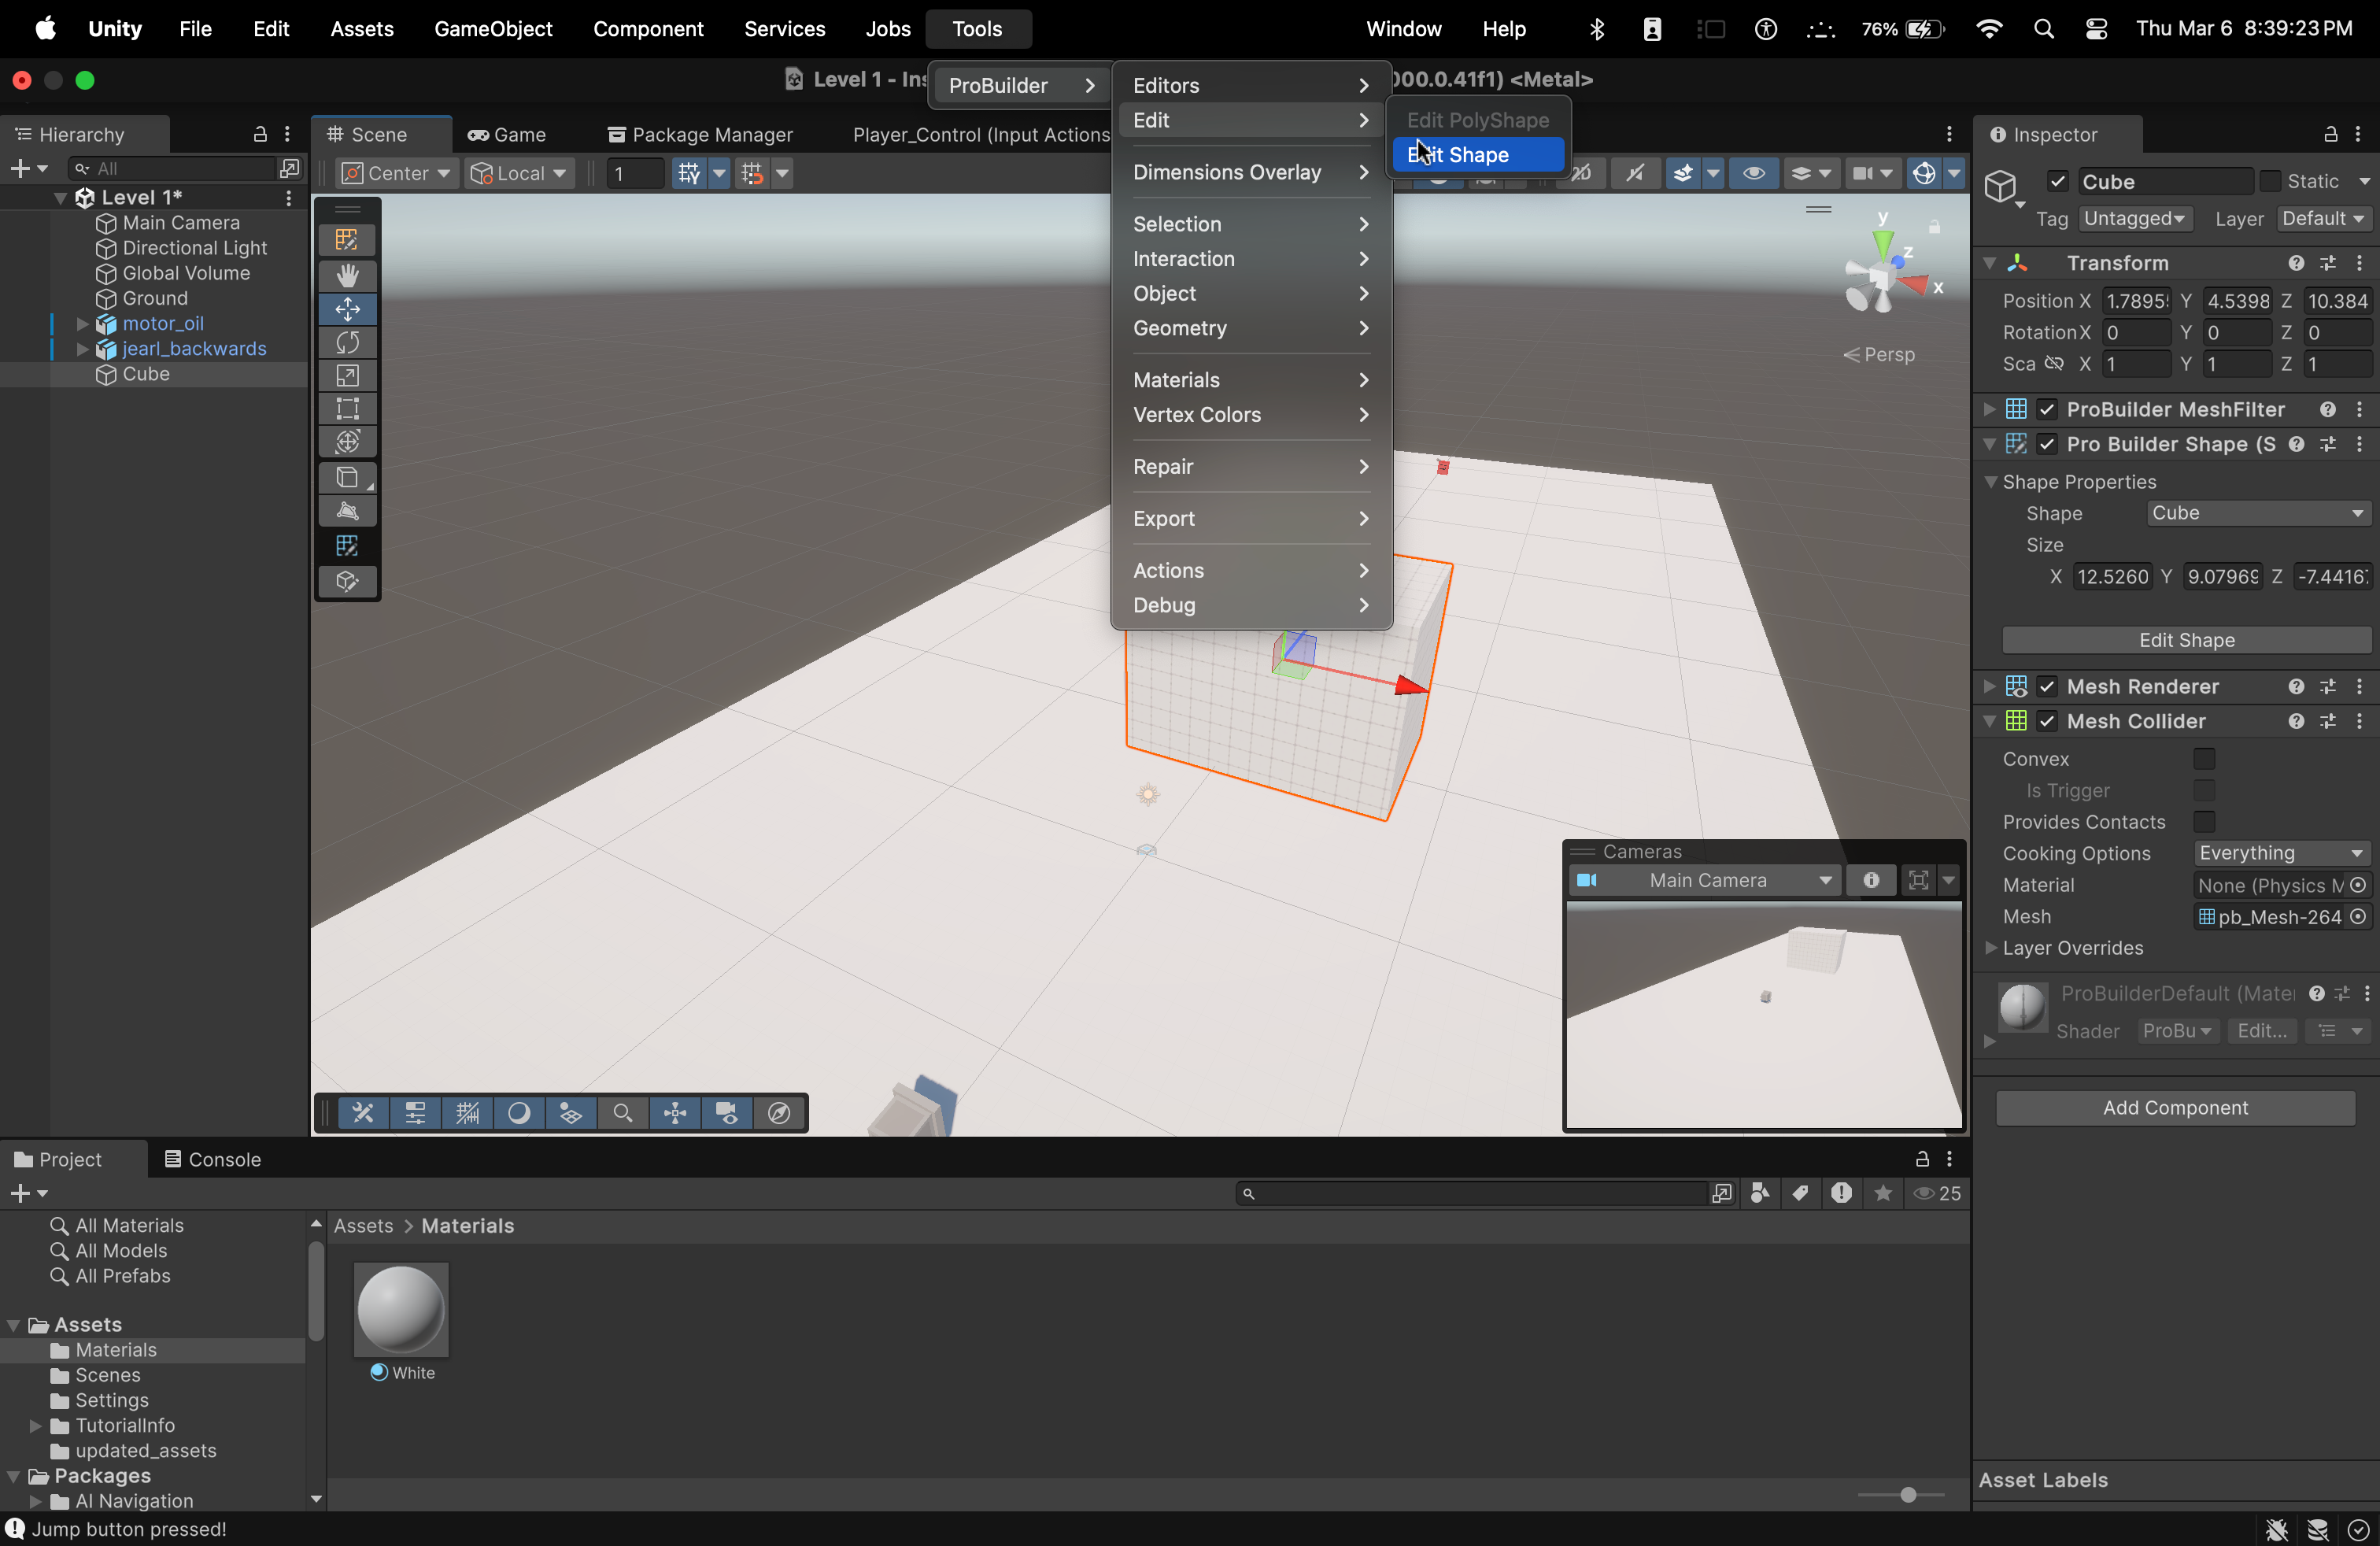
Now, if we want to edit the shape (if we didn't size it the correct way, let's say), we can do that by:
Opening the ProBuilder menu from the Tools menu up above.
Inside the ProBuilder menu, this time, hover your cursor over Edit
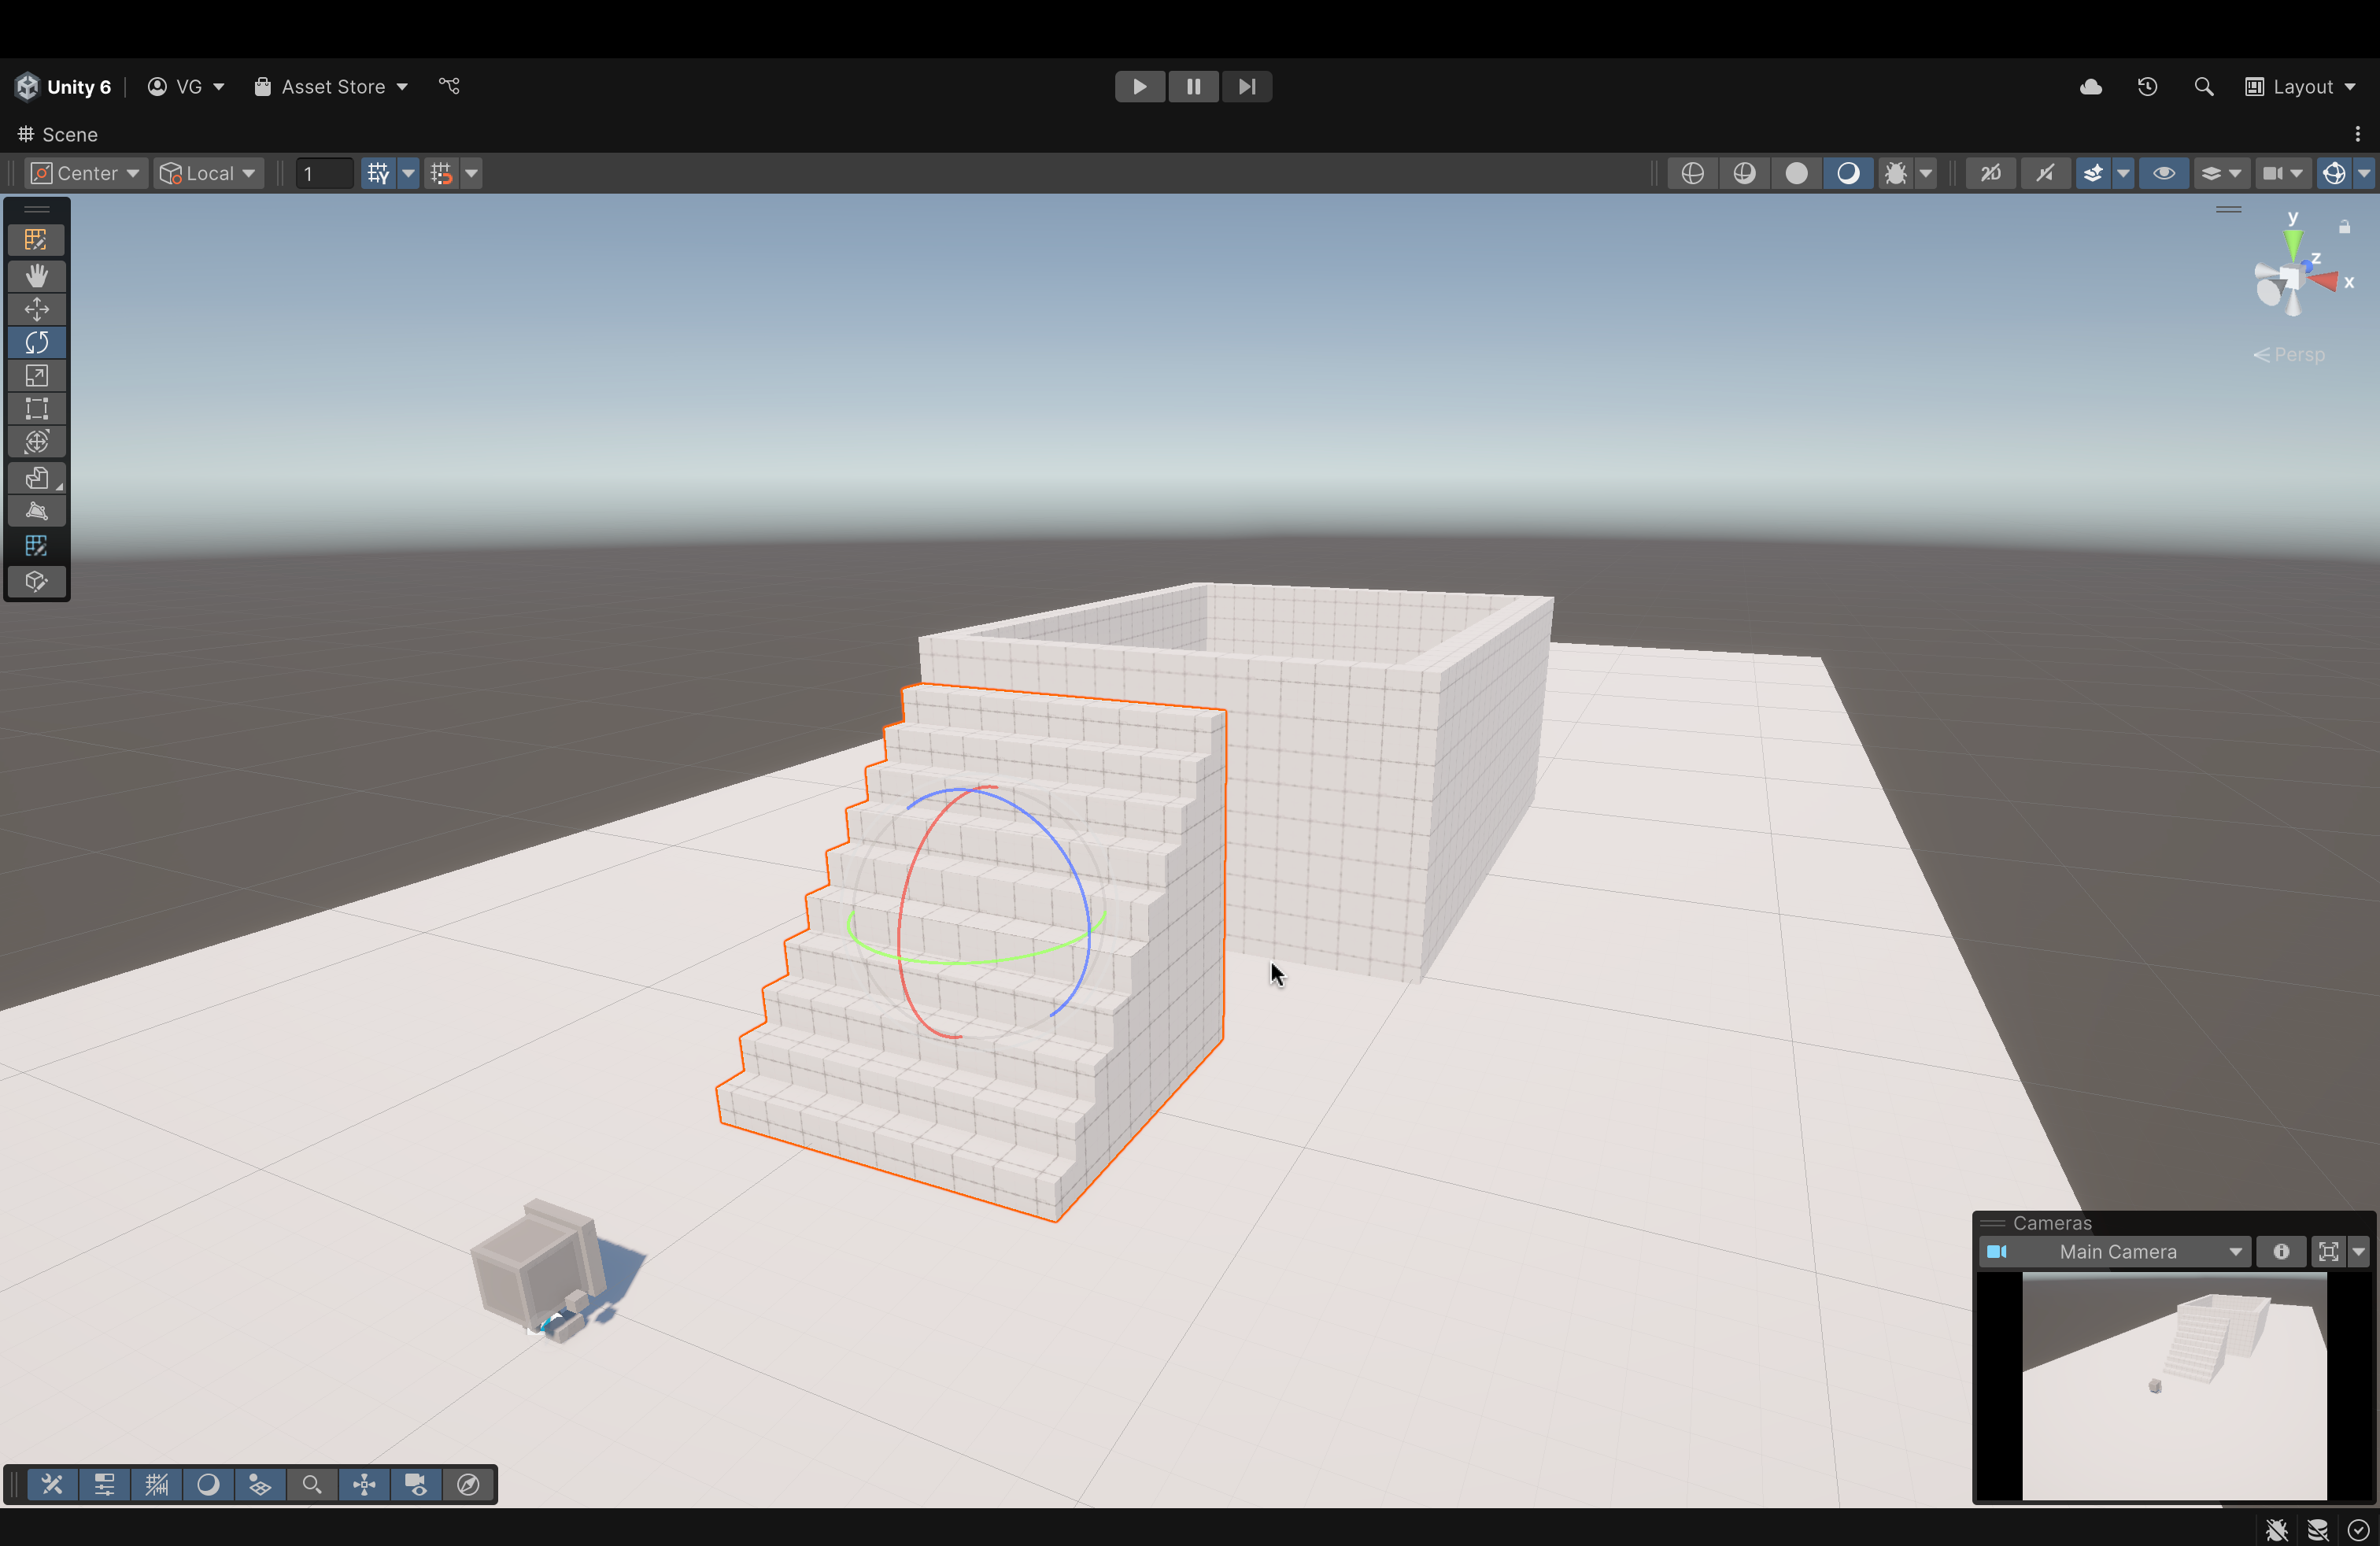
In the menu that follows, click Edit Shape
You will enter back into build mode (the same mode you were in when you were first creating the shape)
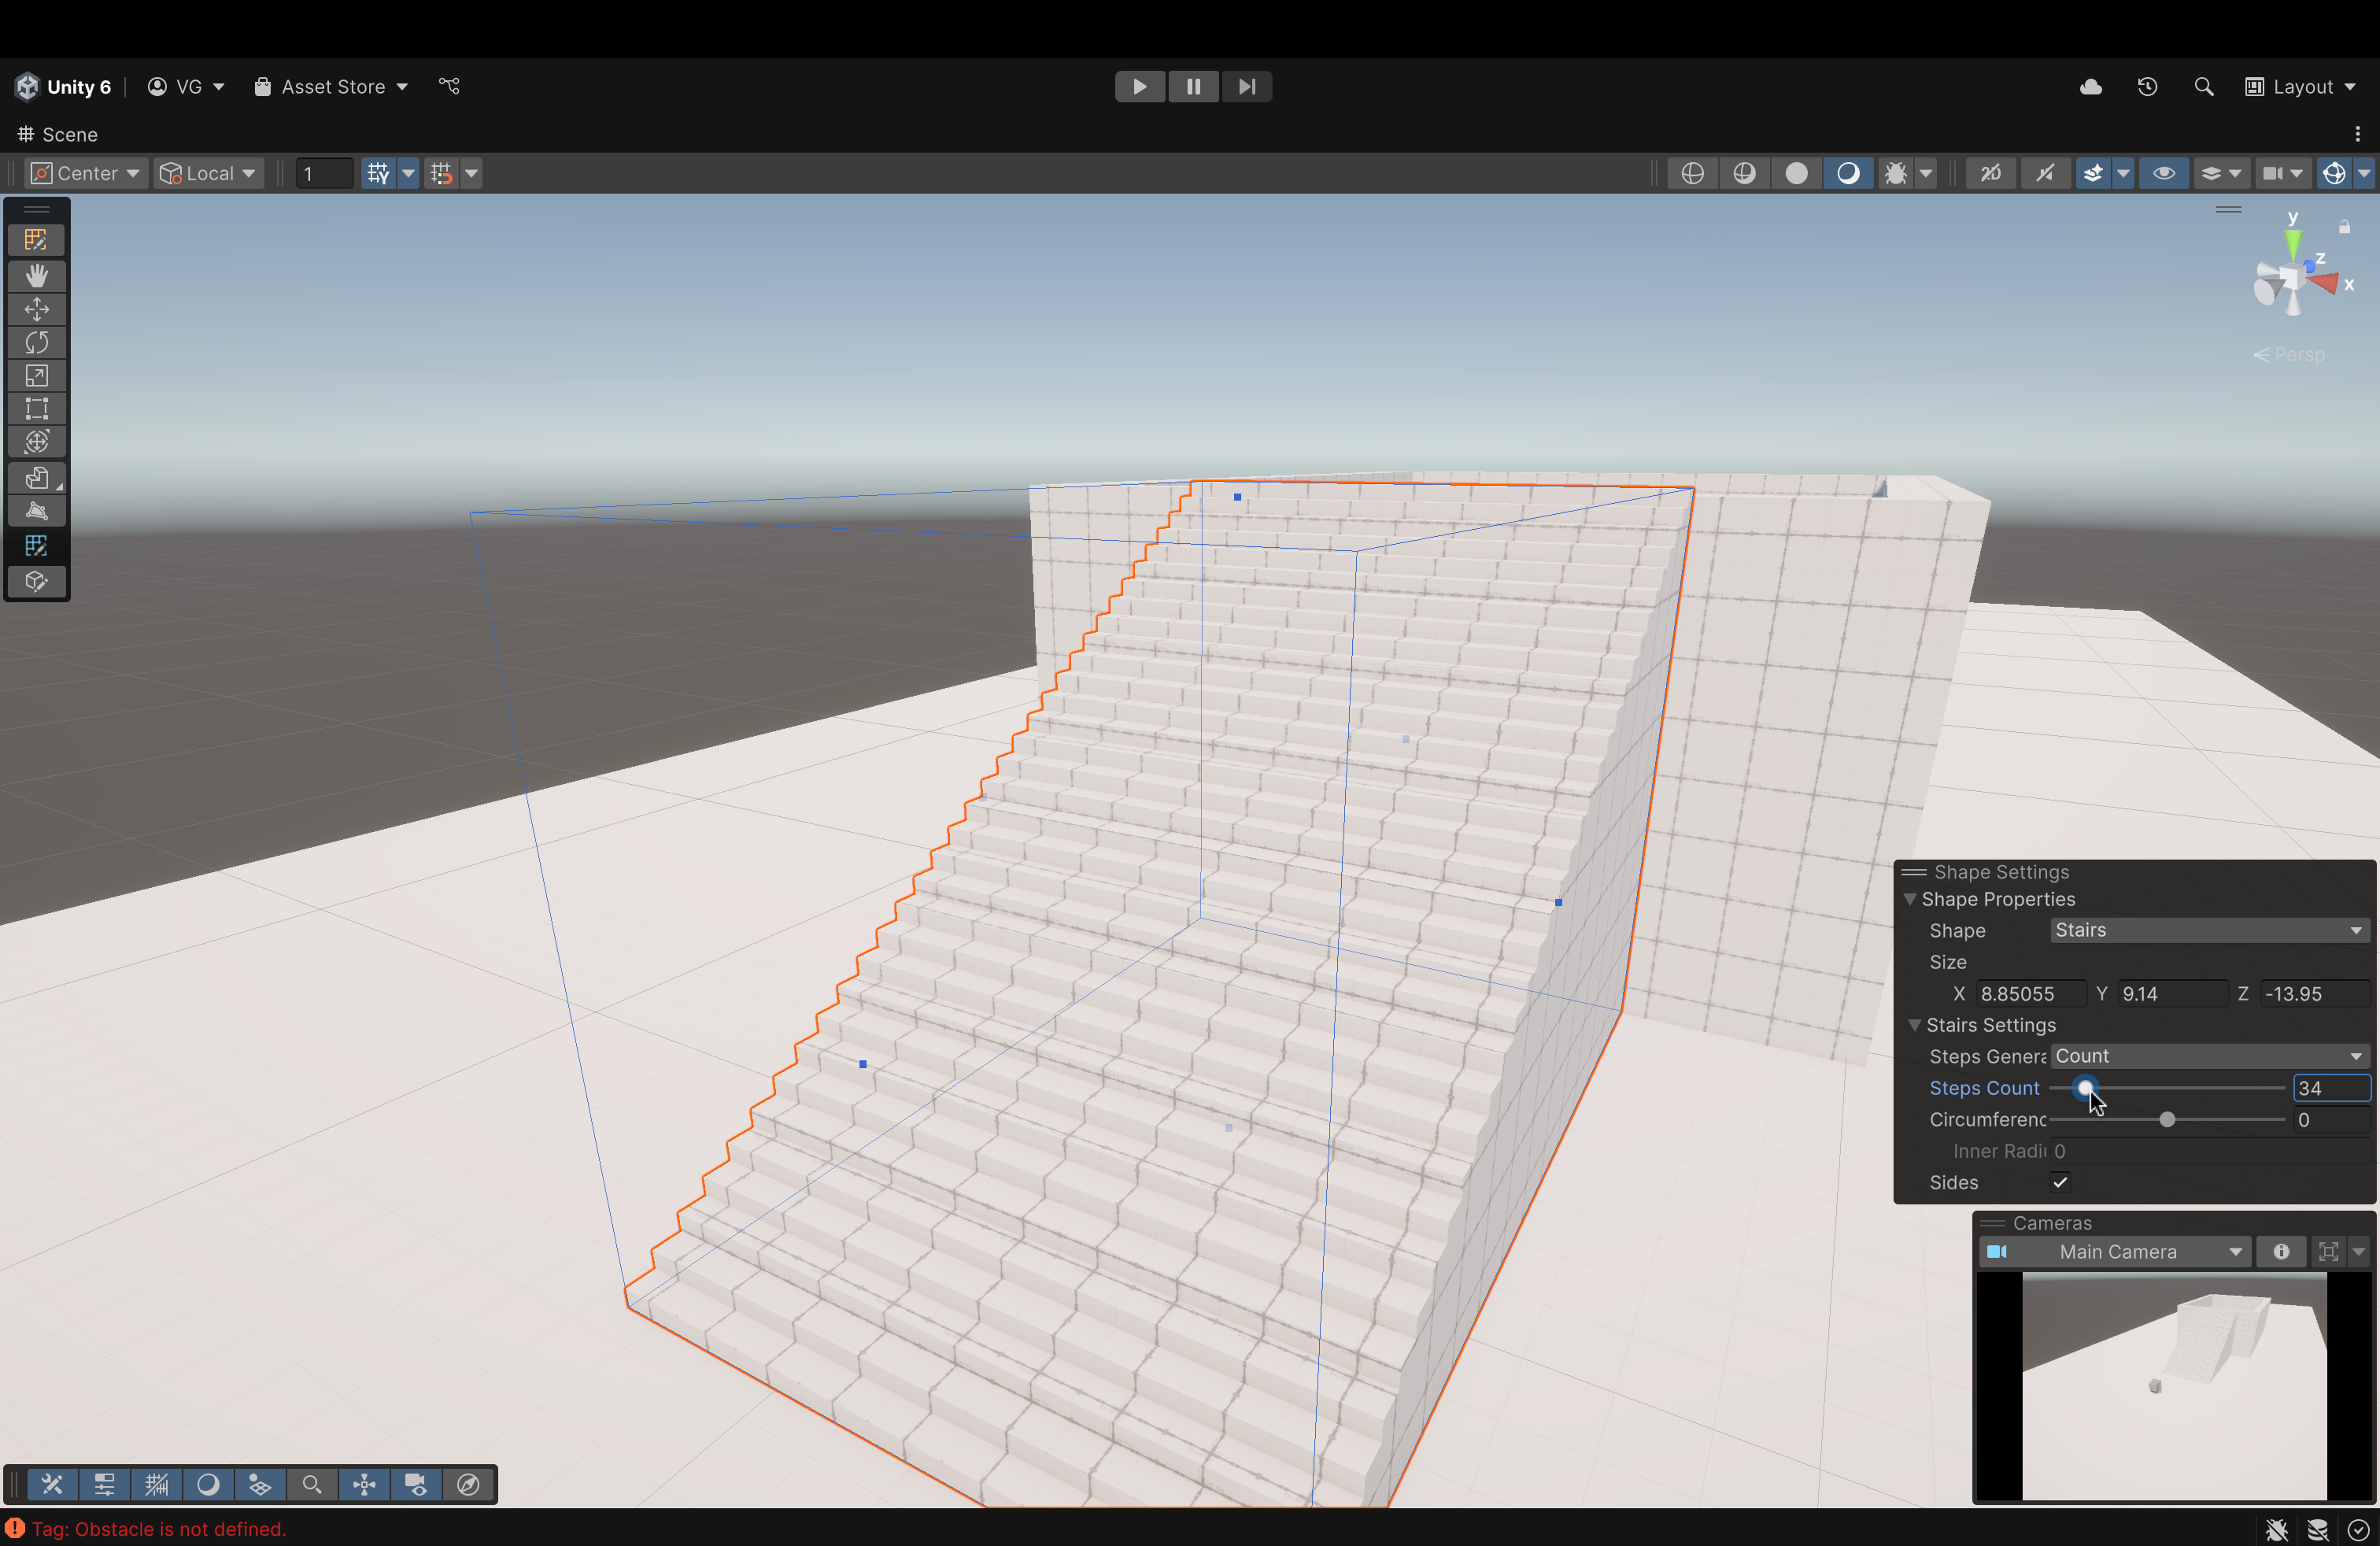
One thing to remember: to change the scale parameters (i.e., size), you MUST do it from the Shape Settings menu and not the Component View on the right.
Now, in the Shape Settings menu, change the Size parameters to the following values:
X --> 17
Leave Y as is
Z --> 25
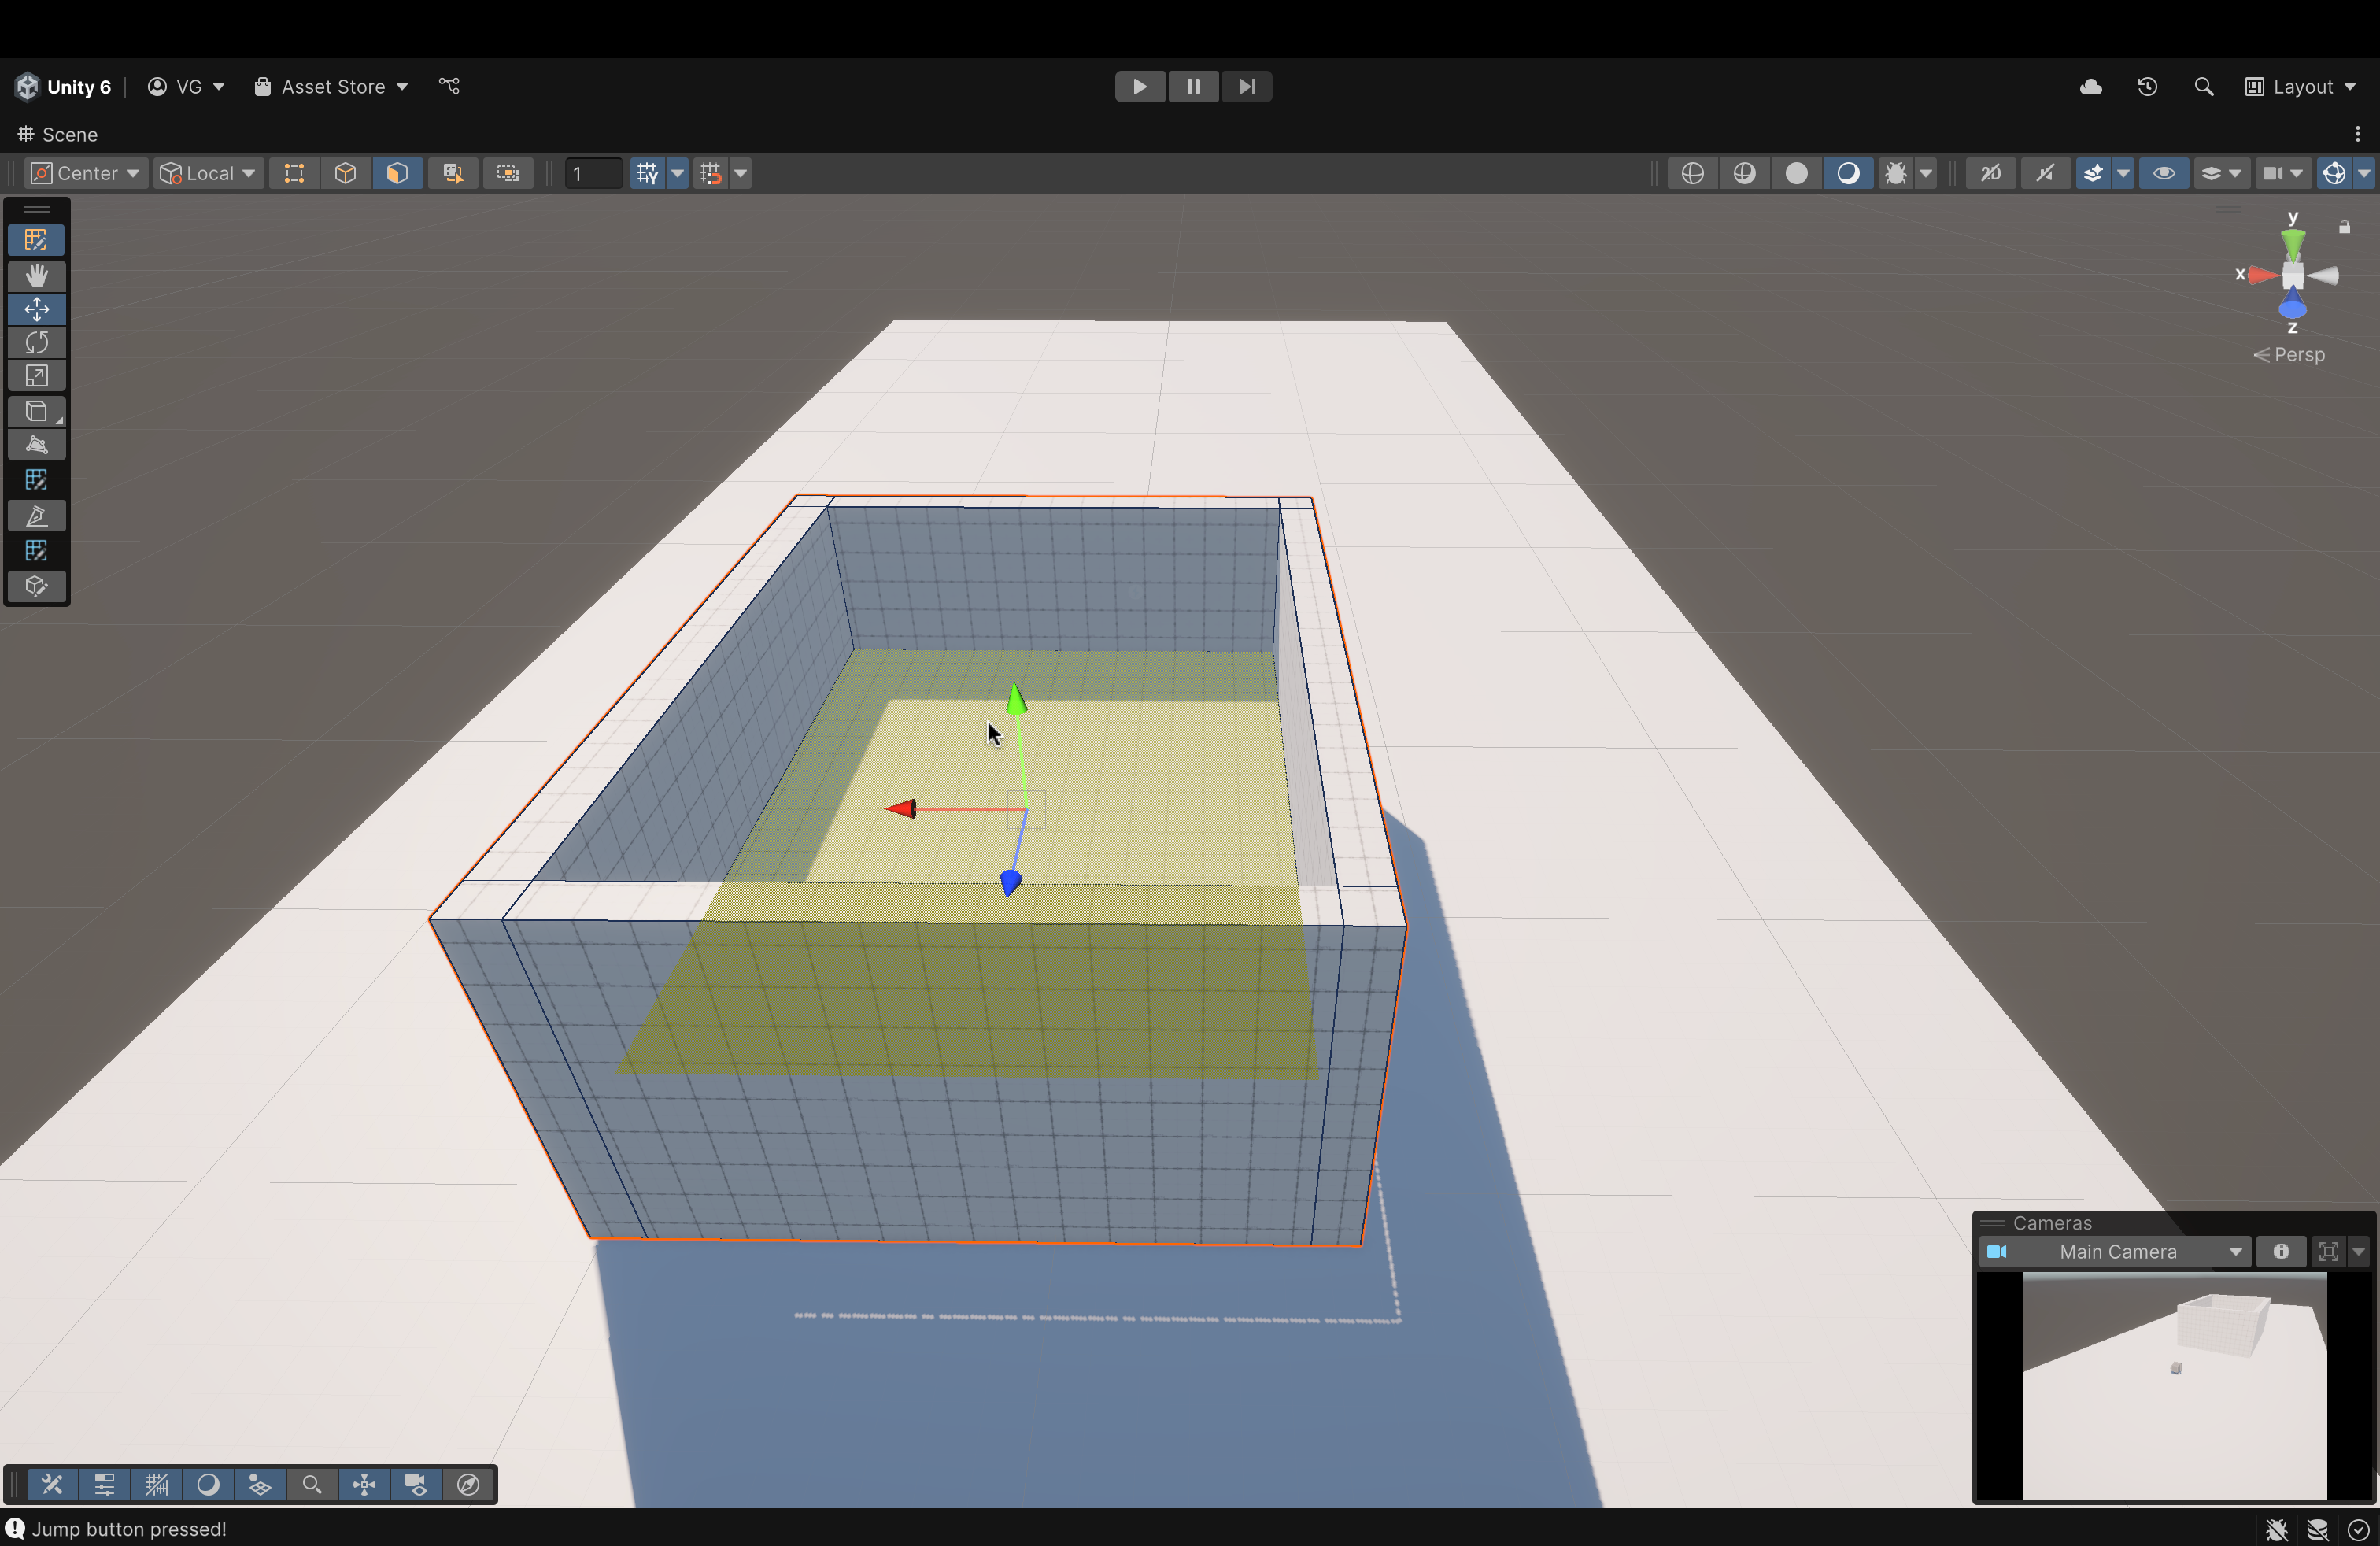
Now, we need to change this rectangle into a pit (i.e. a concave rectangle with thick walls)
We'll do this by Extrusion and Edge Loops.
To begin, find the above icon in the vertical bar on the left of the Scene View.
This icon will only be visible if you have selected a shape created using ProBuilder
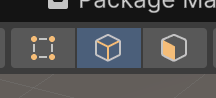
Along the top row of icons, you'll find these 3 icons as well (with the same color).
From left to right:
Vertex Selection = Allows you to select individual vertices and use them to change your shape however you want.
Edge Selection = Allows you to select edges and use them to change your shape.
Face Selection = Allows you to select faces to change
your shape.
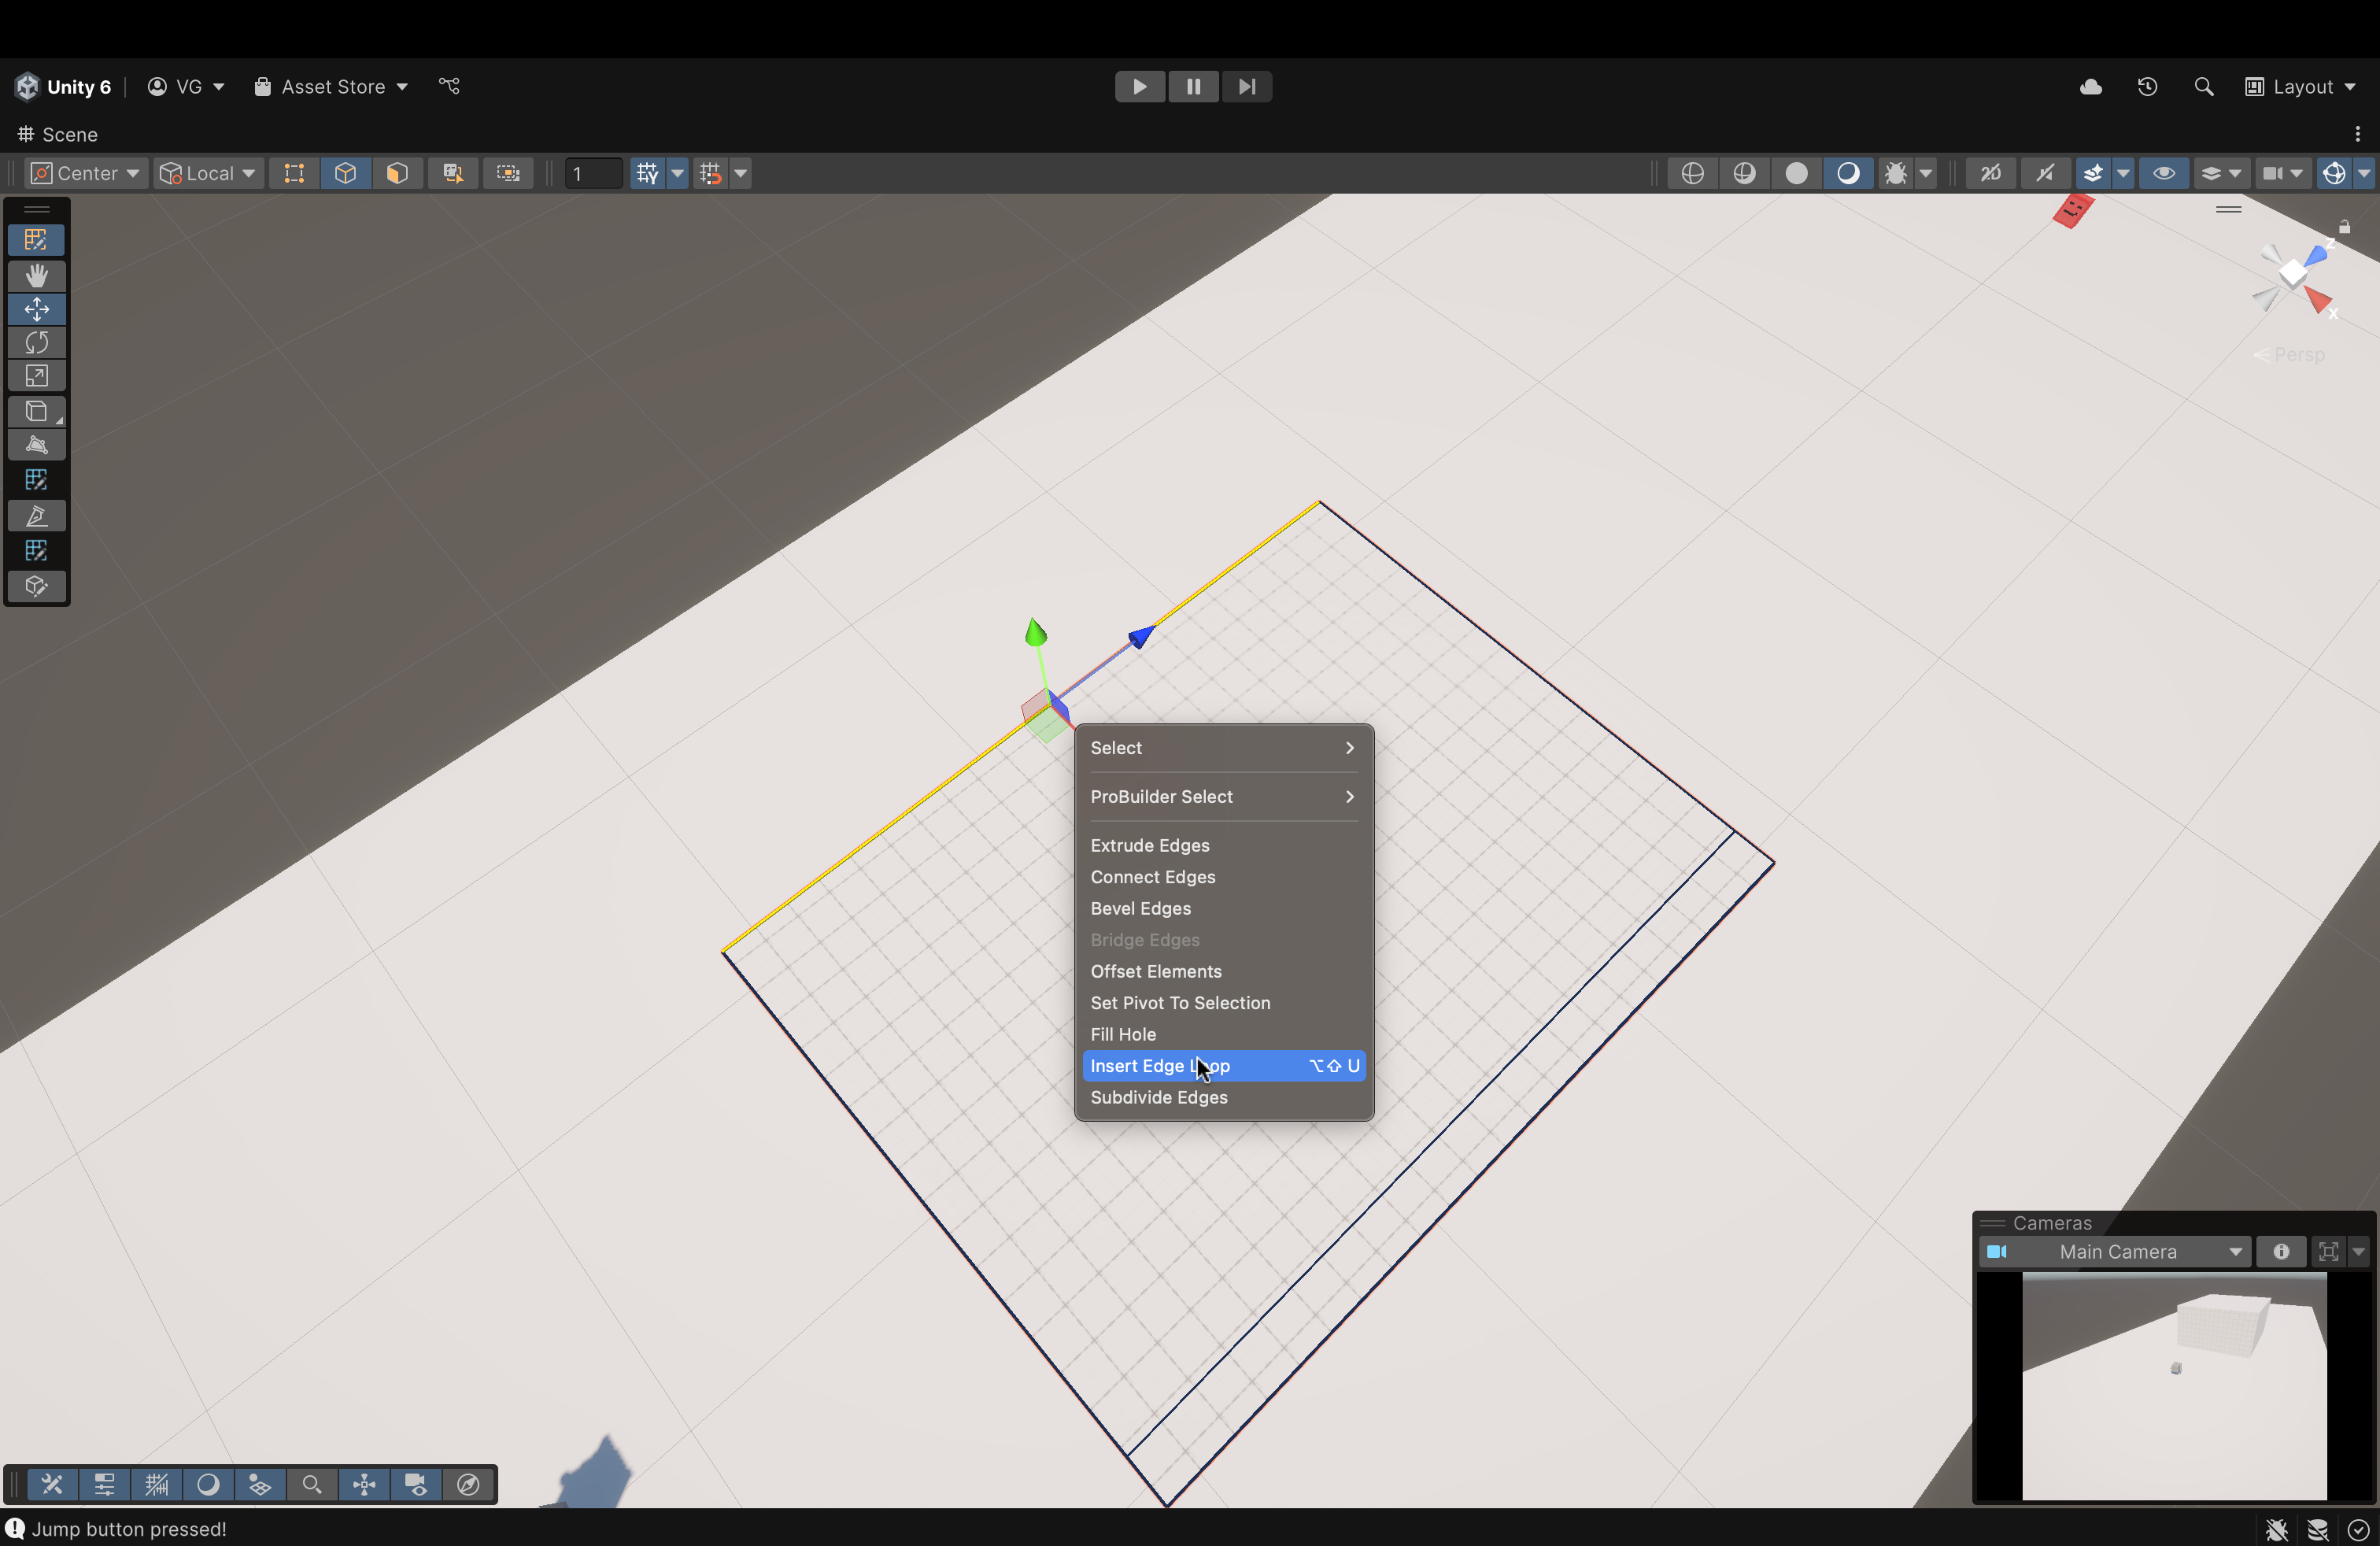
Click on the Edge Selection icon to get started.
You should all the edges turn dark black and when you hover, they should change colors.
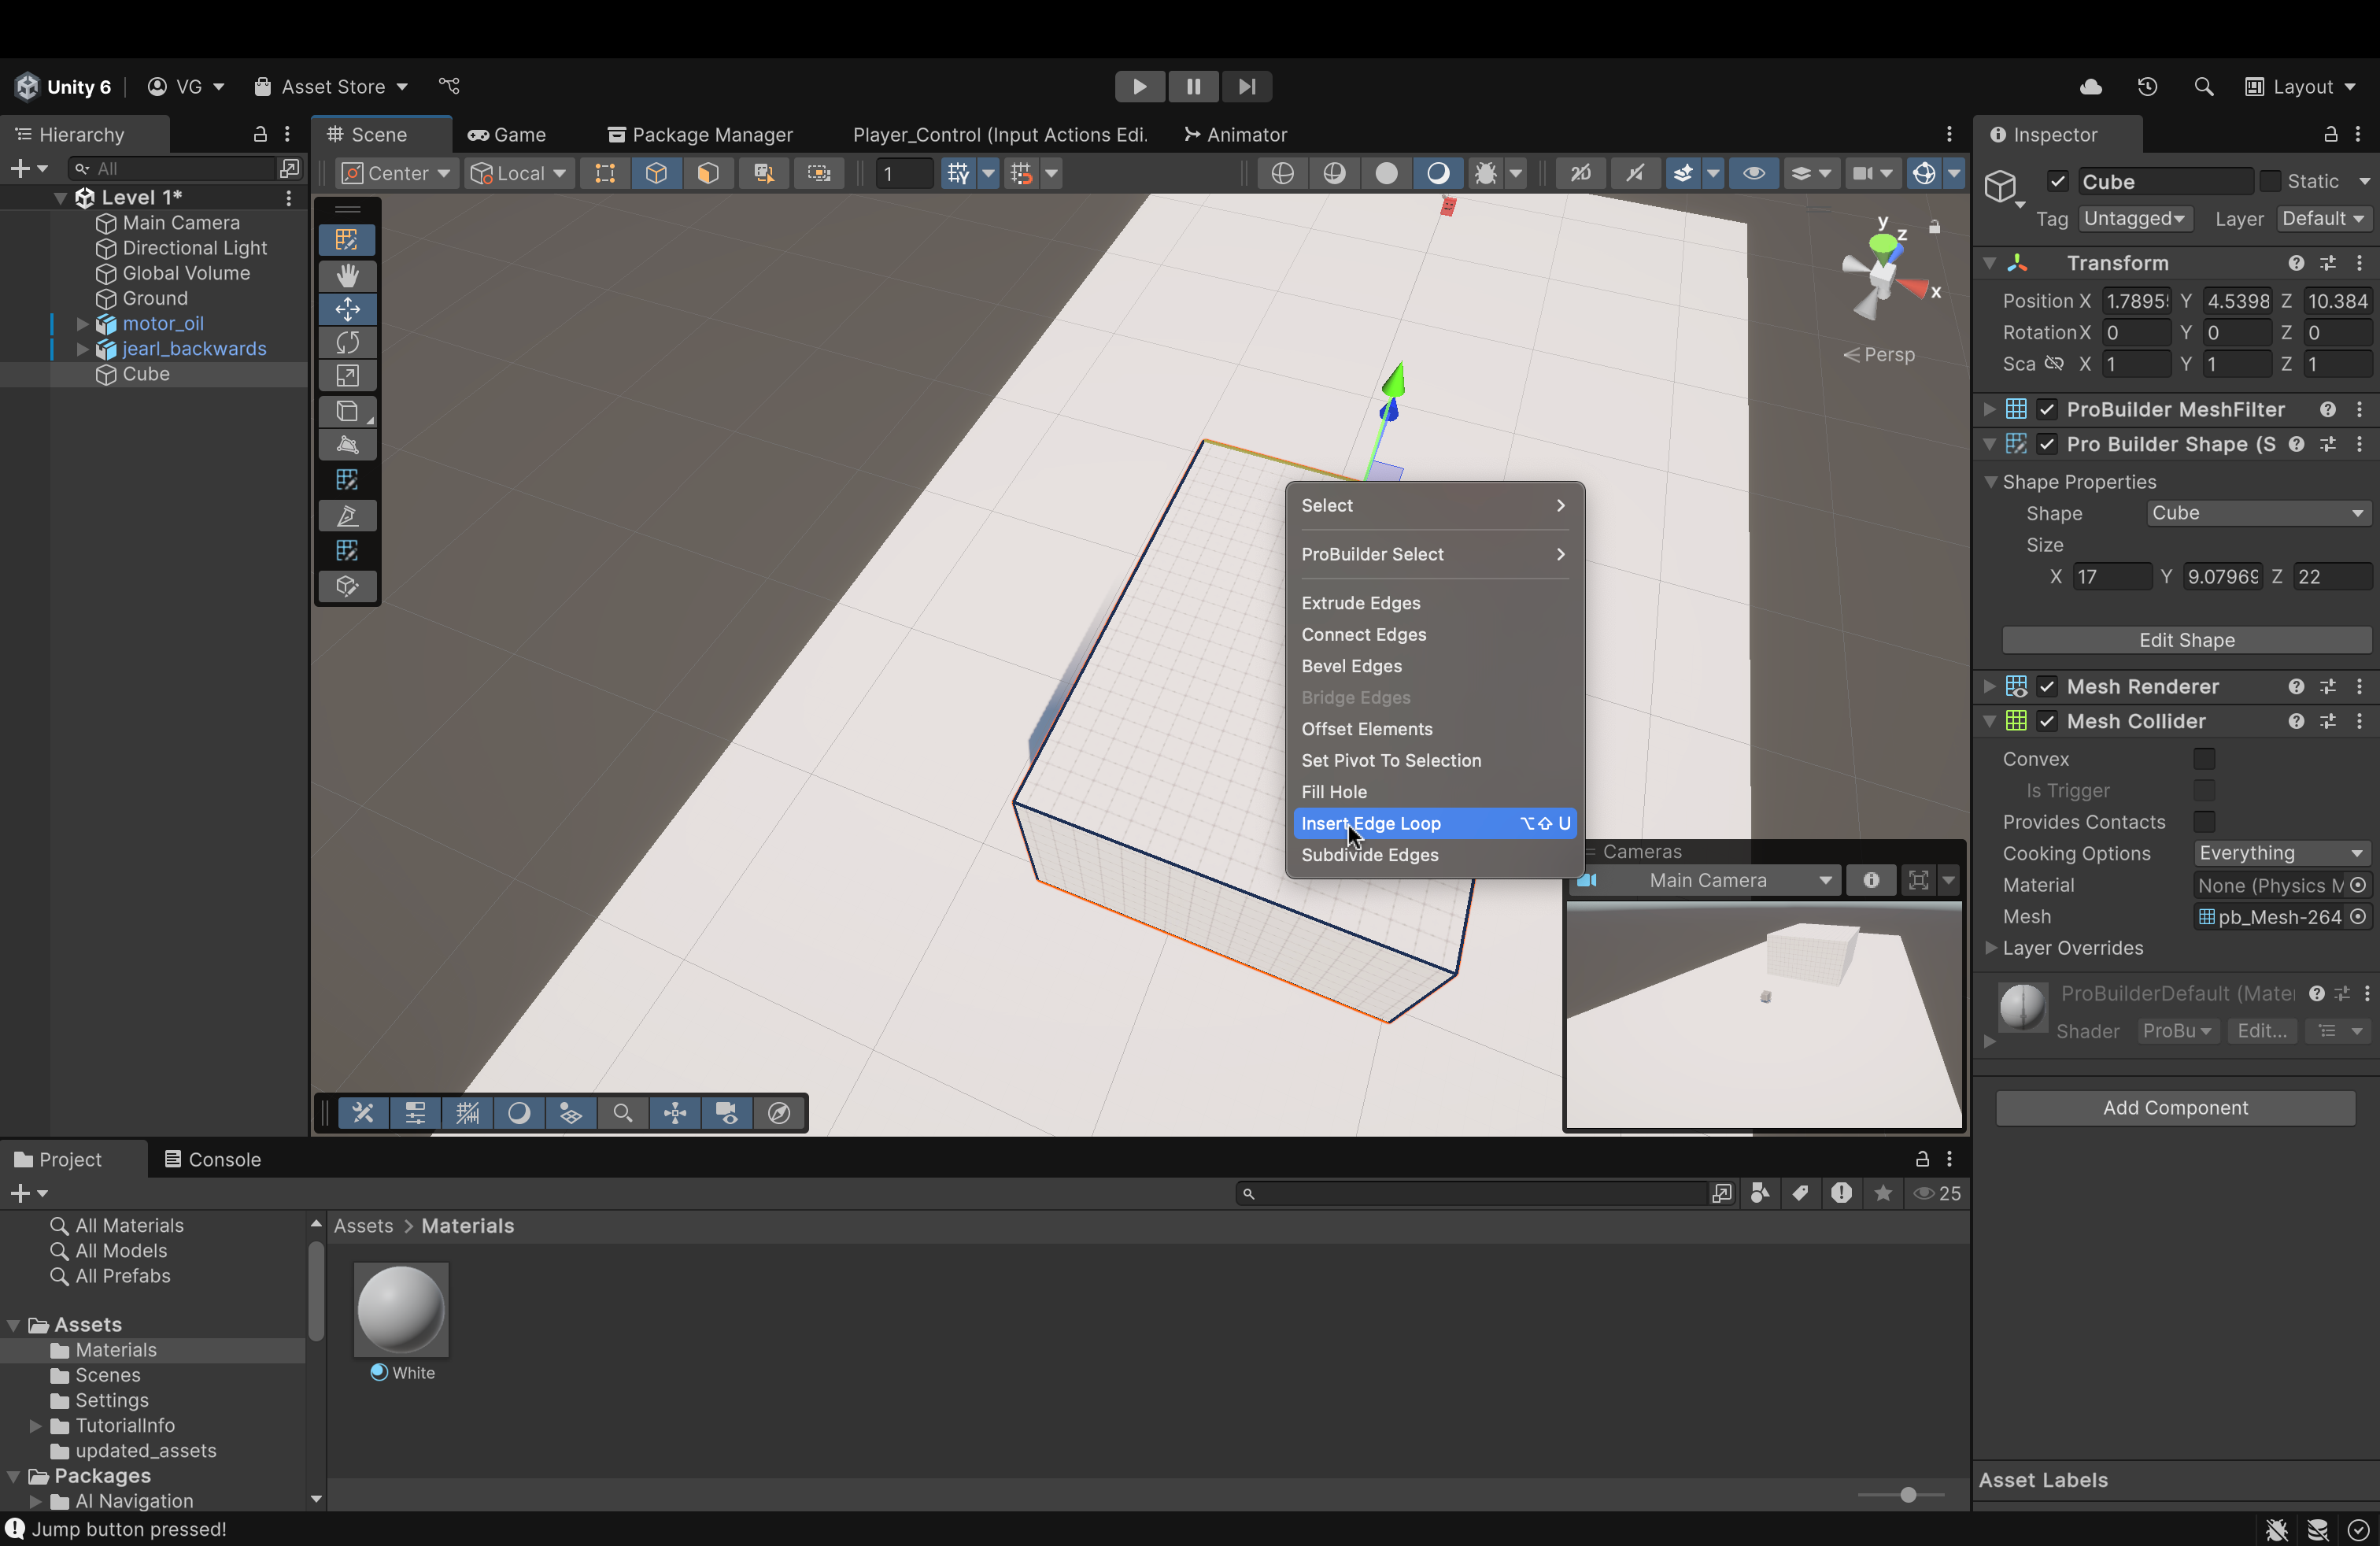
Pick an edge (I'll start with the one that's selected in the image).
Right-click with the edge selected to open a menu
In that menu, find and click Insert Edge Loop.
Here, you'll also see a shortcut to invoke this option. I suggest you use this shortcut because we'll be making a couple of these
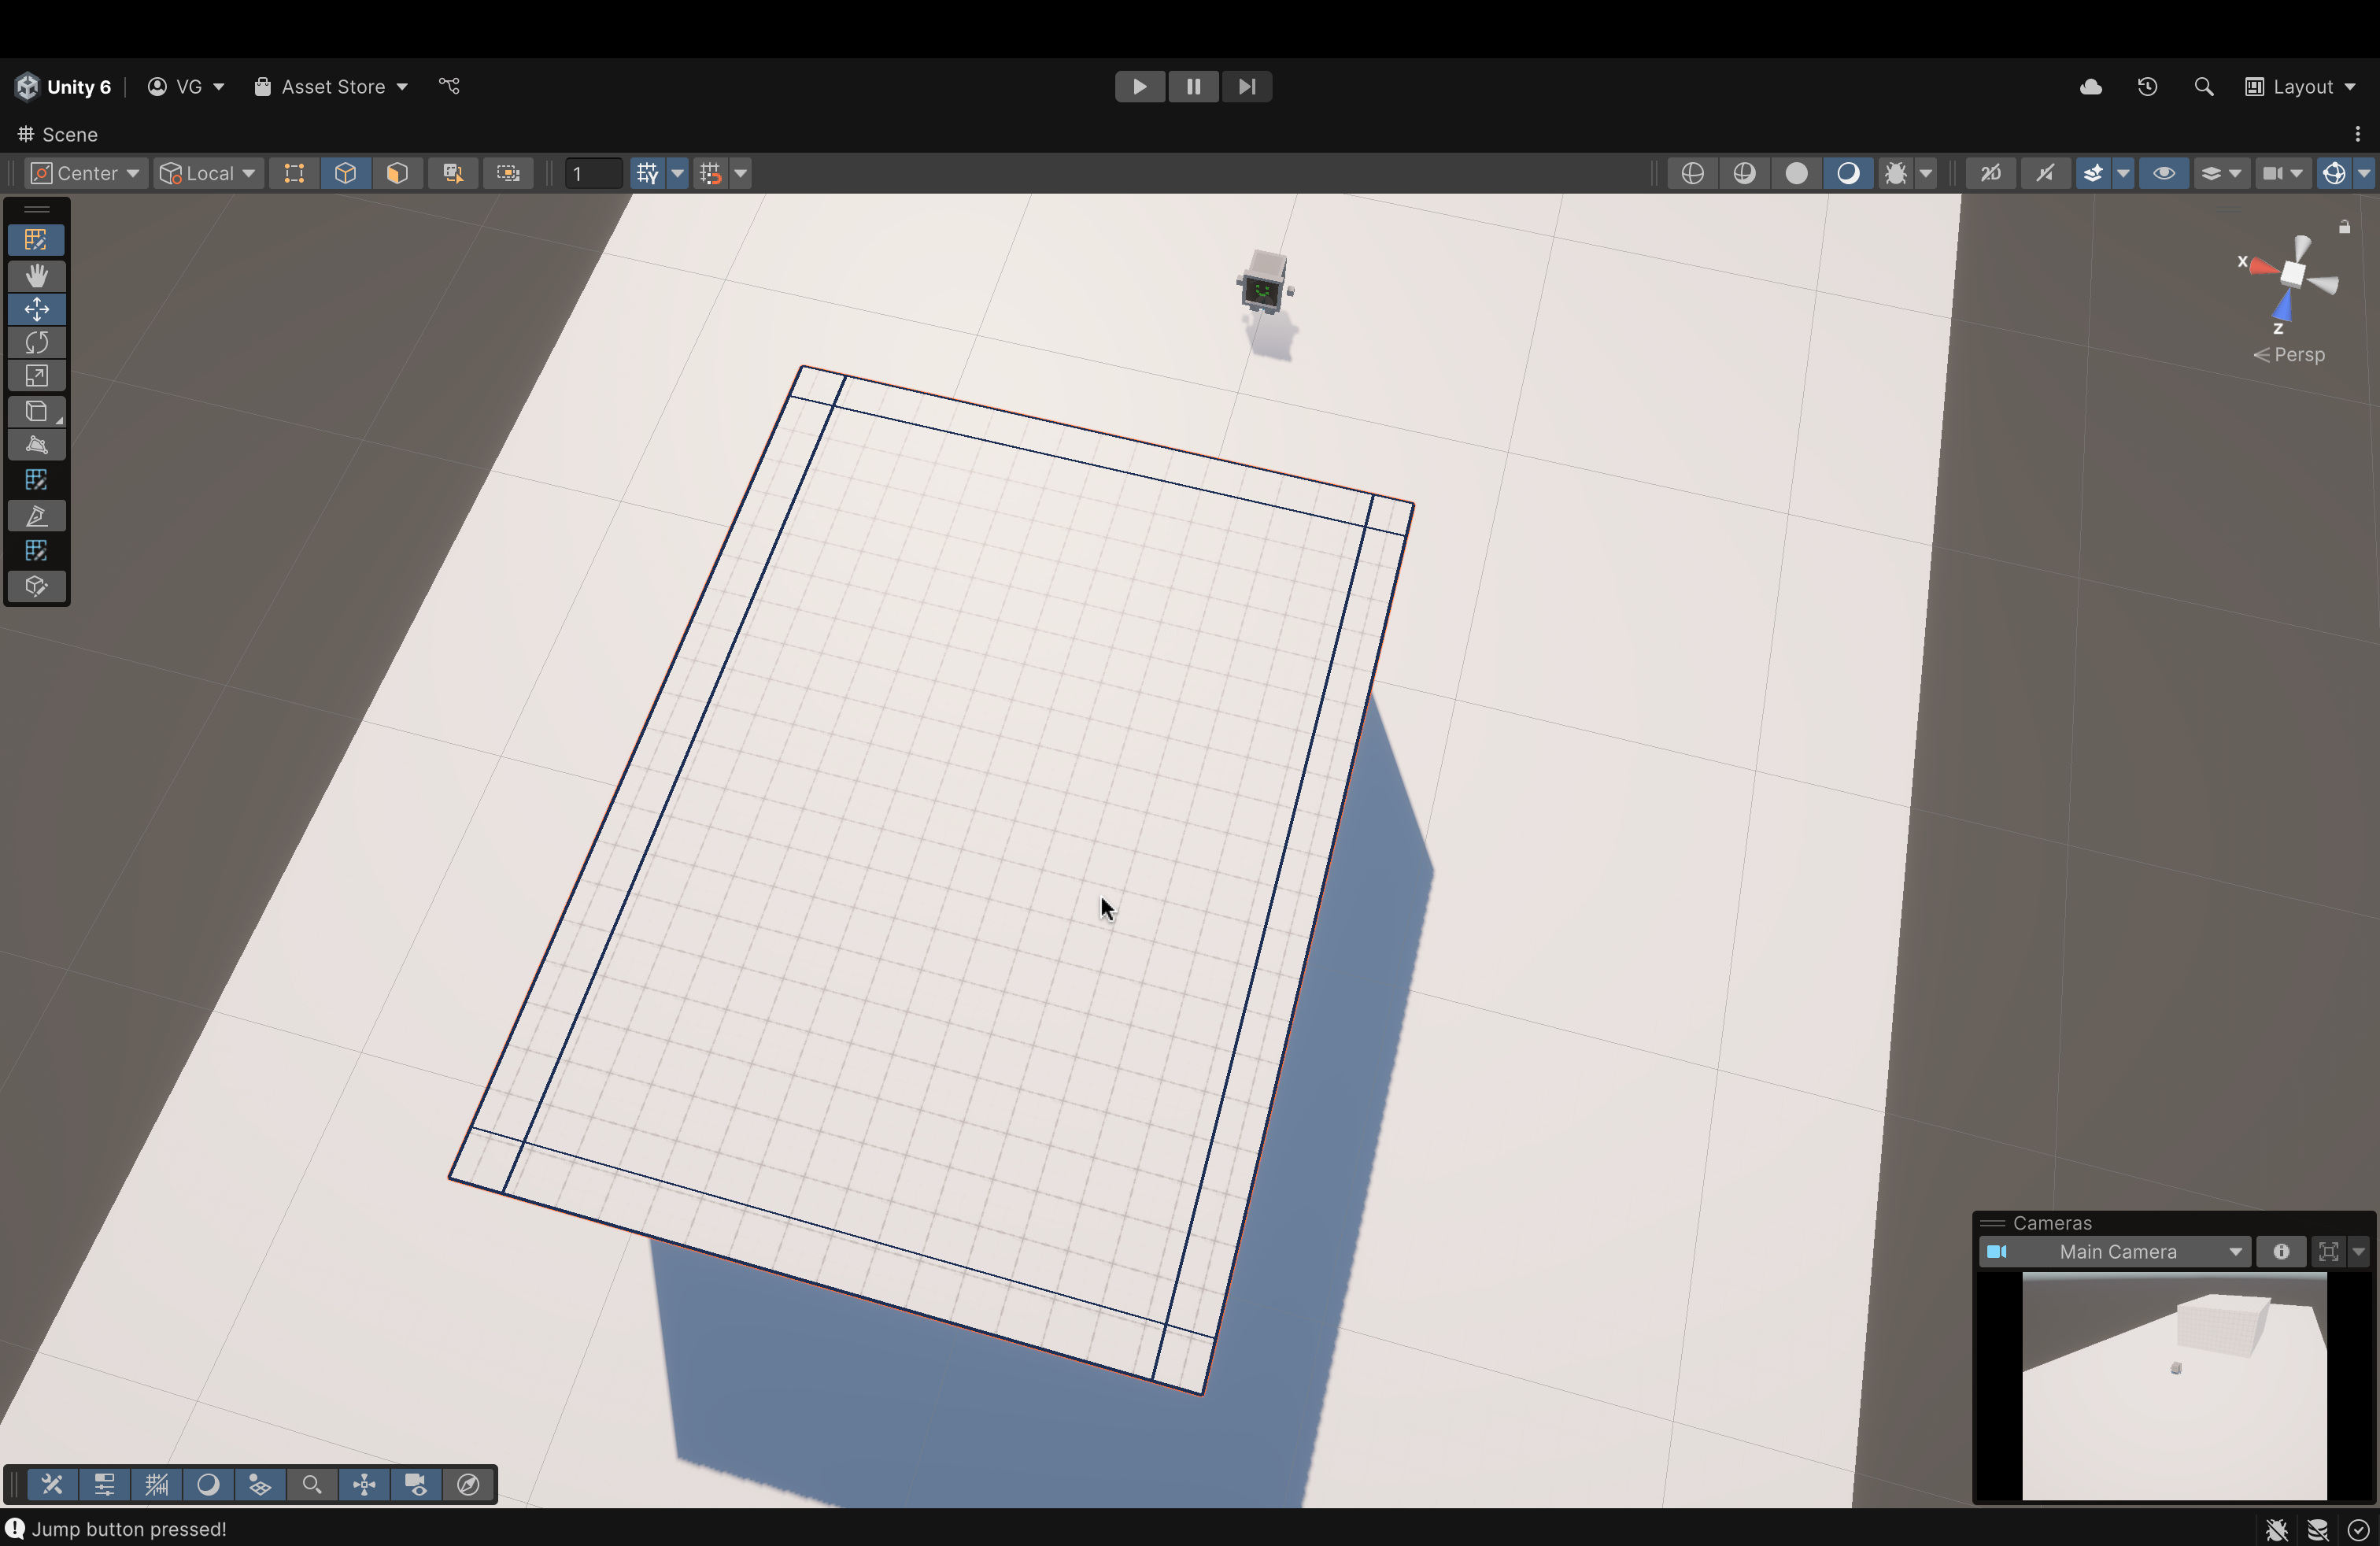
Once you click Insert Edge Loop...
ProBuilder will introduce a new edge perpendicular to the one you selected.
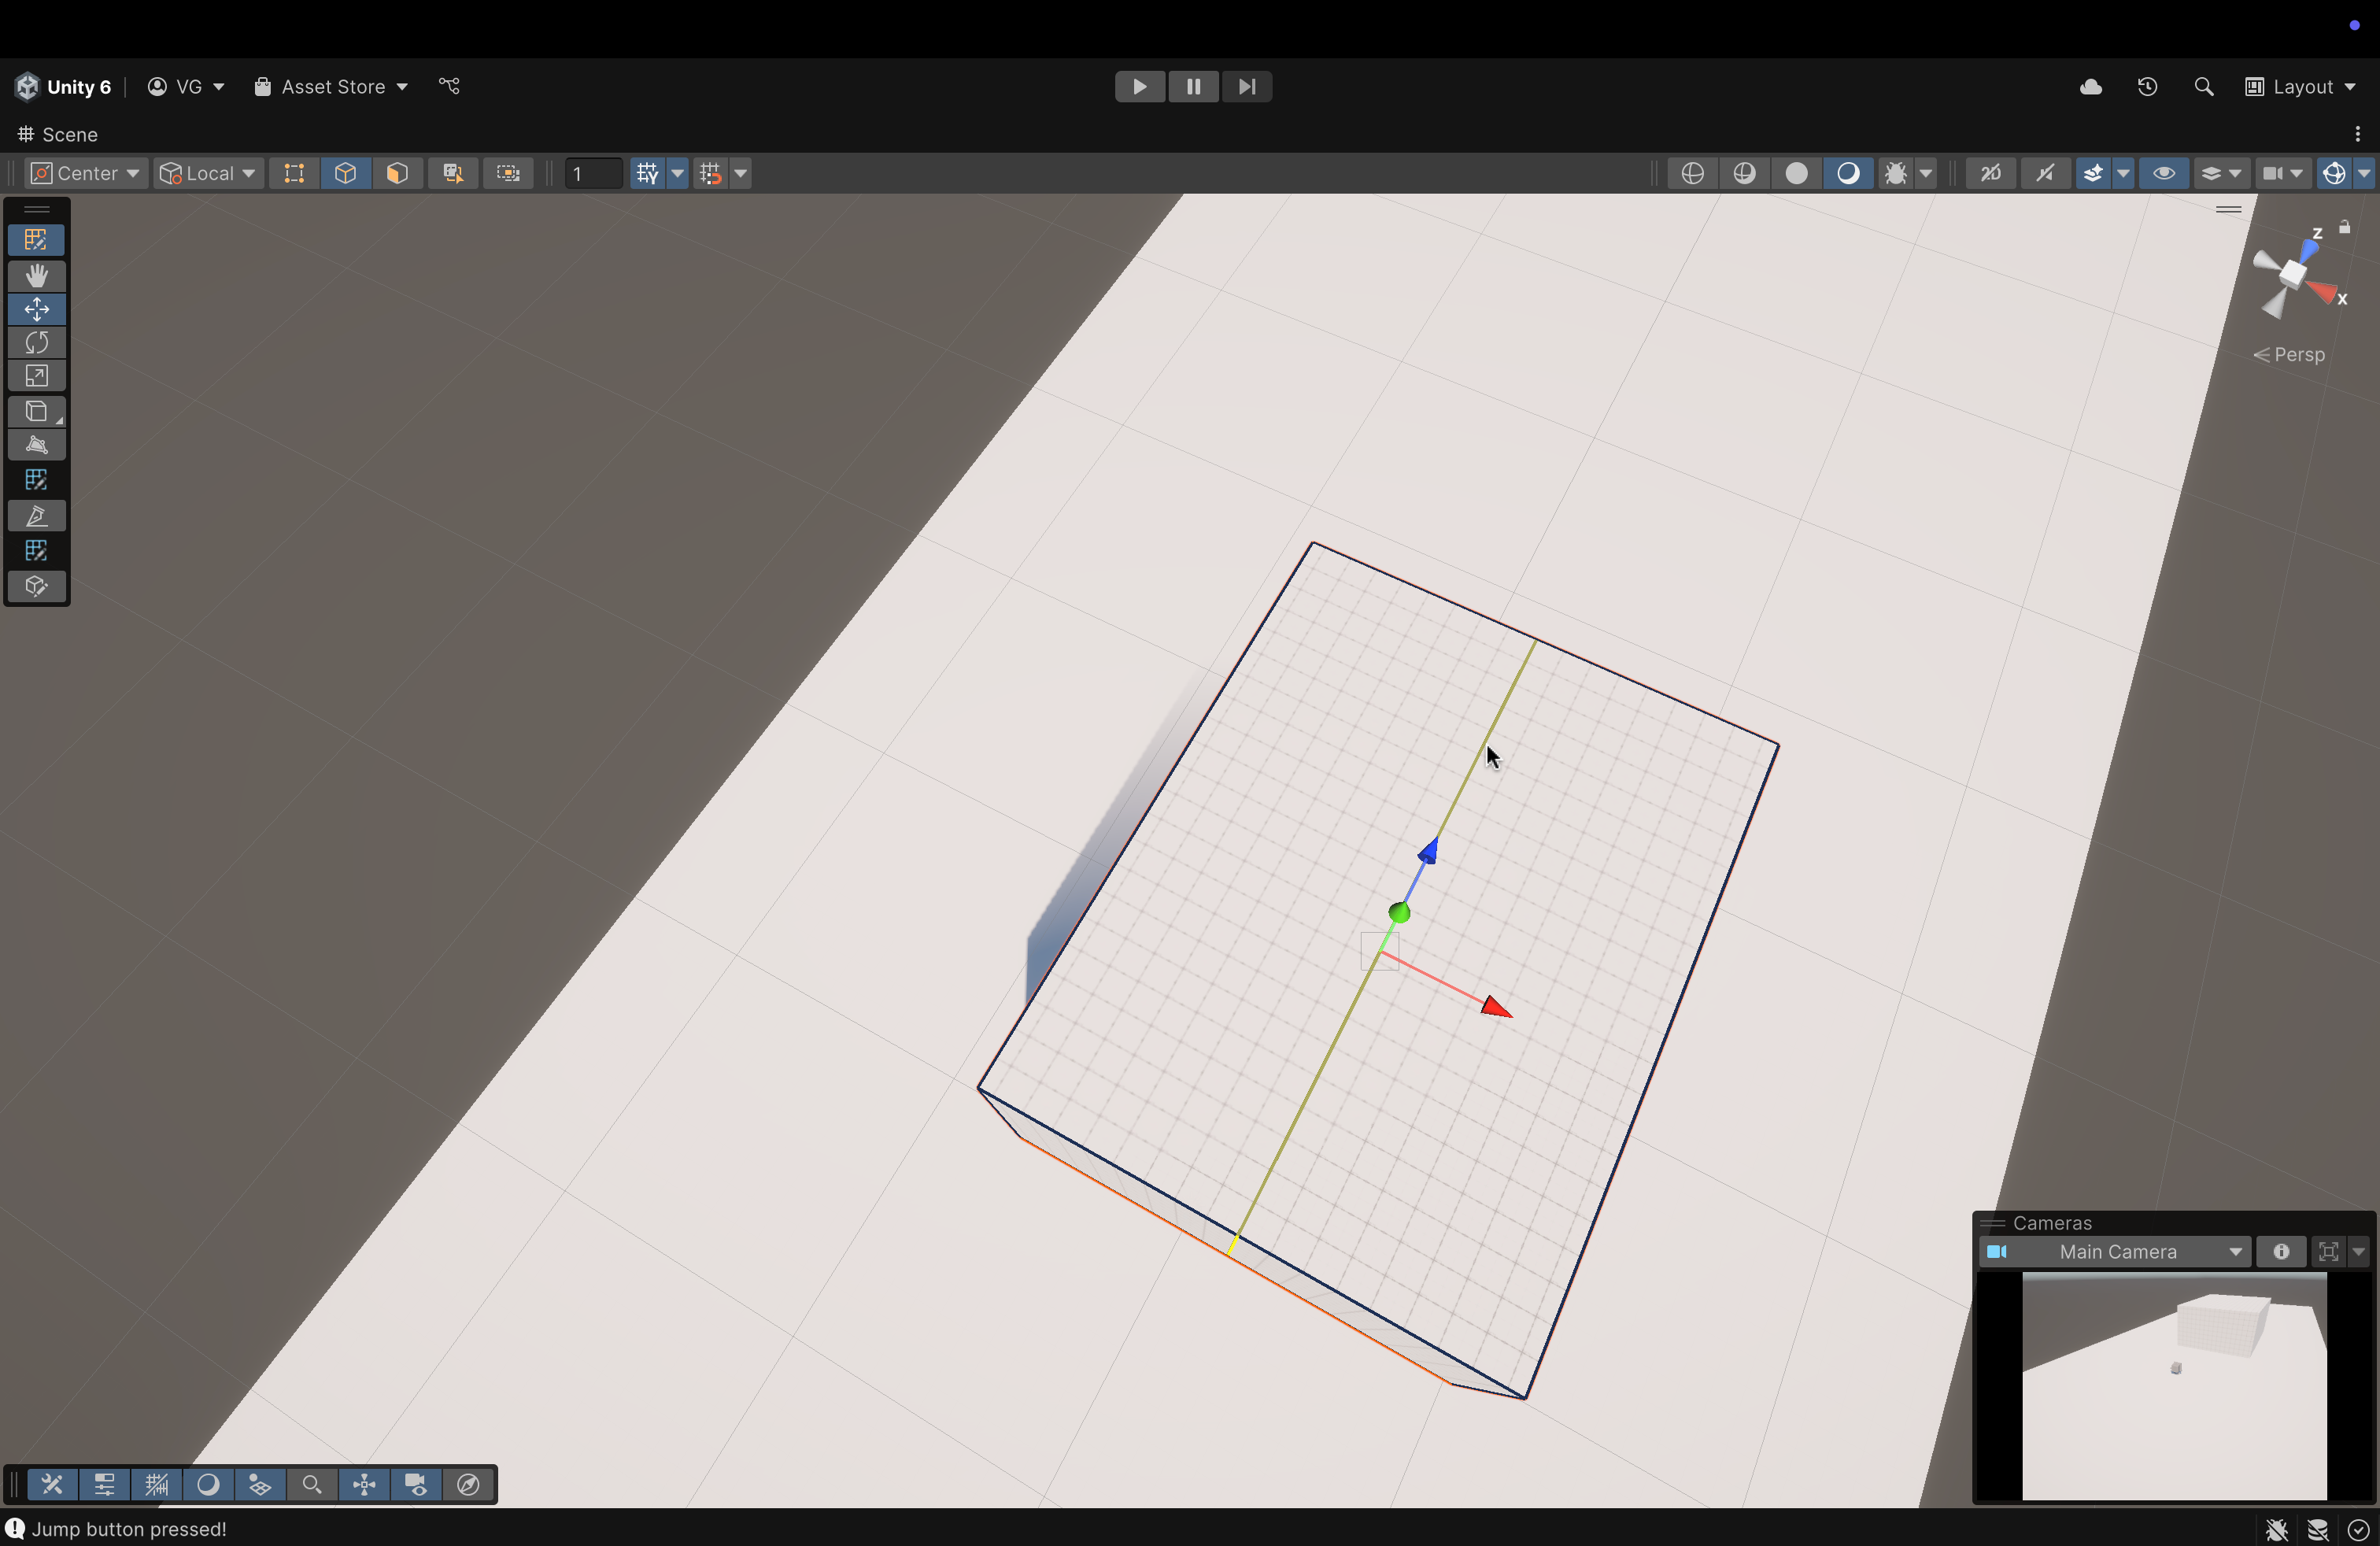
I double-clicked on the Scene to make it full-screen.
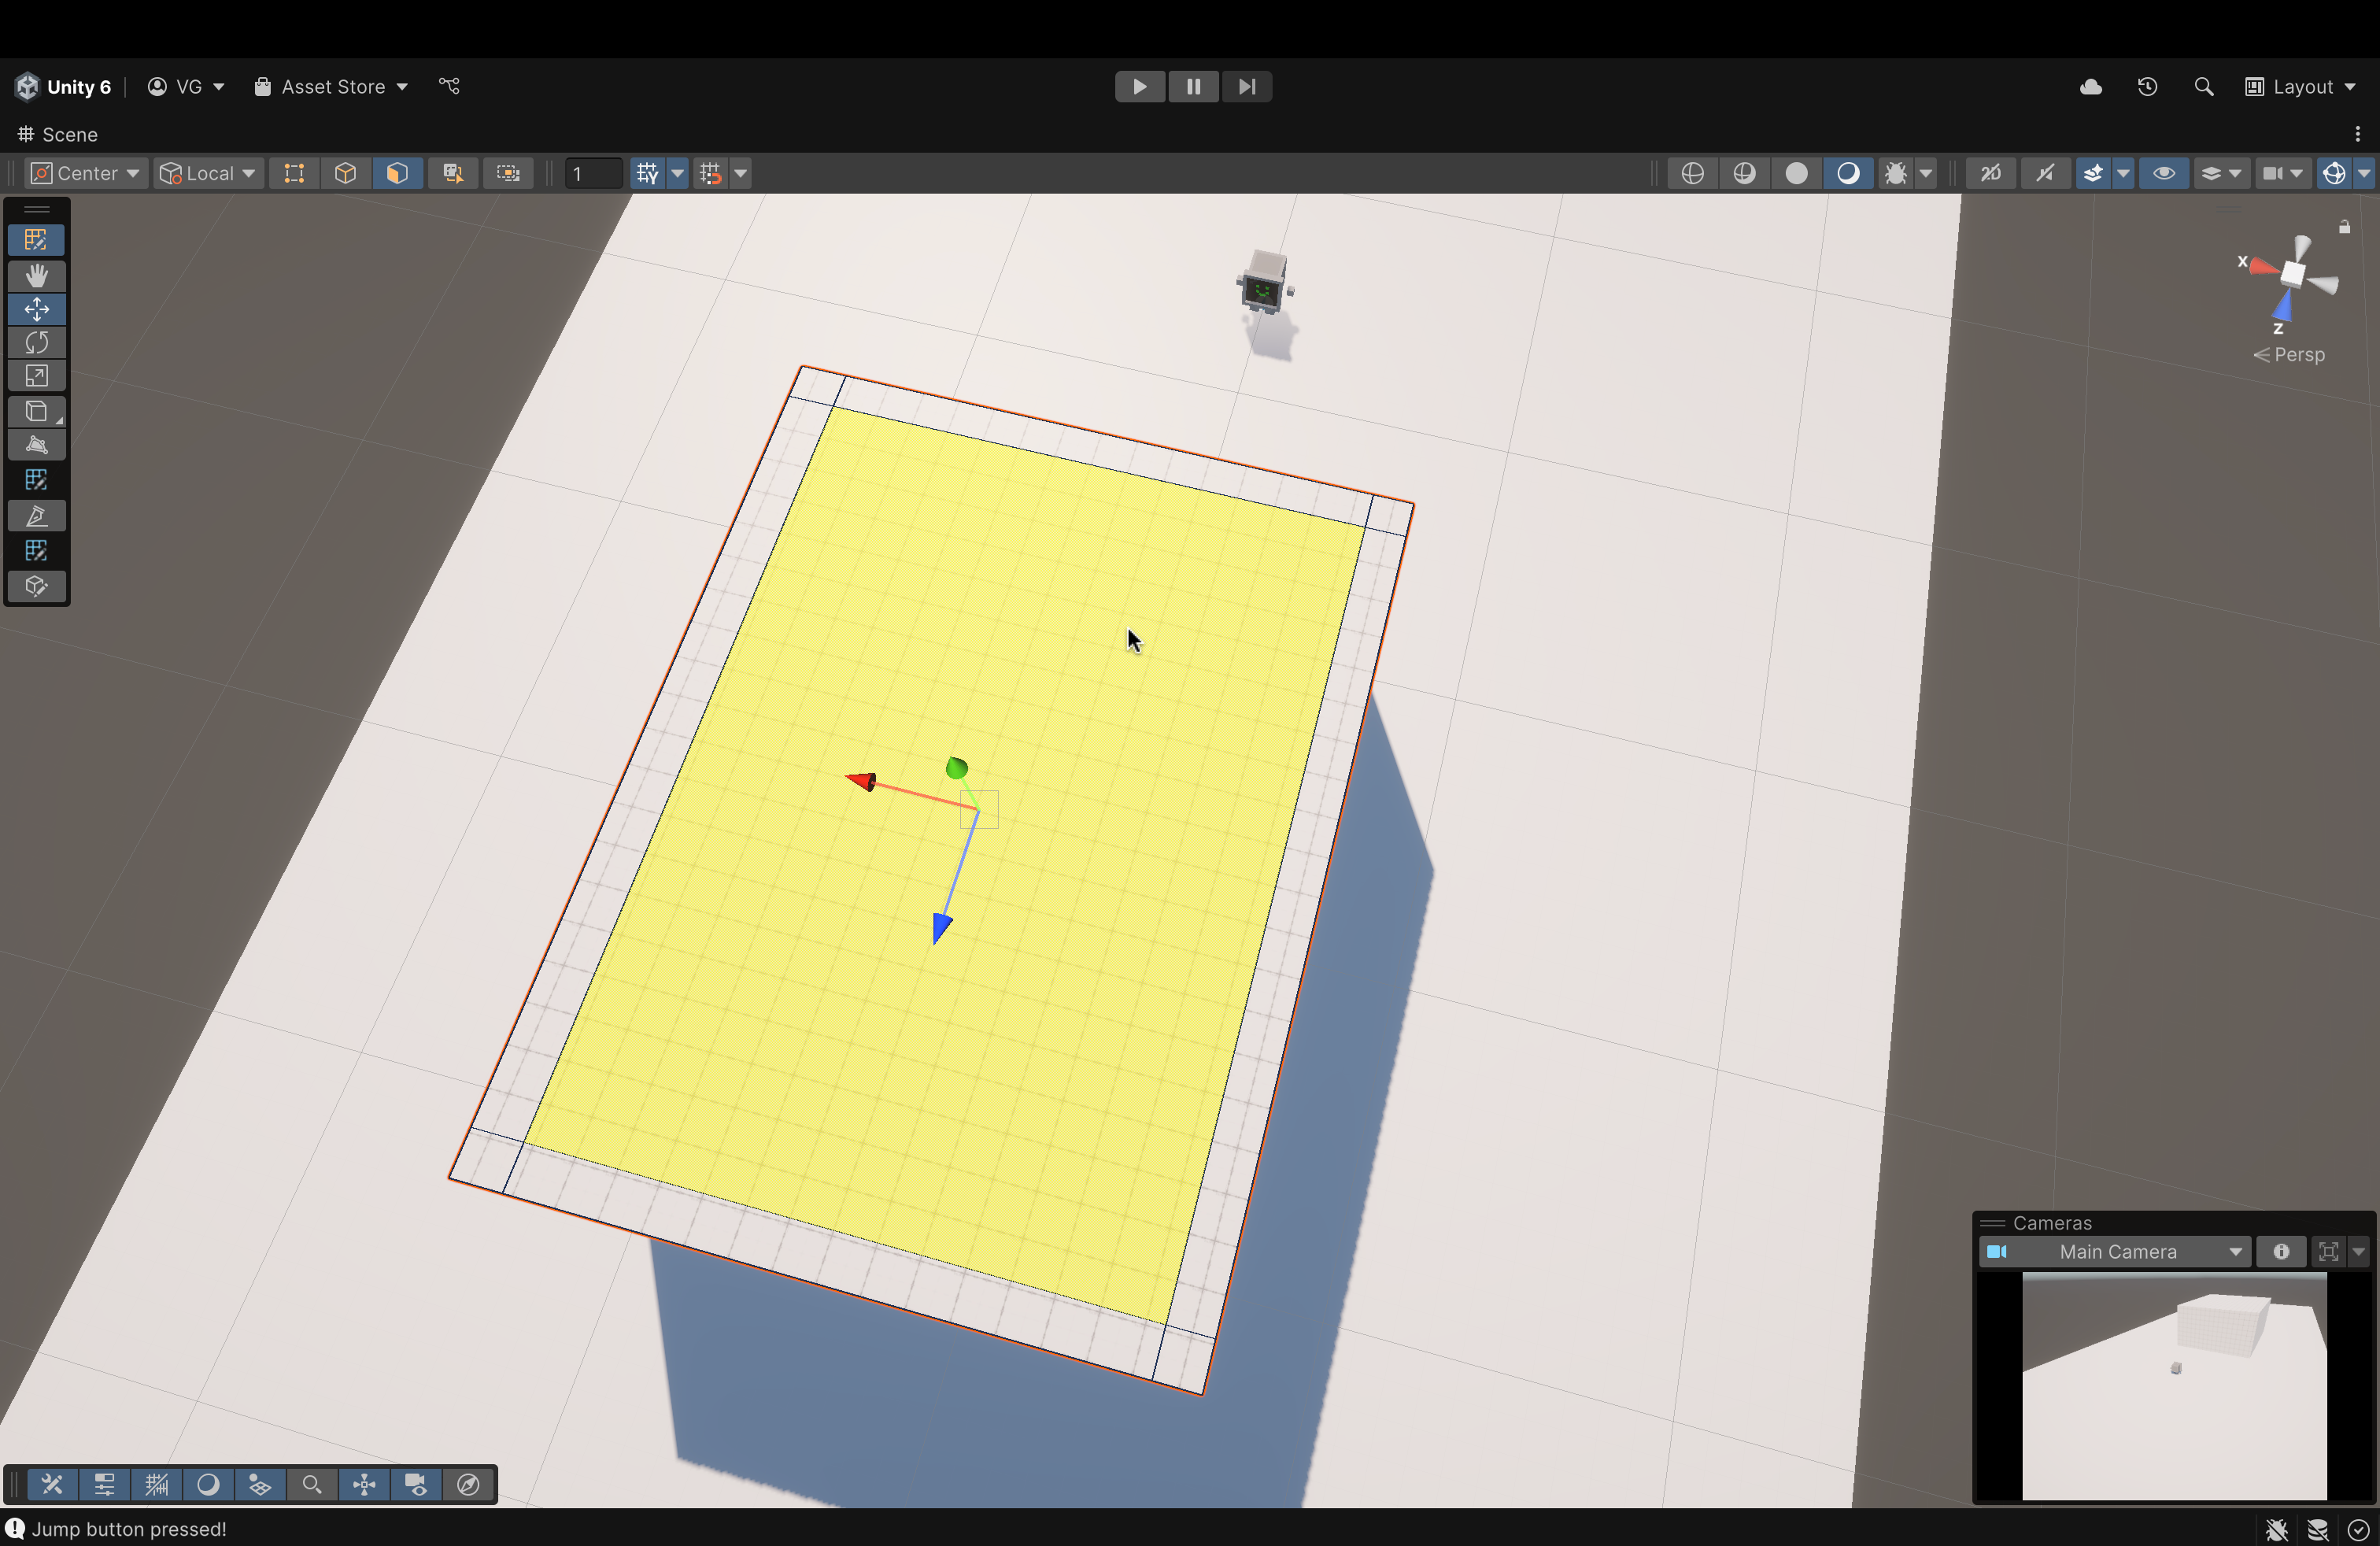
Drag the edge over to the right.
You want to space it a given distance from the rightmost edge (the original rightmost edge) and keep that distance consistent for the edge on the opposite side (when we place it).
This ensures that our walls have an even thickness
No need to make it perfect. Eyeballing will work just fine. Just keep them relatively consistent without any large differences.
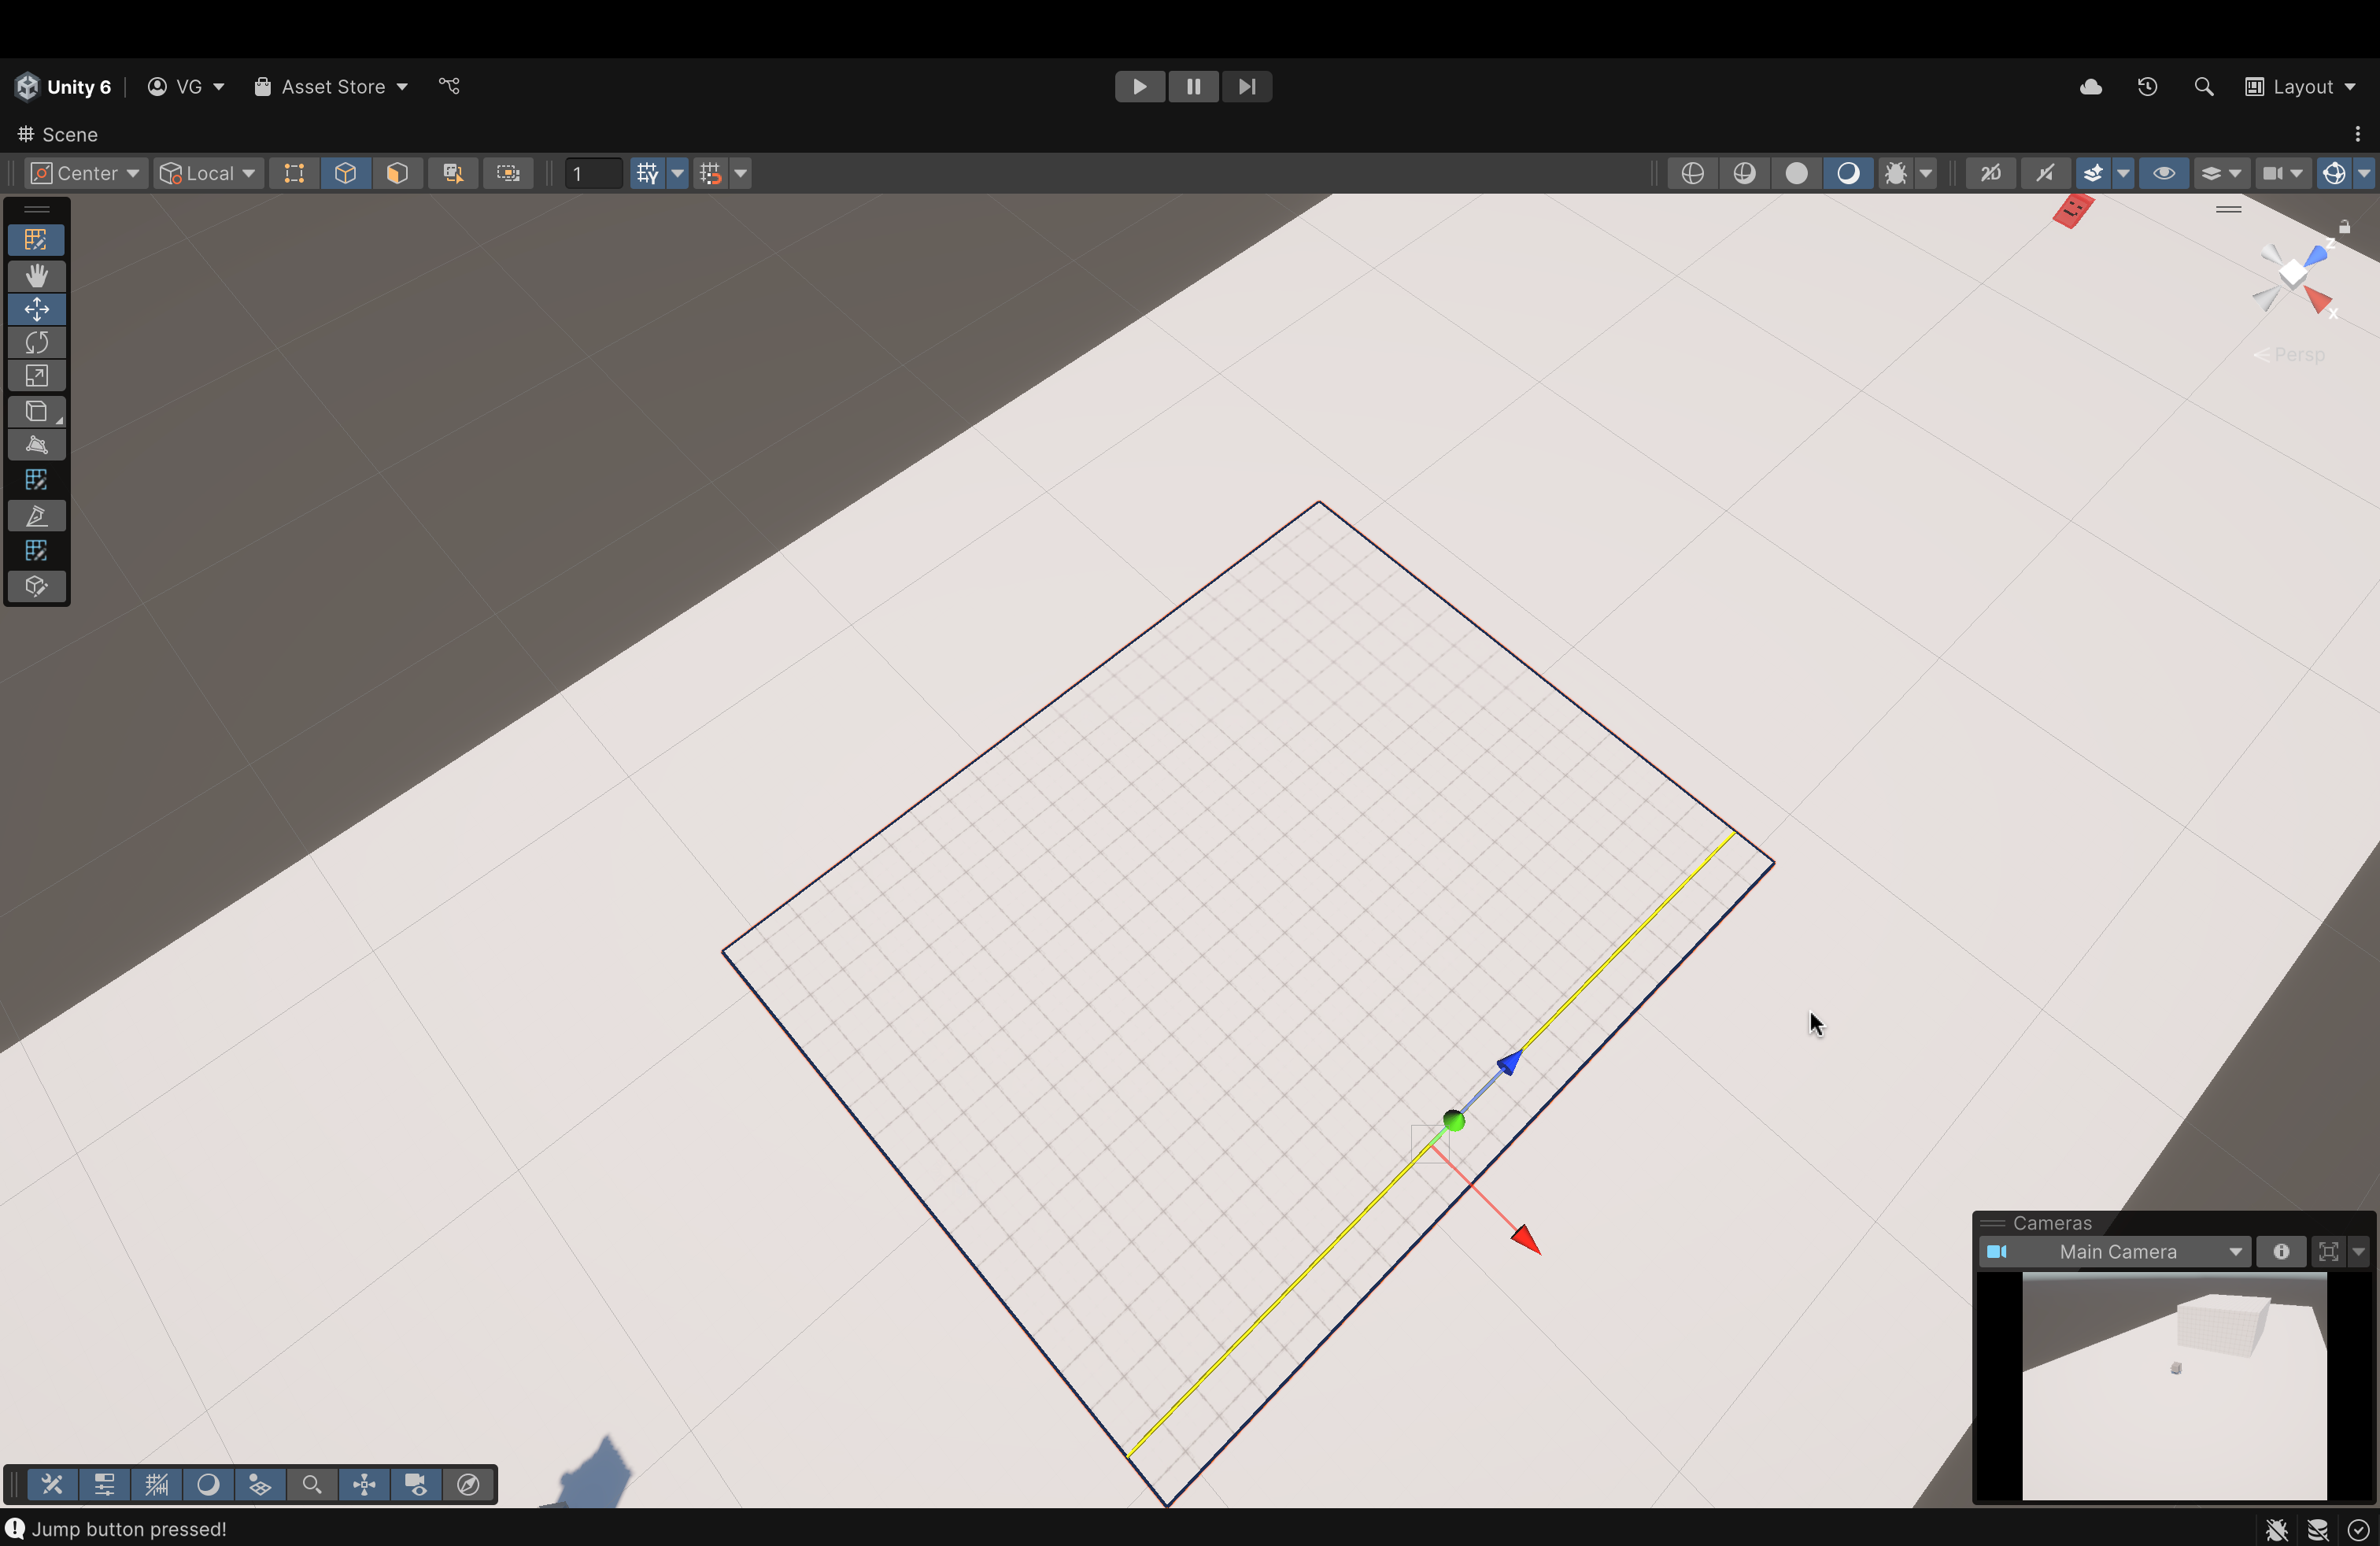
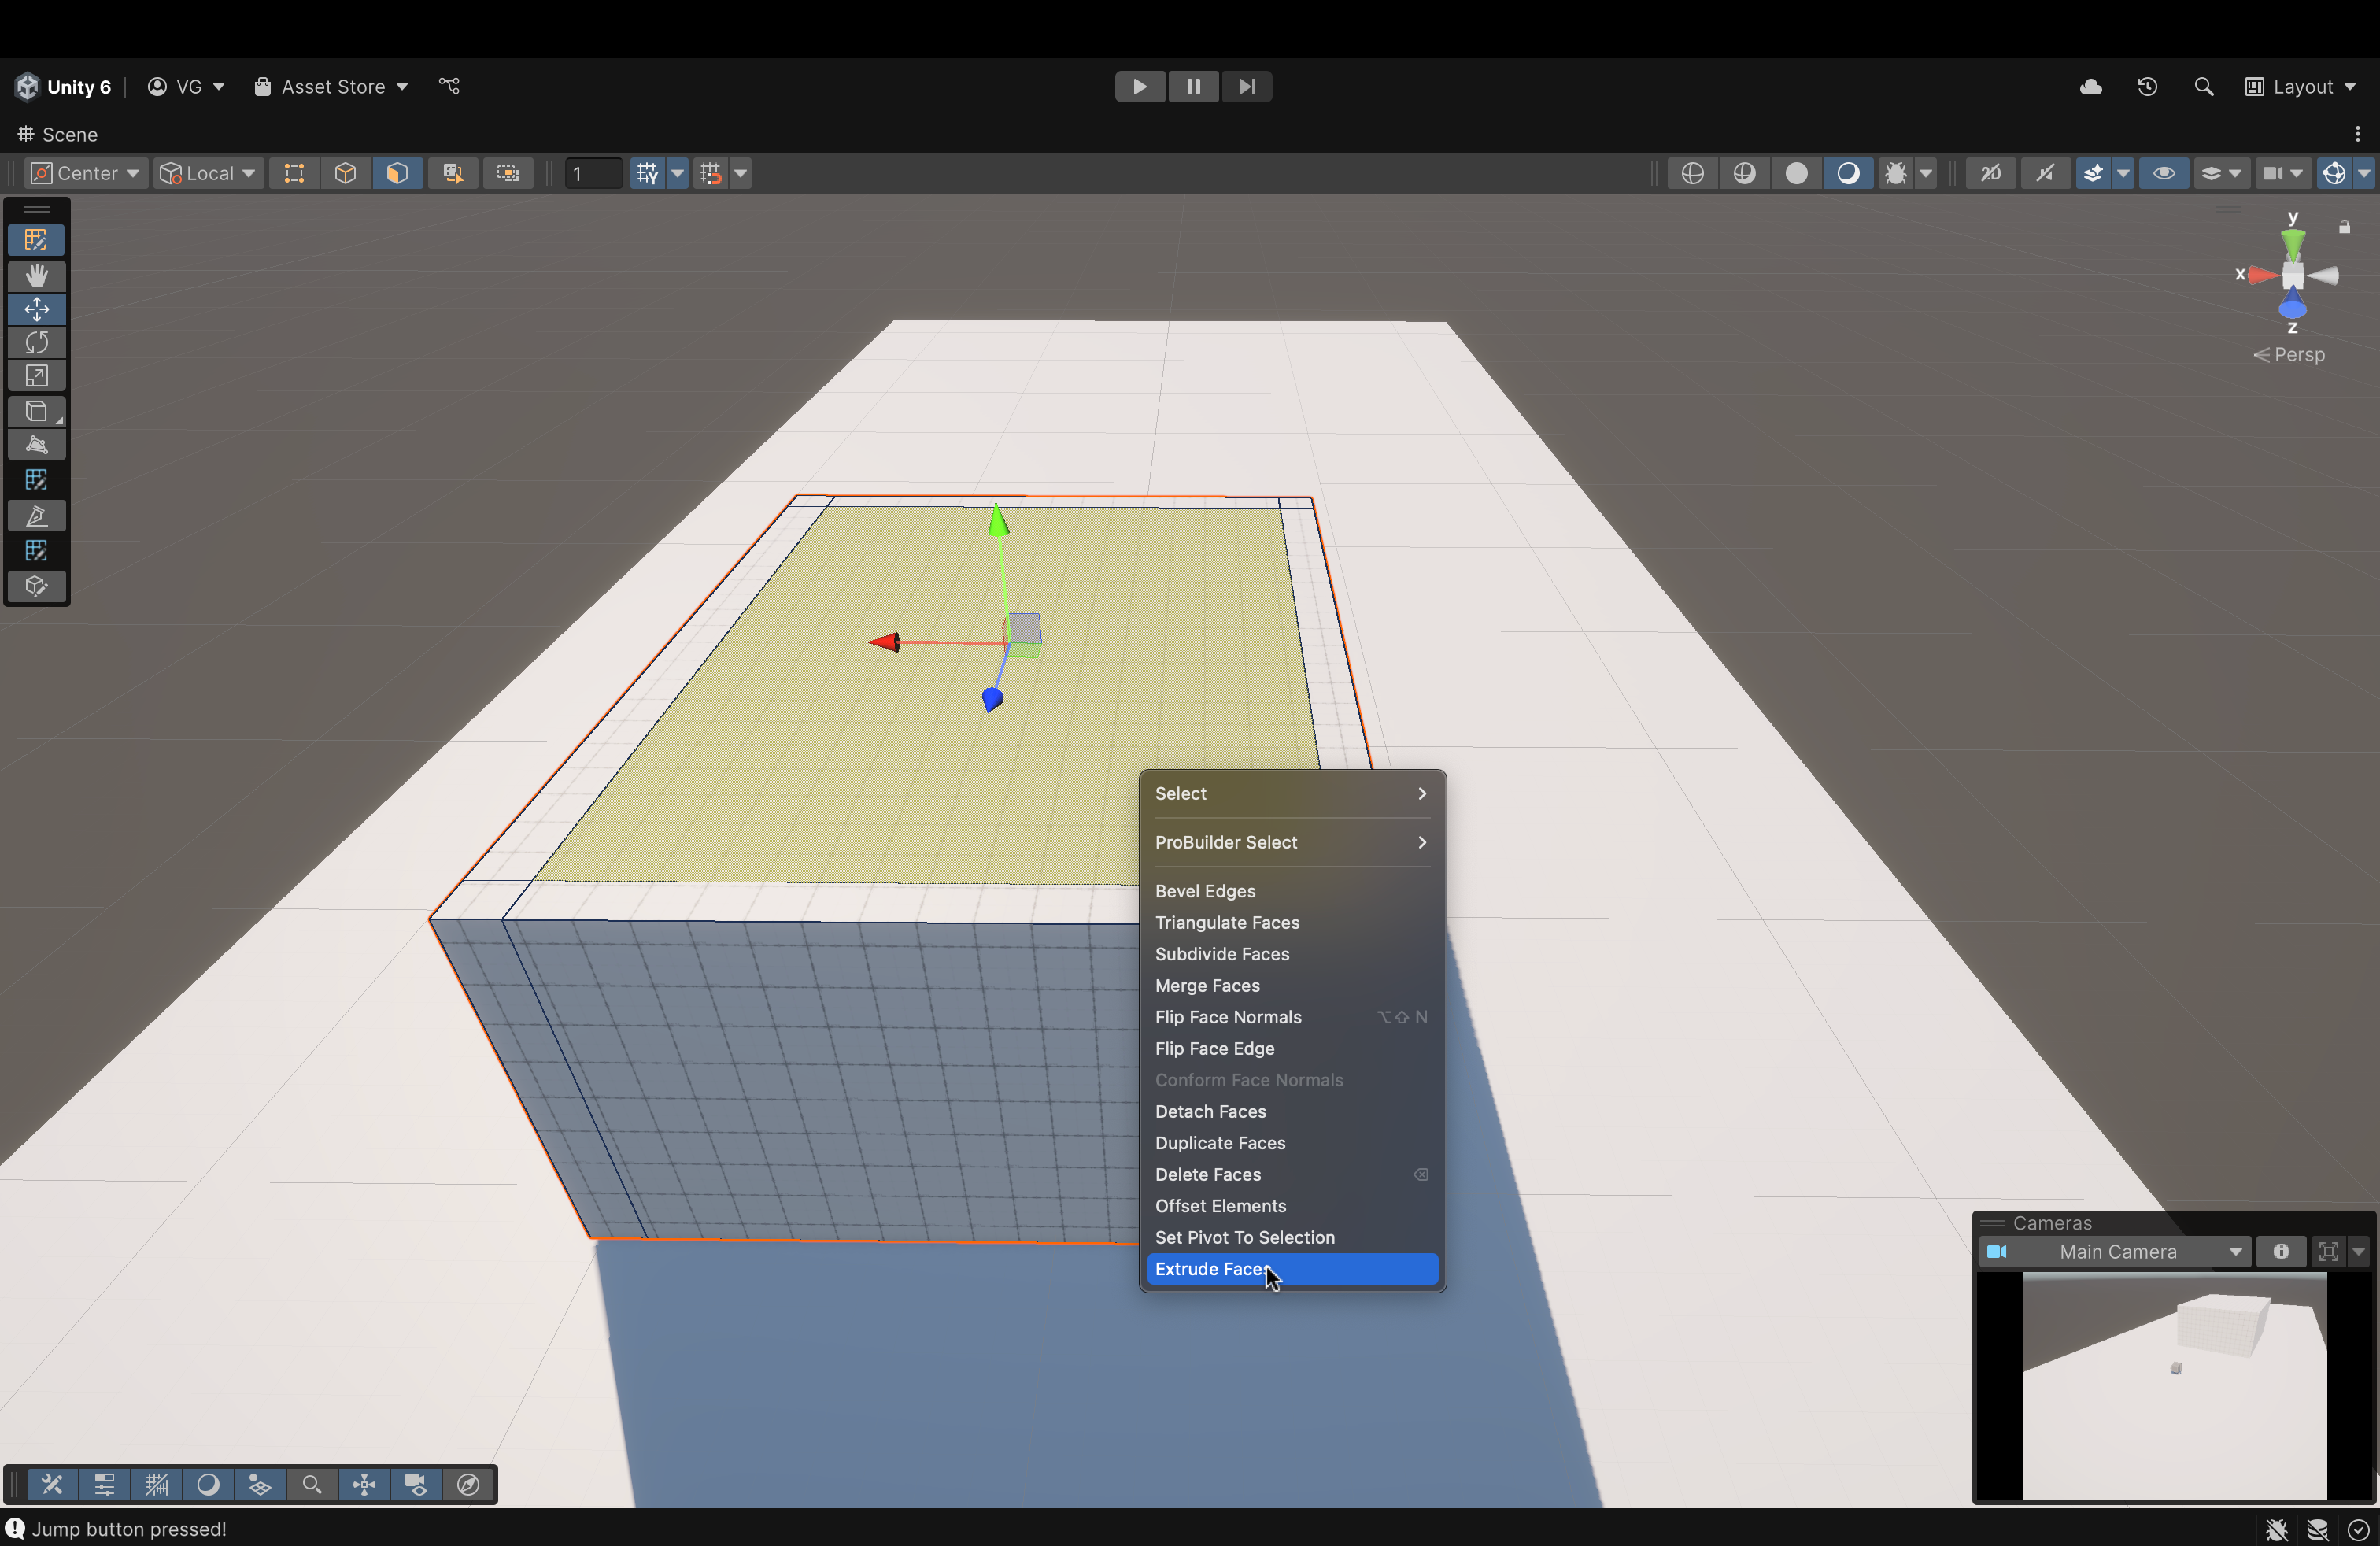
Now, let's select one of the longer edges (like the one shown in the image)
Right-click to open the menu and click Insert Edge Loop
With the newly created edge, drag it down towards the original bottom edge
Orient the camera however you need to place this edge just right (whatever that is for you)