Down below, in the Assets section, create an Animator Controller by following: Right-click --> Create --> Animation --> Animator Controller
Be sure to name it something like "Player_Animate"
What is this and why do we need it?
The Animator Controller is an asset in Unity that handles the logic of which animations will play for a particular object, what the transitions are, when the transitions occur, and so on.
However, for this tutorial, we will NOT be using it in the traditional sense.
Instead, we will transition between the animations using code.
In my recent experience in learning Unity, this was much easier to understand (for me, at least).
In addition, the Animator Controller gets significantly more complicated as more animations are added and configured.
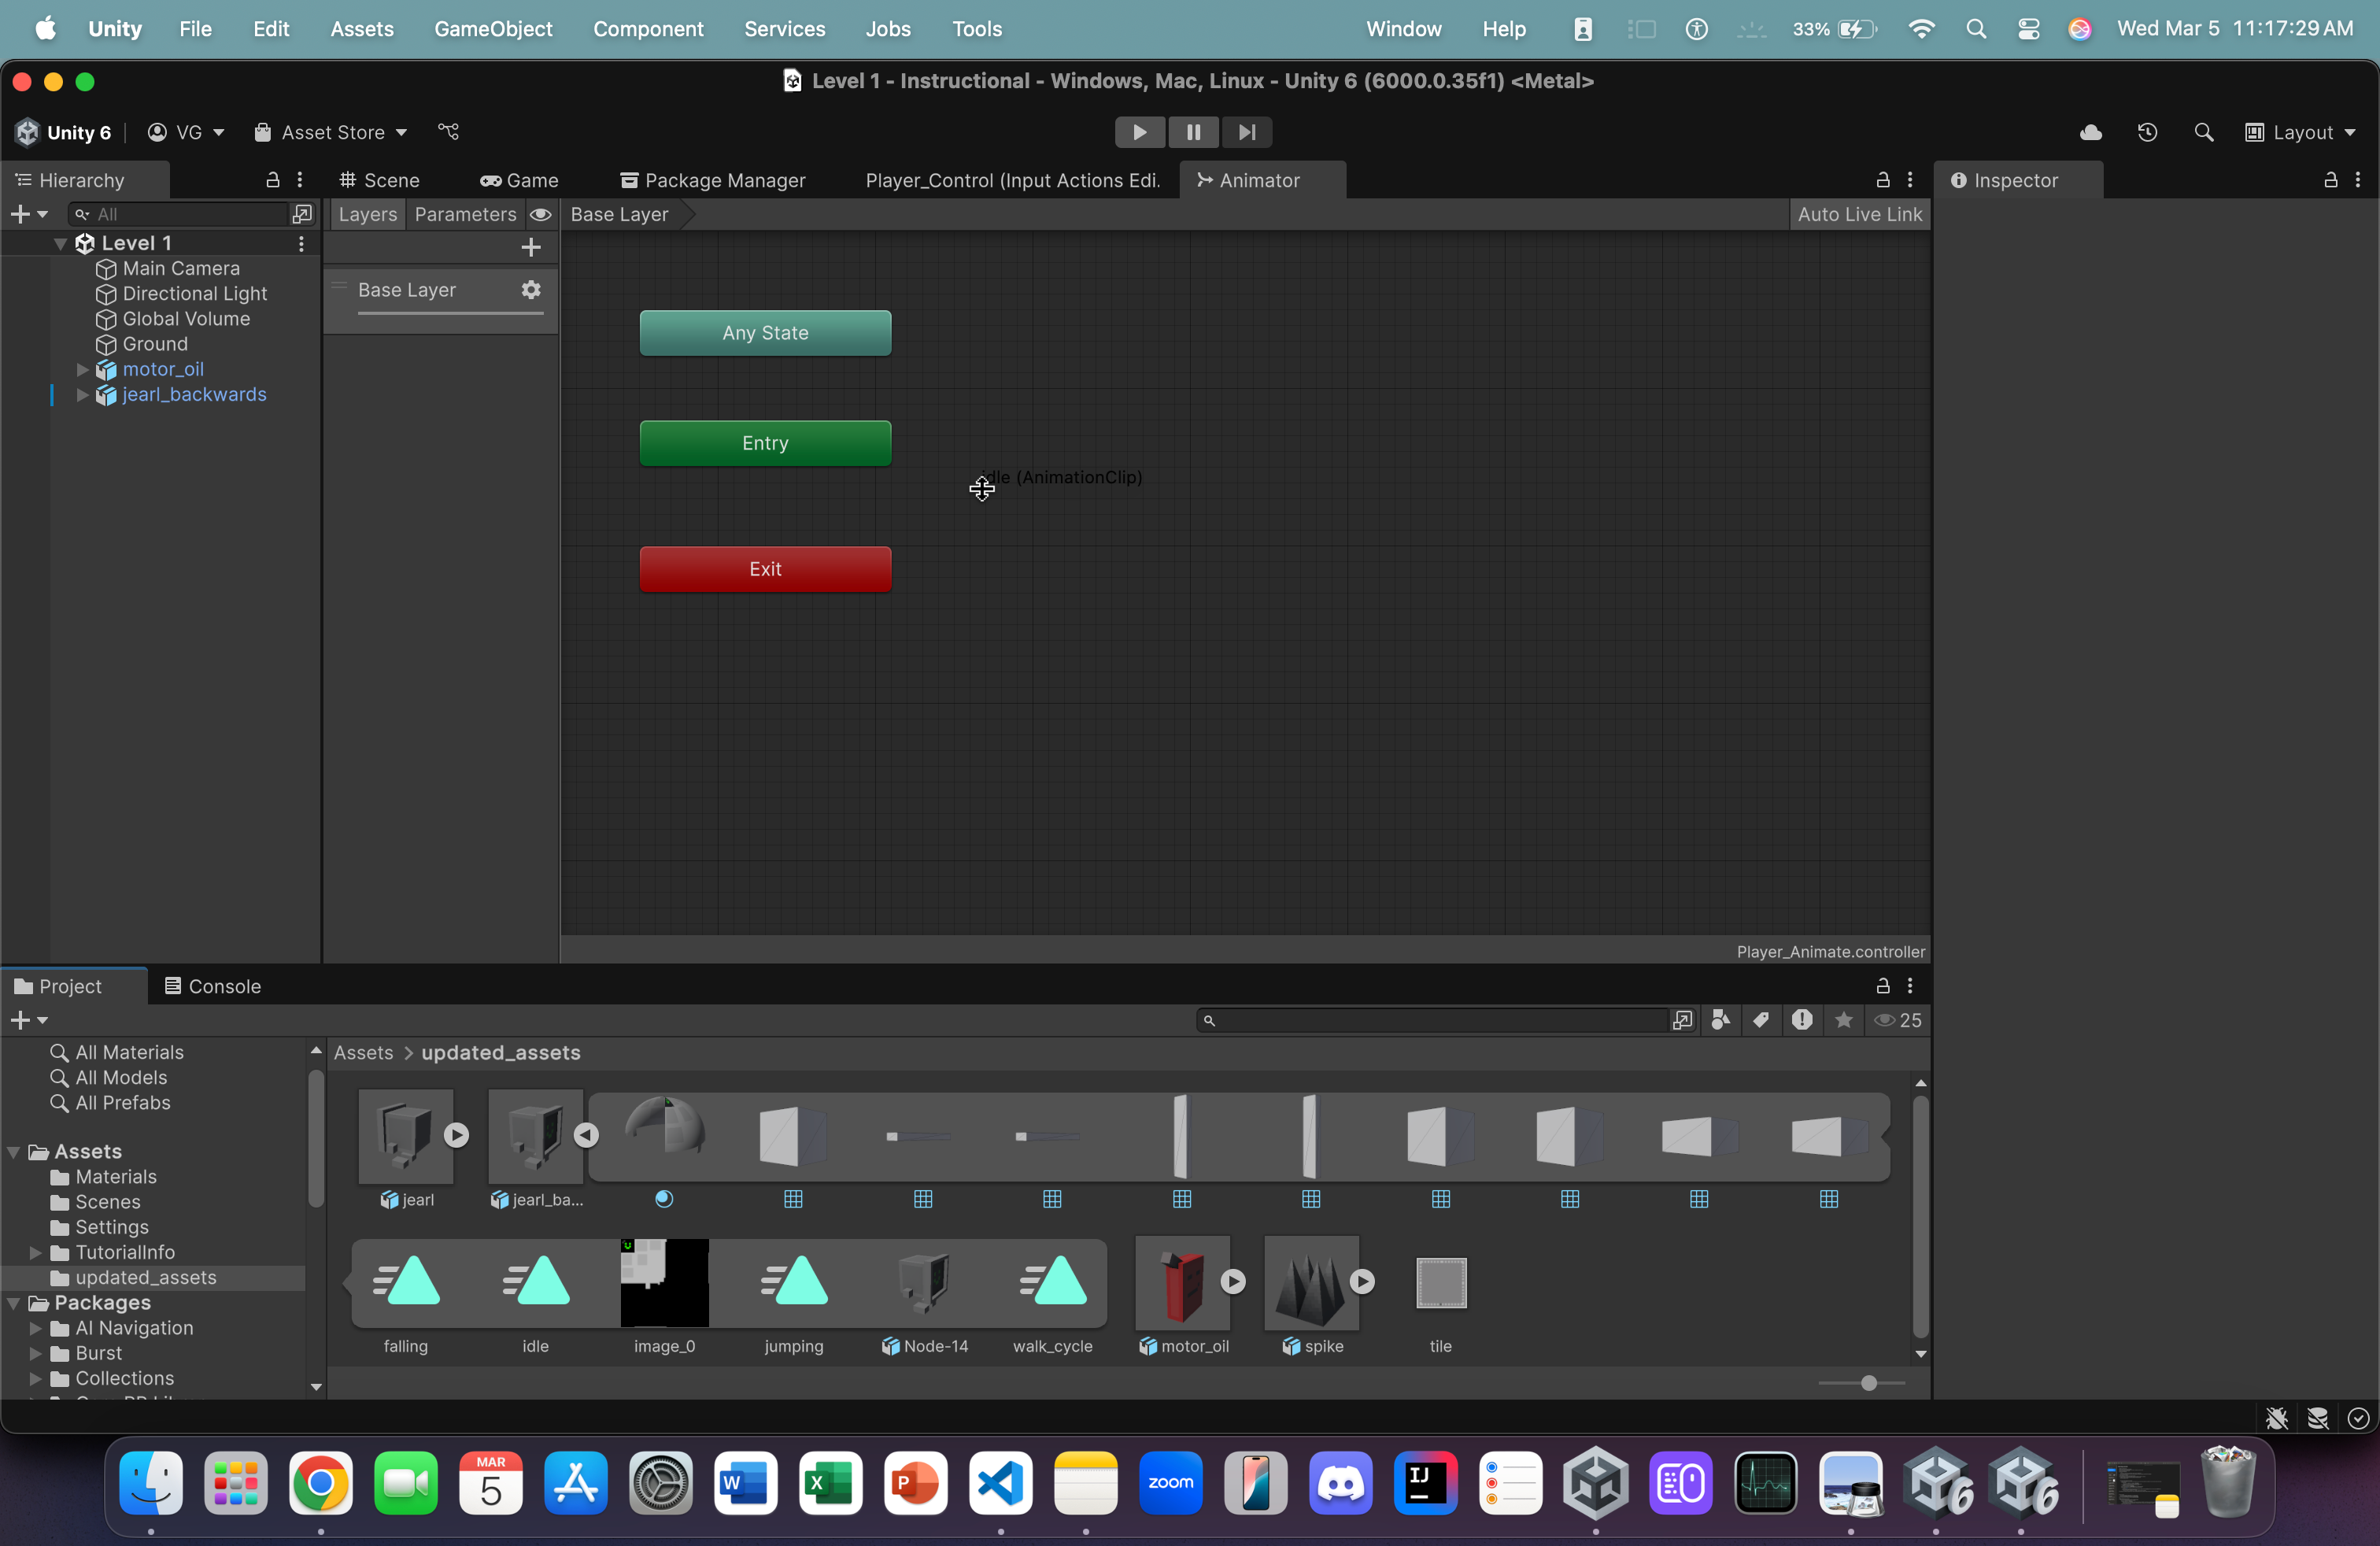
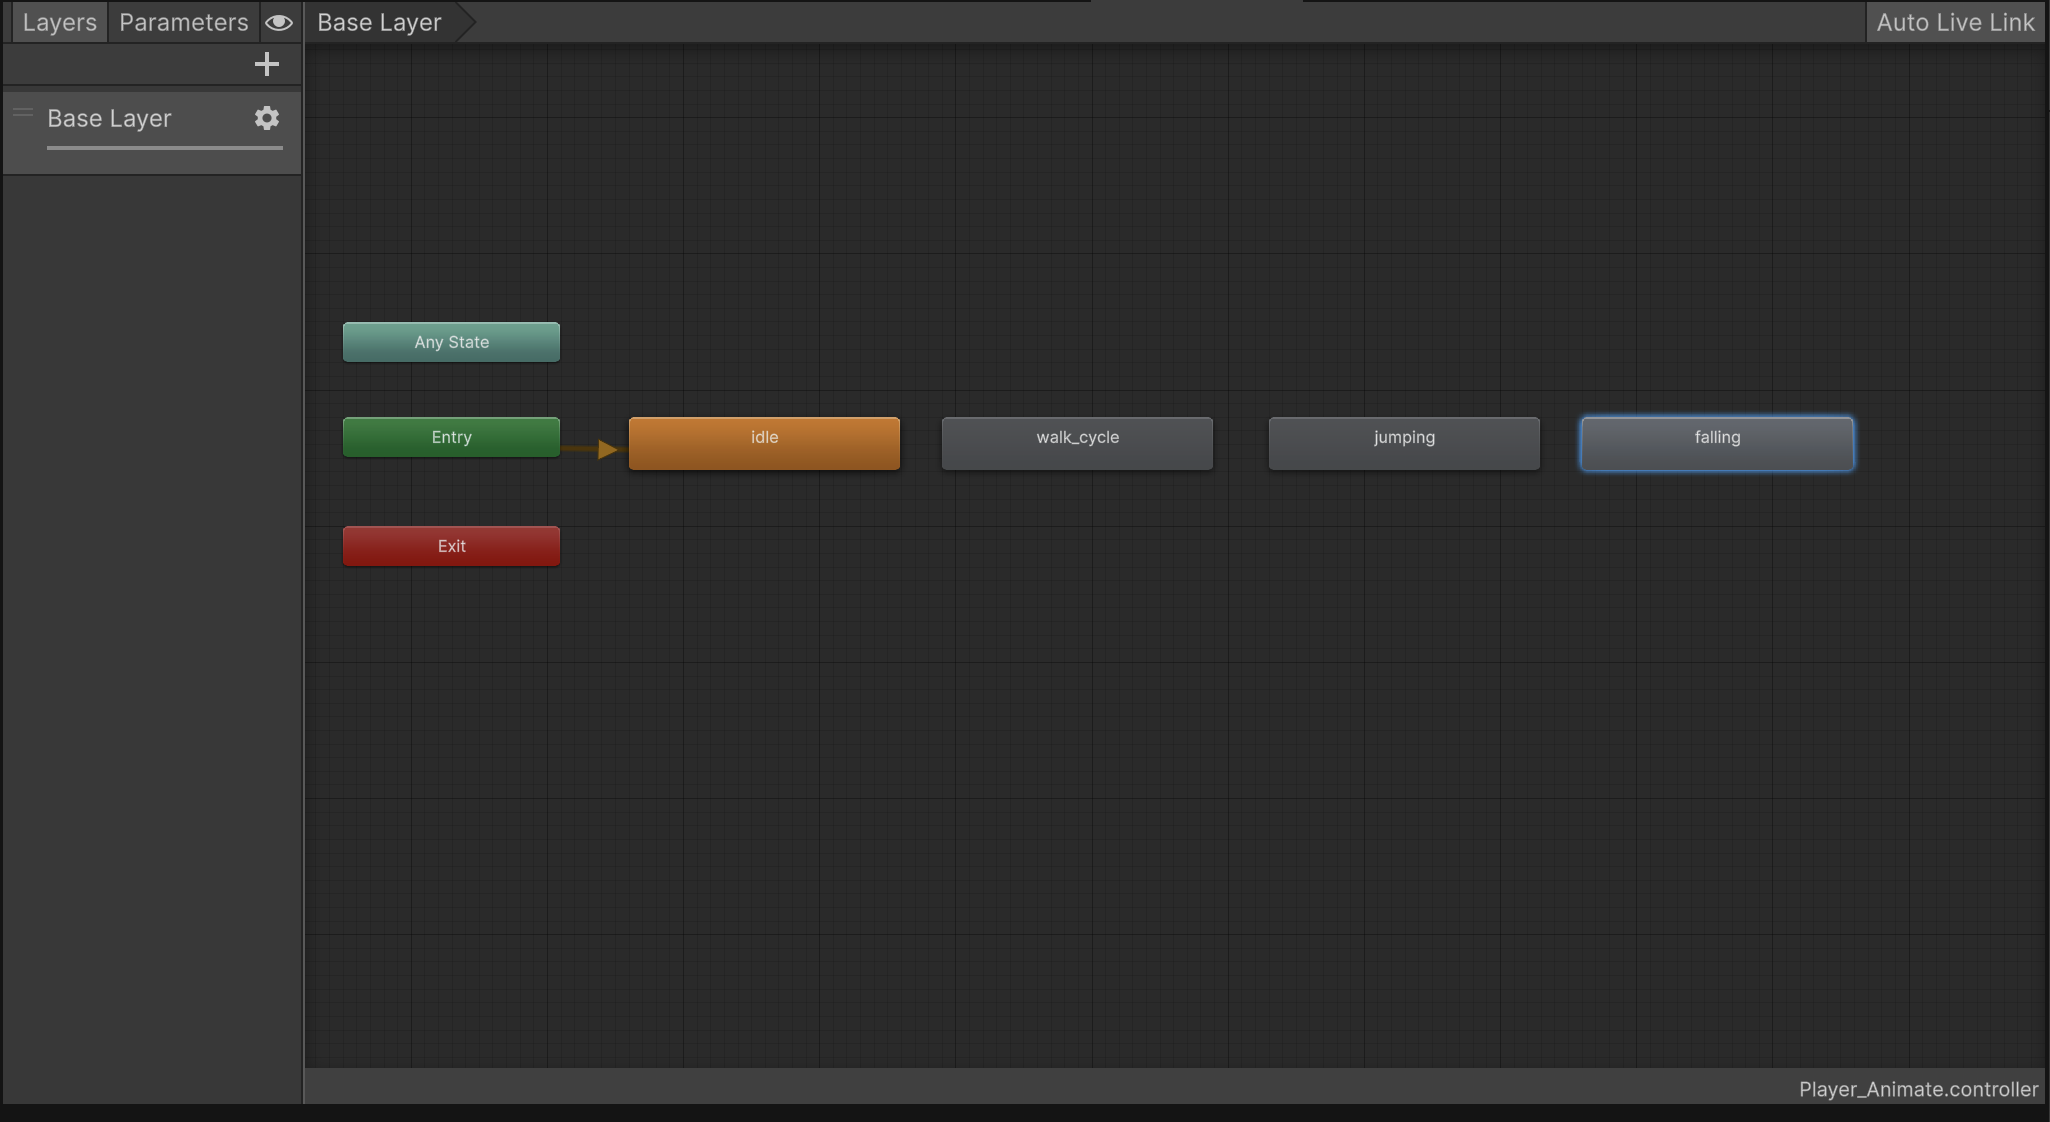
Double click on the newly created Animator Controller. You will see the window (in the image above) open up.
When gameplay is initiated, the first node, the first animation that we place (which will act as a node on a graph) will connect to the Start node.
This animation will play first upon initiating gameplay.
From here on out, even though we won't make explicit node connections, we will still place all of our animations here (starting with the idle animation first).
To access our animations, double-click on the updated_assets folder.
Find the jearl_backwards asset and click the triangle icon to expand the "innards" of the asset
This is what you should see when you expand the asset. Here, our animations are items that are marked with a teal triangle with lines on the left. These are our animations.
Be sure to thank David Awkar for creating and providing the assets and the animations (🎉).
Drag and drop the idle animation into the Animator Board.
This is our first animation that will play.
By convention, in any game, the idle animation is always placed first.
From here on out, place all the rest of the animations onto the board.
For our case, the order doesn't matter (except for the idle animation going first)
This is because we'll be using code to switch in between the animations. Therefore, placement order doesn't matter.
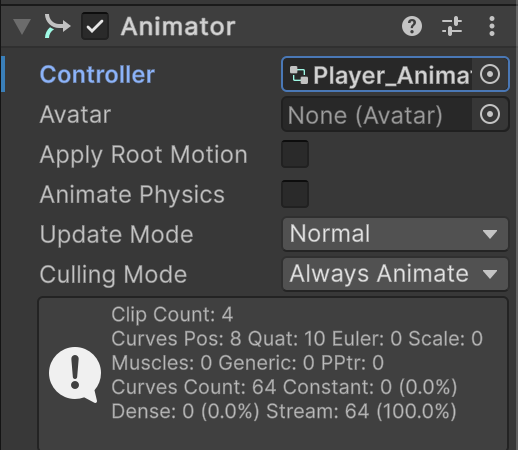
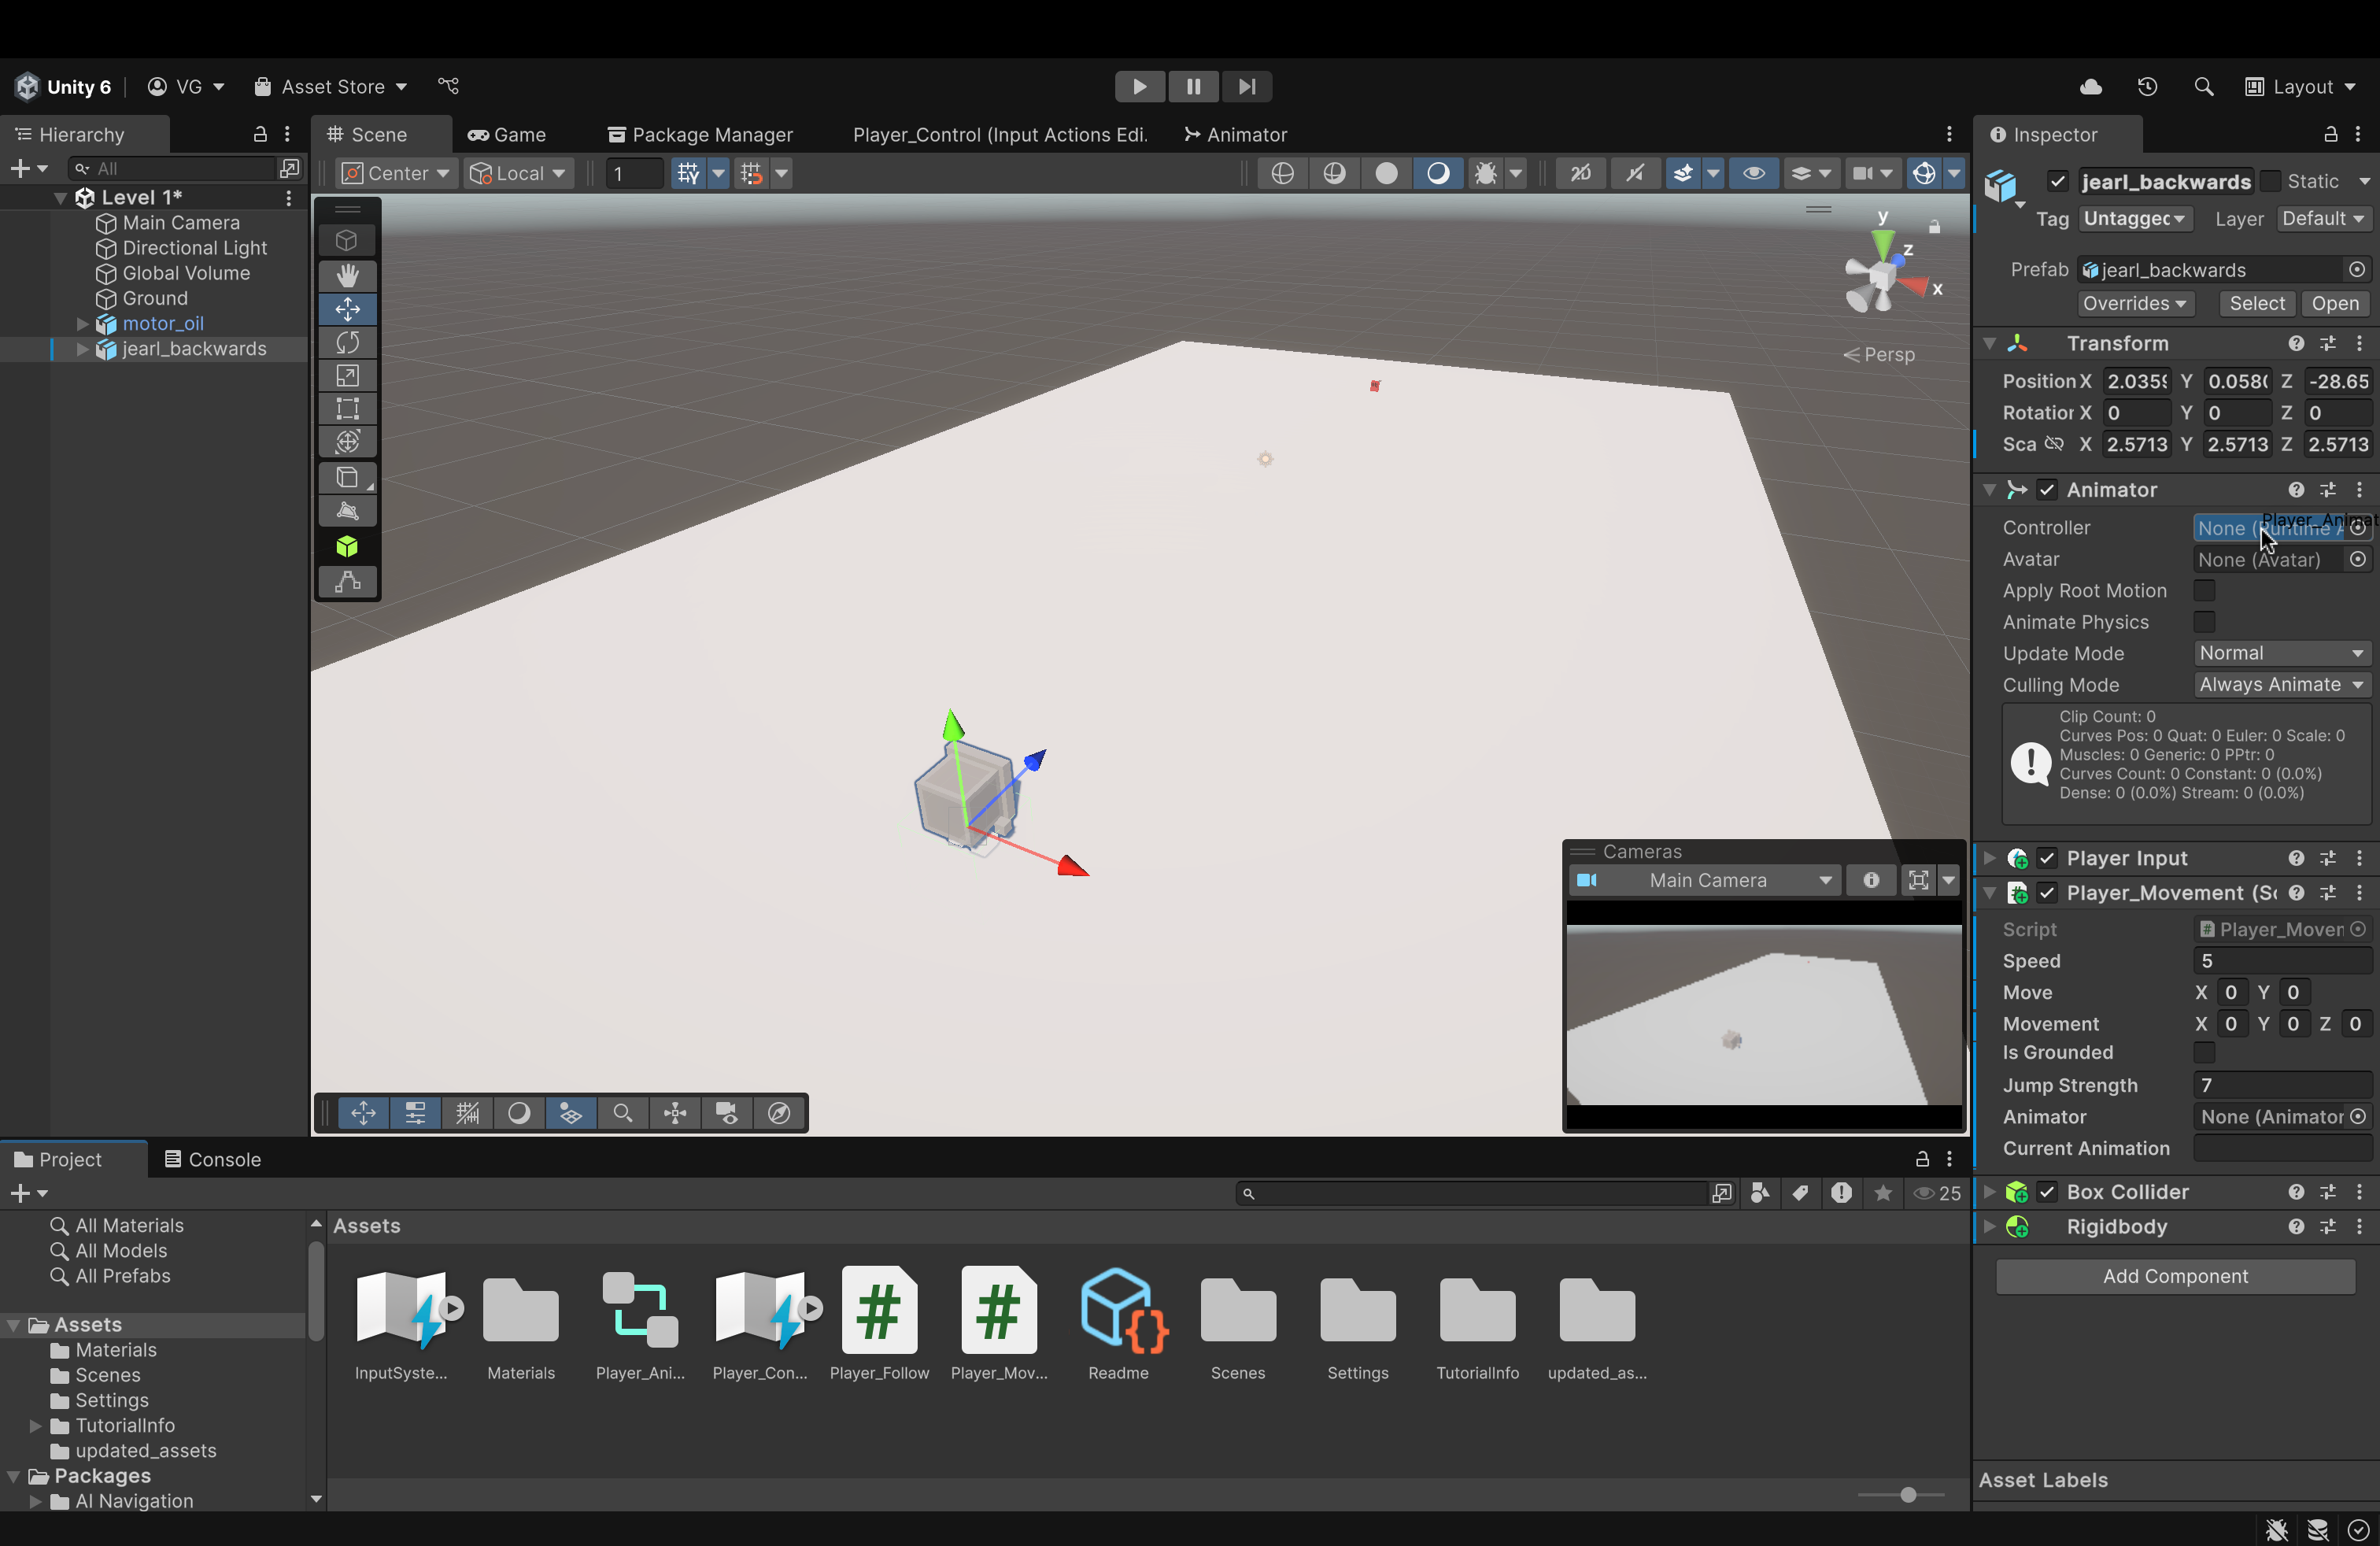
Back in the Scene view, click on jearl_backwards and, in the Animator component, drag and drop our Animator Controller object into the Controller box
Unity will have auto-created an Animator Controller when you placed the jearl_backwards asset into the Scene.
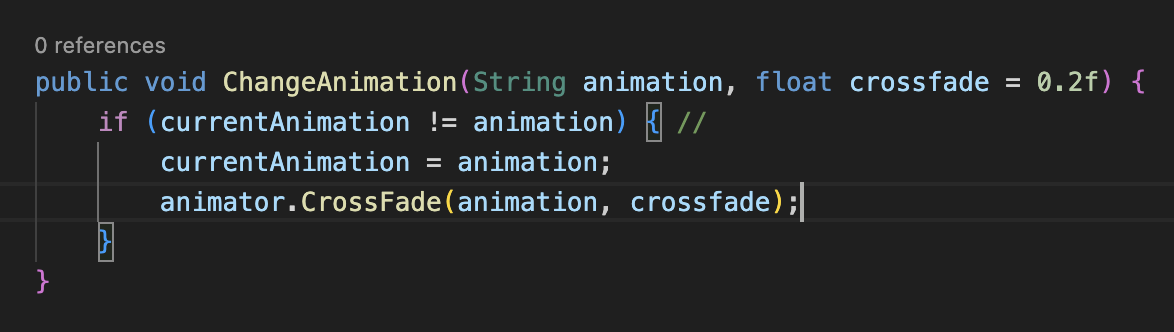
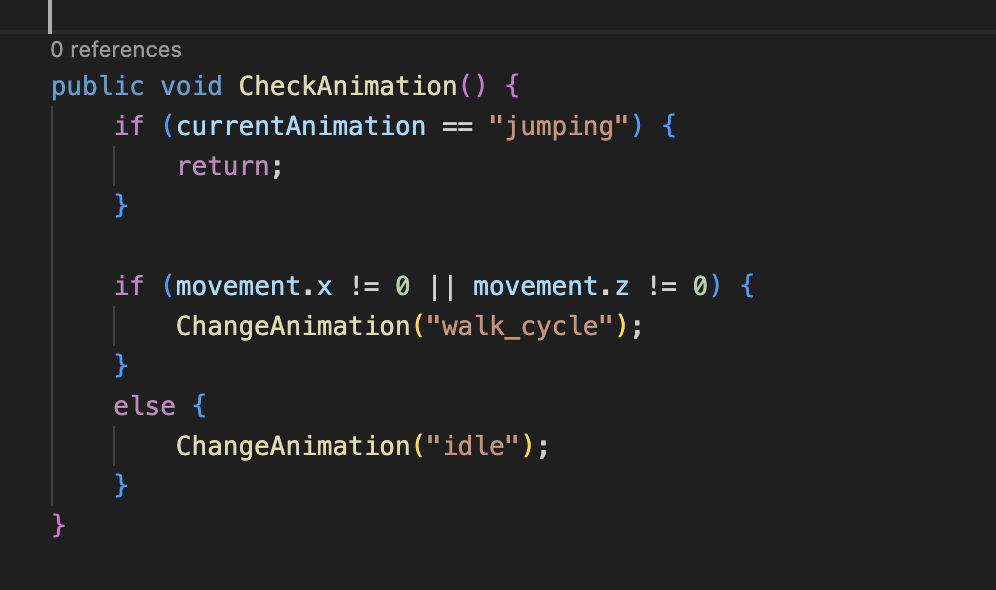
If we're moving, at all, in any direction, then change the animation to walk_cycle.
Recall that our movement variable is a 3D vector whose only changing values are for the x-axis and z-axis (we don't move upwards, along the y-axis, with WASD).
So, we check these two. See if one is non-zero, the other is non-zero, or both are non-zero. If any one of these conditions is true, we change the animation to the walking animation.
else { ChangeAnimation("idle"); }
If we aren't moving at all, change the animation to idle.
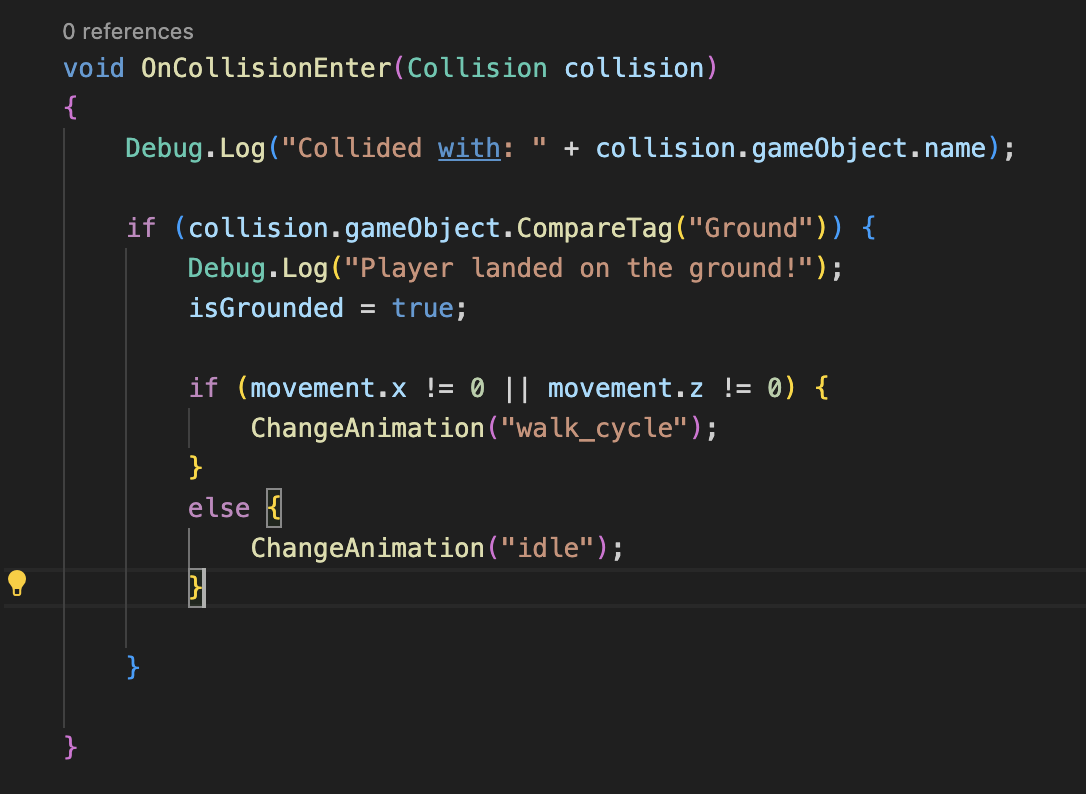
Copy the if-else statement from our CheckAnimation function (which checks for movement) and paste it in the OnCollisionEnter function, inside the if statement that checks for a collision with ground
Why do we need this here?
Without this check here, after jumping (and initiating the jump animation), we will be permanently stuck in the jump animation.
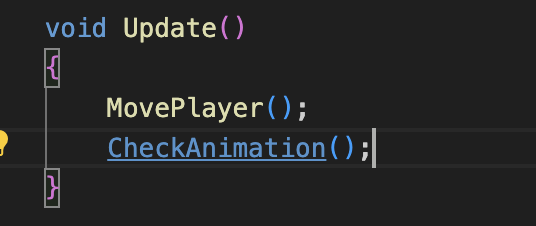
Add a function call for the CheckAnimation() function in the Update() function.
We need this function to run every frame so that our animation changes dynamically and constantly.
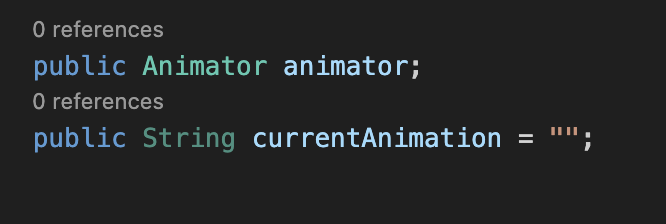
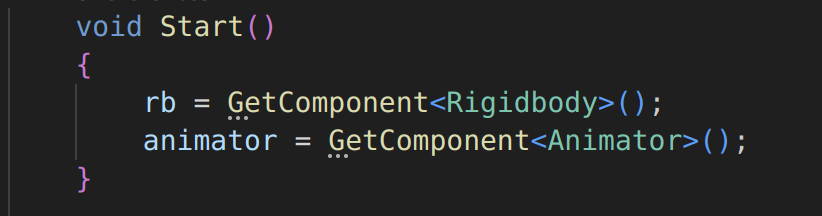
Lastly, retrieve the GameObject's animator component by adding second line inside Start()
Without this line, animator will be null (or empty) and cause issues.
Back in our editor, drag and drop the Animator Controller object we created into the blank space in the Animator component of jearl_backwards in our Script component.