Getting Started
Downloading the Engine
- Go to godotengine.org
- Click "Download Latest"
- Click the blue "Godot Engine" button
- Unzip the downloaded file, and run the program (the one without "console" in the file name)
Making a Project
- Now that the window program is open, hit the
Createbutton, give your project a name, location, and set the renderer toForward+, then hitCreate & Edit
Learning the Layout
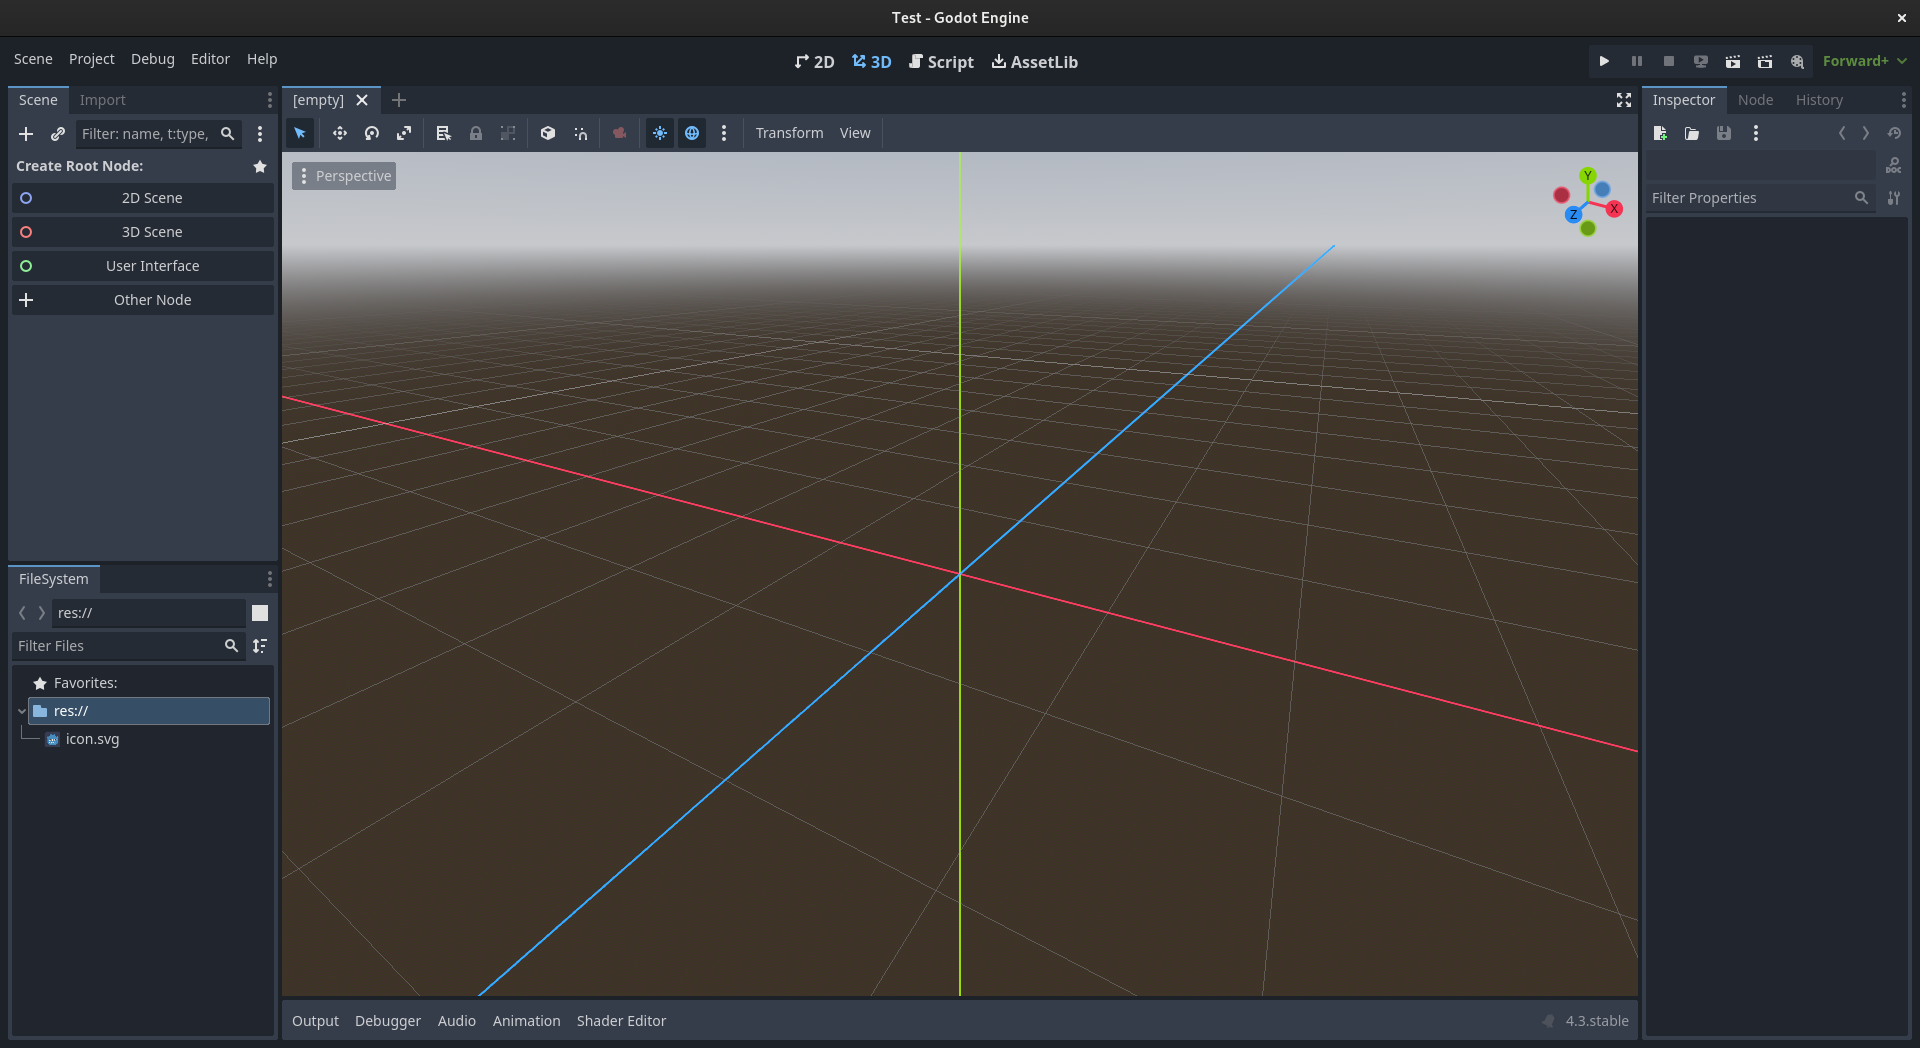
There are a few major parts of the UI here, let's go through them one by one:
- Scene tree - This is the top left window, it contains a hierarchical representation of every node in the scene (we'll go over what nodes are later)
- File system - This is the botton left window, it contains all the files in your project
- Properties editor - This is the window on the right, if you have a node selected in the scene tree, it will show all the properties of that node for you to edit
- Scene viewer - This is the large pane in the middle, it has four modes,
2D,3D,Script, andAssetLib.2DAllows you to view and edit the 2D component of the scene (this can be a menu, a 2D game, or a GUI on top of the 3D game).3Dallows you to view and edit the 3D component of the scene.Scriptopens the script editor and allows you to write code in GDScript (you will need an external program if you choose to use a different language). AndAssetLiballows you to download community assets and plugins to give you access to more features.
Snapping
- Throughout this guide, you will be moving, rotating, and resizing objects in the editor. Godot has a "snap" mode that will snap these actions to certain intervals, depending on what you are doing, you may want this on or off.
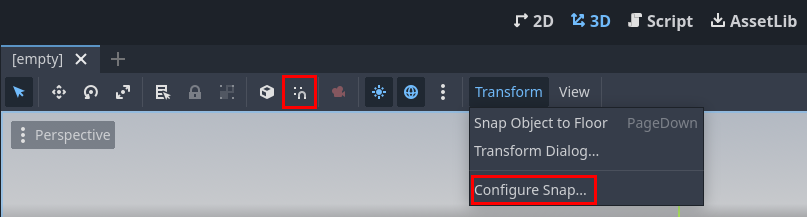
- The magnet with the three dots toggles snap, and the
Configure Snap...allows you to modify how rough or granular the snap is.